 Drumroll please… Our first big home renovation project is officially complete! Last week we finished giving our kid’s bathroom a much-needed facelift and we’re so happy with the final result.
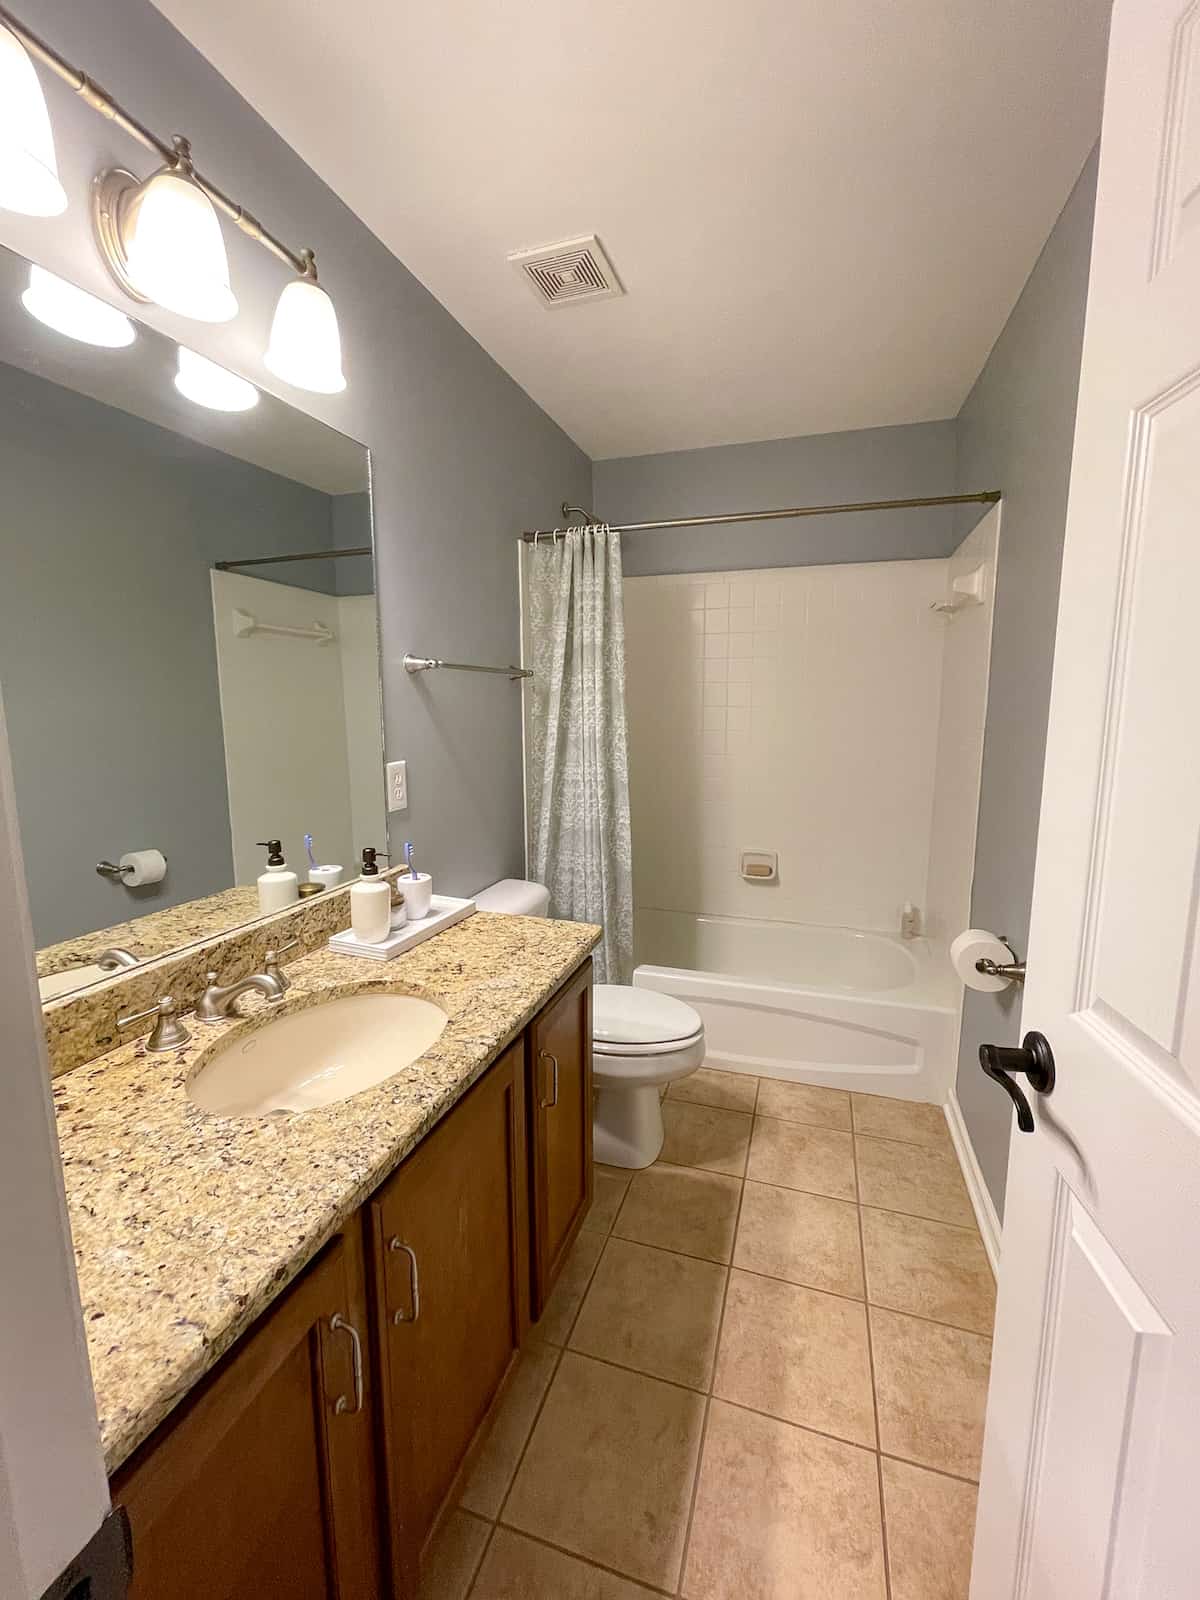
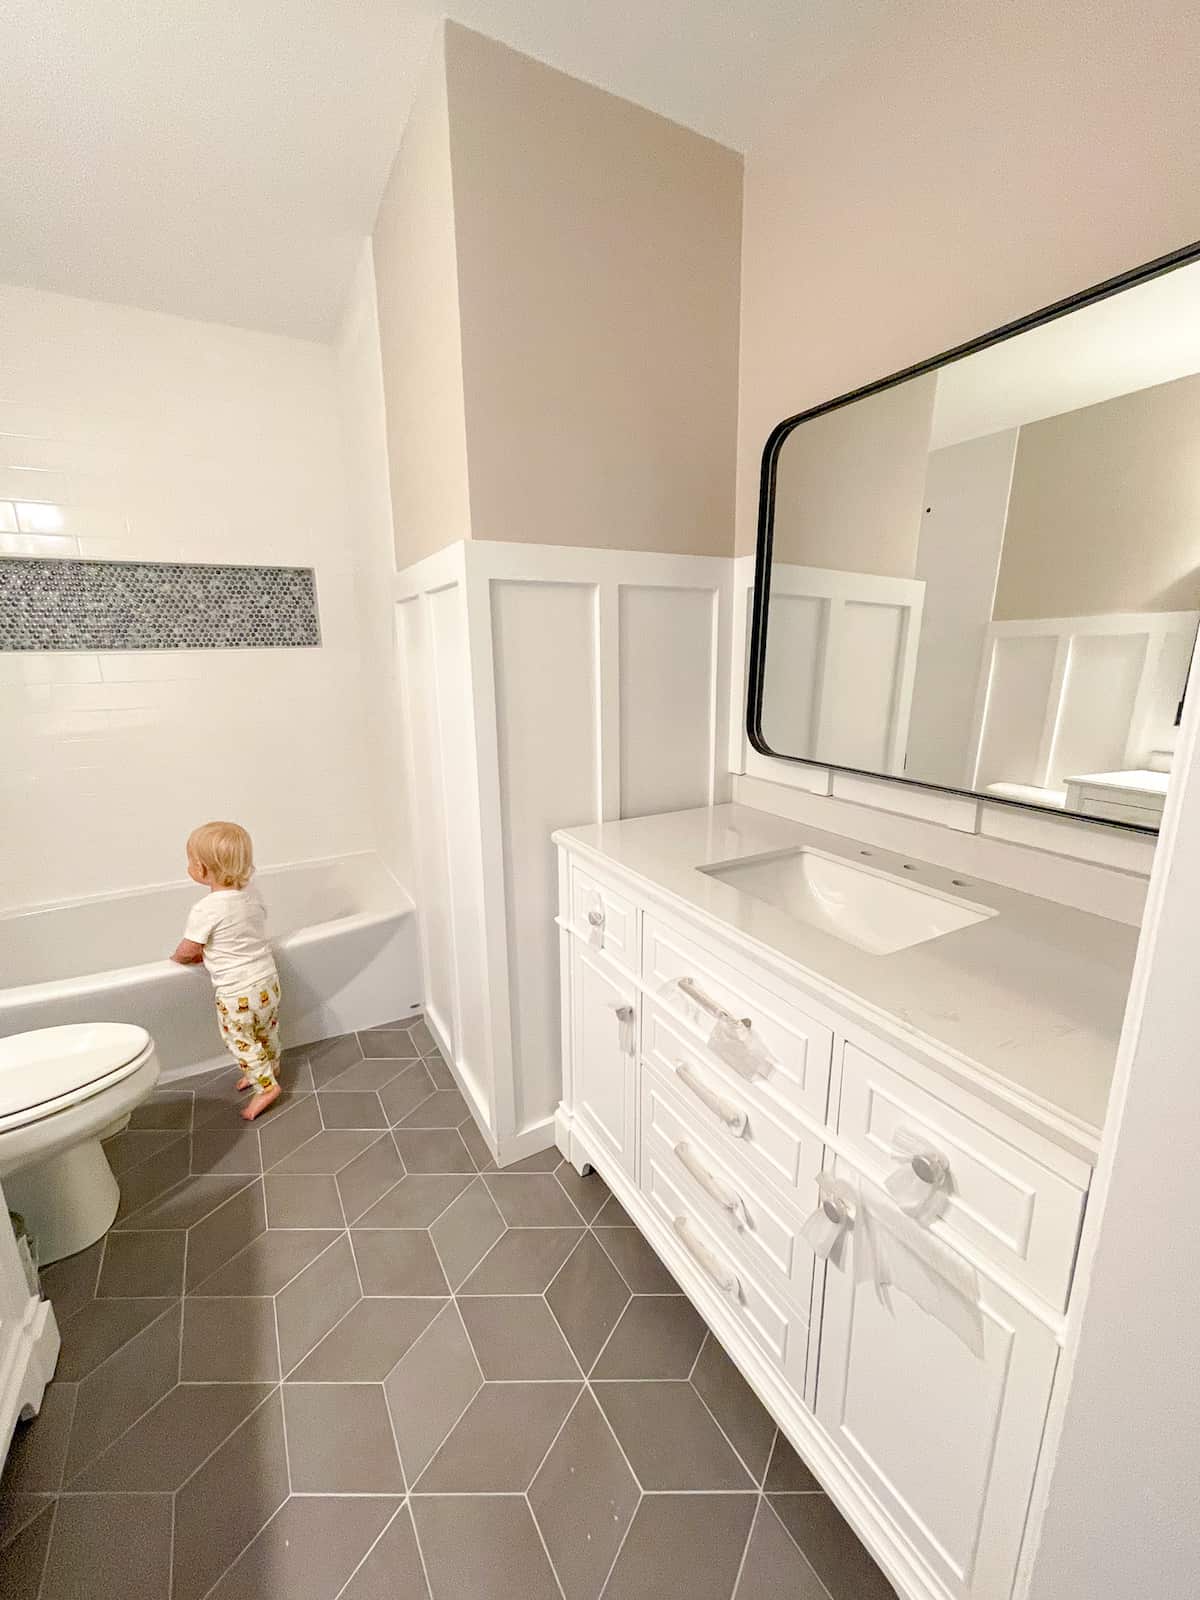
before
Why renovate? The space was drab and dated and had cheap finishes. Everything functioned fine, but it was just very uninviting and lacked character.
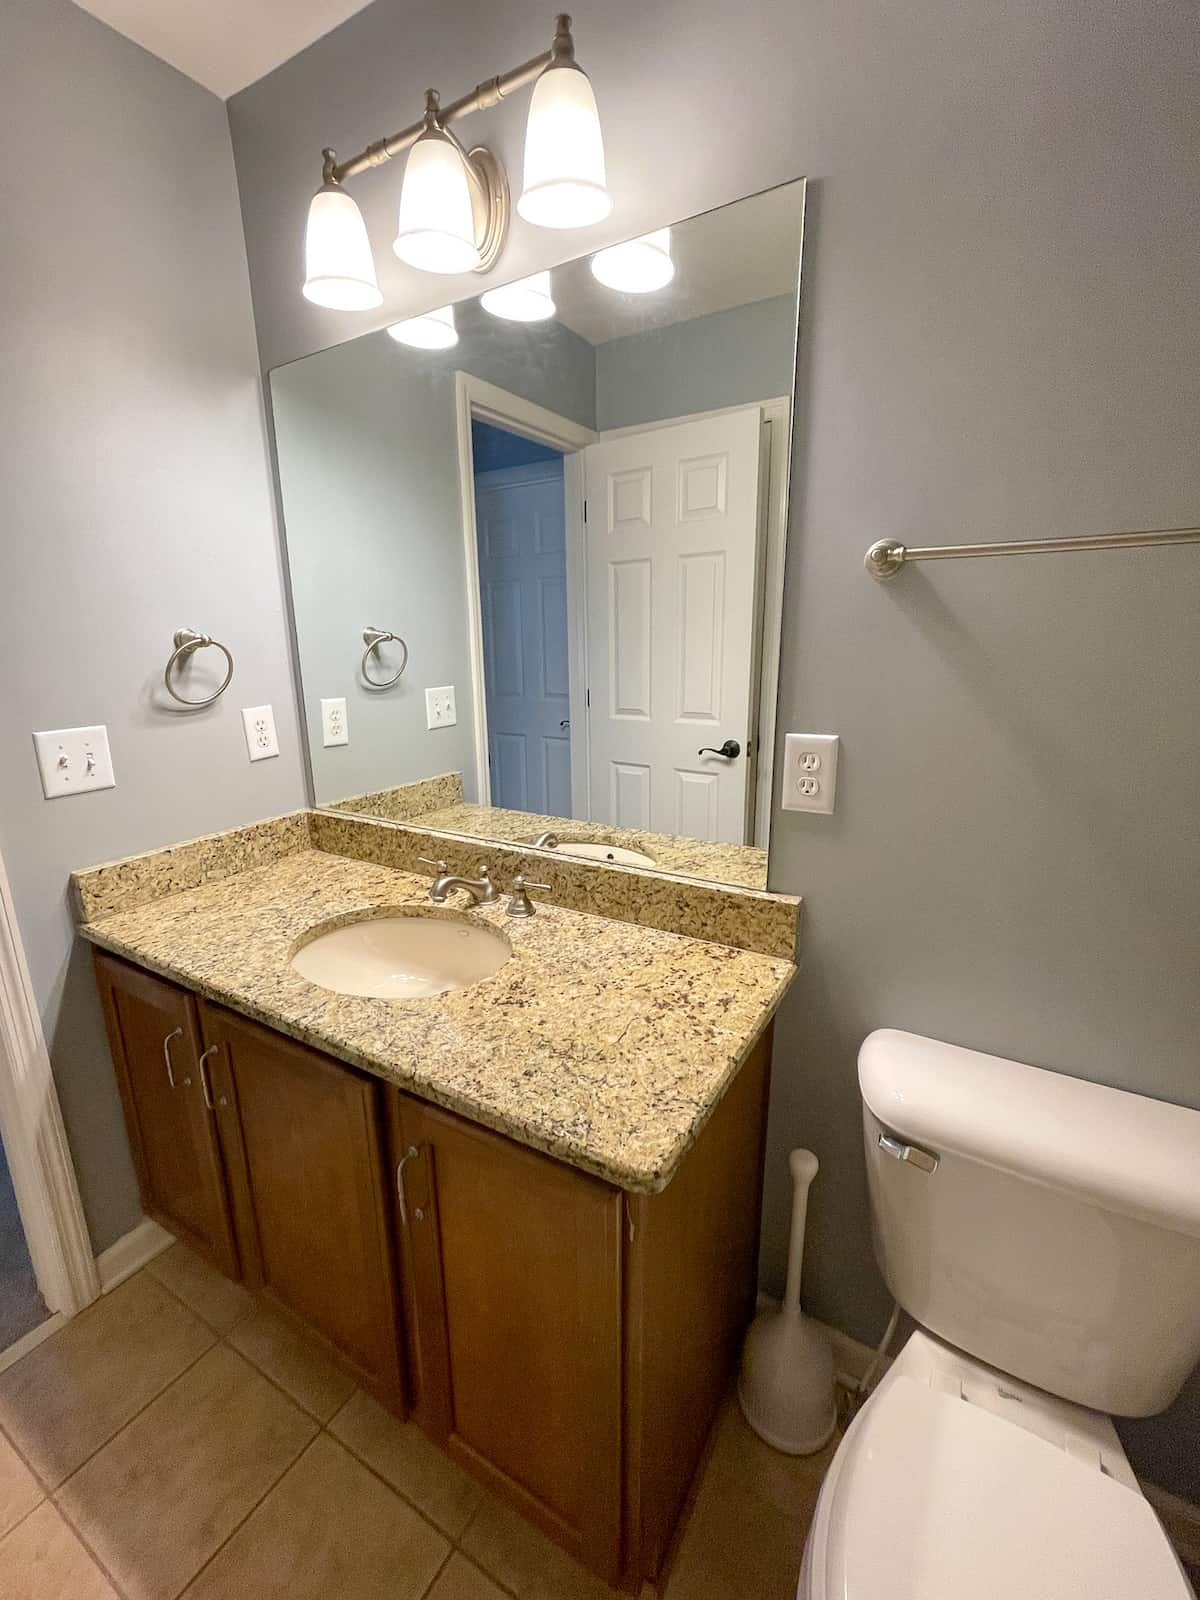
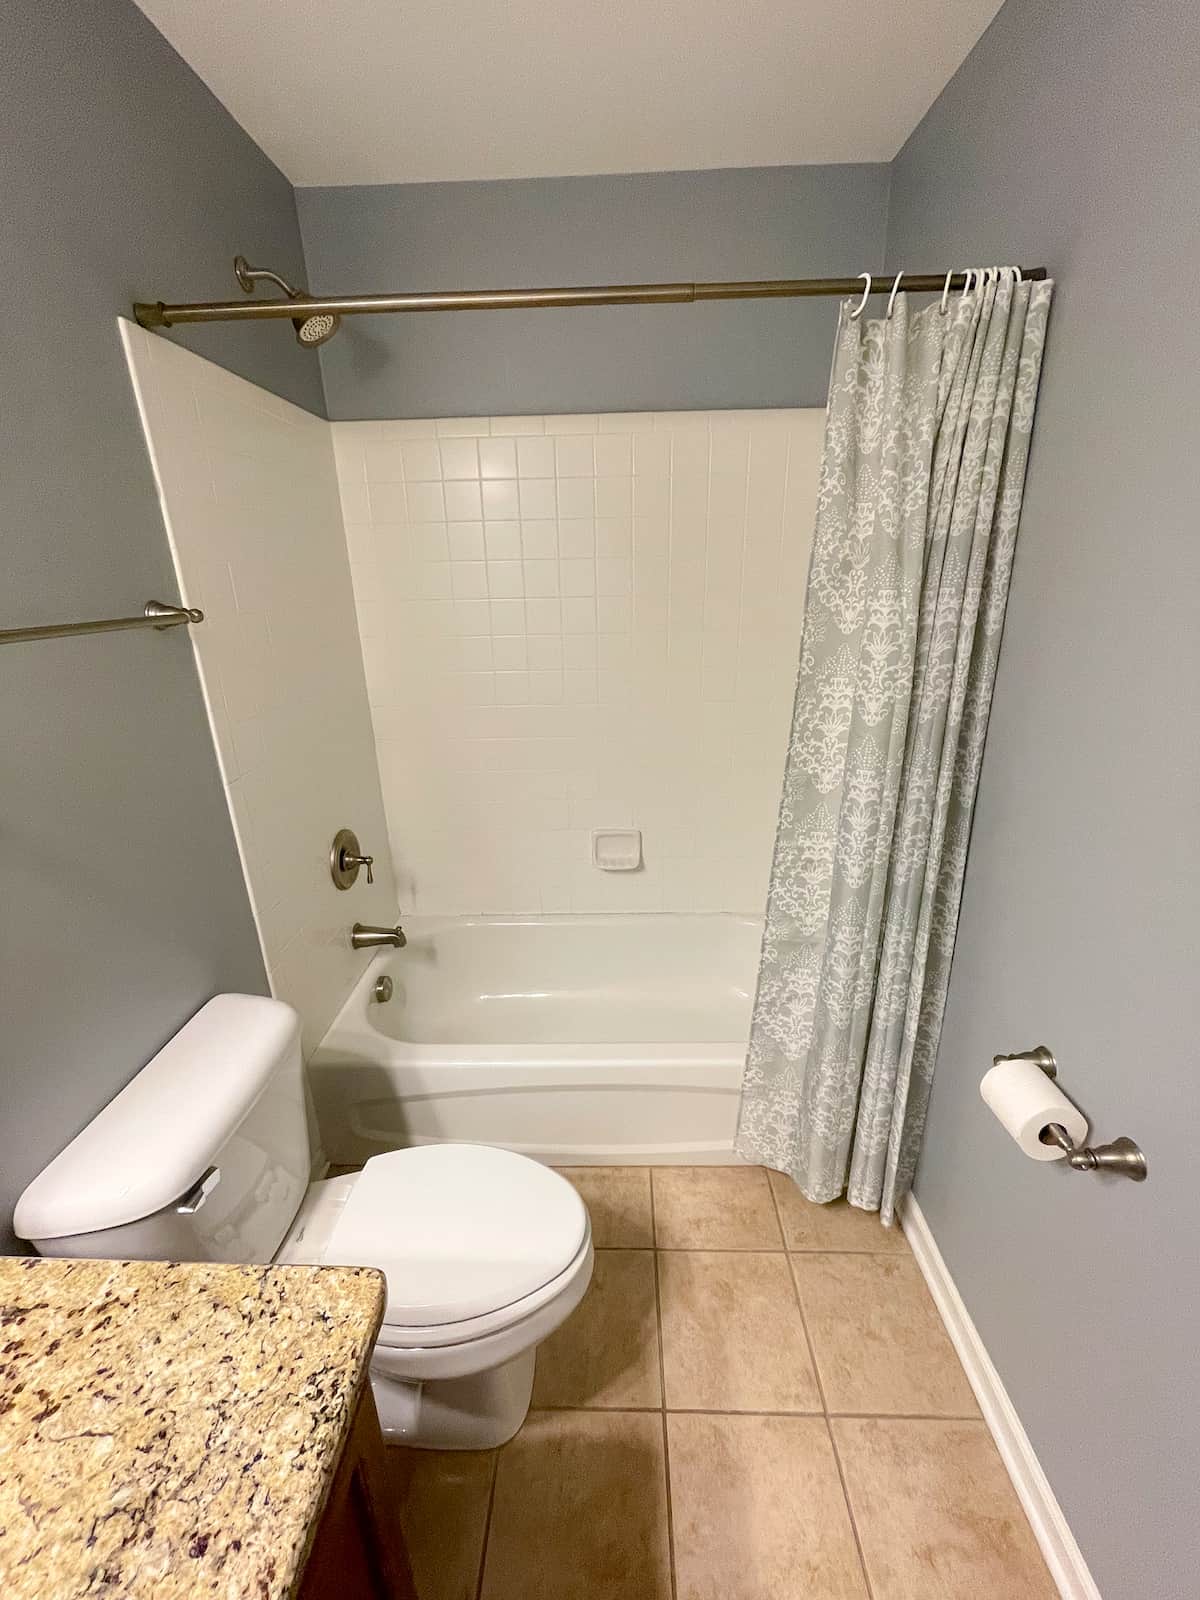
As you can see in the photos, we completely gutted the room from top to bottom. This included installing new floor and shower tile, replacing the bath tub and adding two new vanities, mirrors and lighting— all of which we purchased from The Home Depot. The only original thing we kept was the toilet!
We also added some square footage by stealing space from the underutilized linen closet on the right side wall + a neighboring guest bedroom closet, which allowed us to add a second vanity. We also transitioned the existing swing door (it awkwardly opened into the bathroom blocking the underutilized linen closet) to a pocket door for more functionality.
Why two separate vanities? Also why not one big double vanity? We looked into the double vanity option but it would’ve been a super tight squeeze up against the toilet and the counter space would’ve been minimal. I also thought back to my childhood where I grew up sharing a very small bathroom and a single pedestal sink with my sister and step siblings. While I clearly survived just fine, I definitely wouldn’t have minded having my own vanity space during my high school years 🙂 Technically this bathroom is just Nate’s for now, but we envision it eventually being used by multiple kiddos, thus why I am calling it our kid’s bathroom.
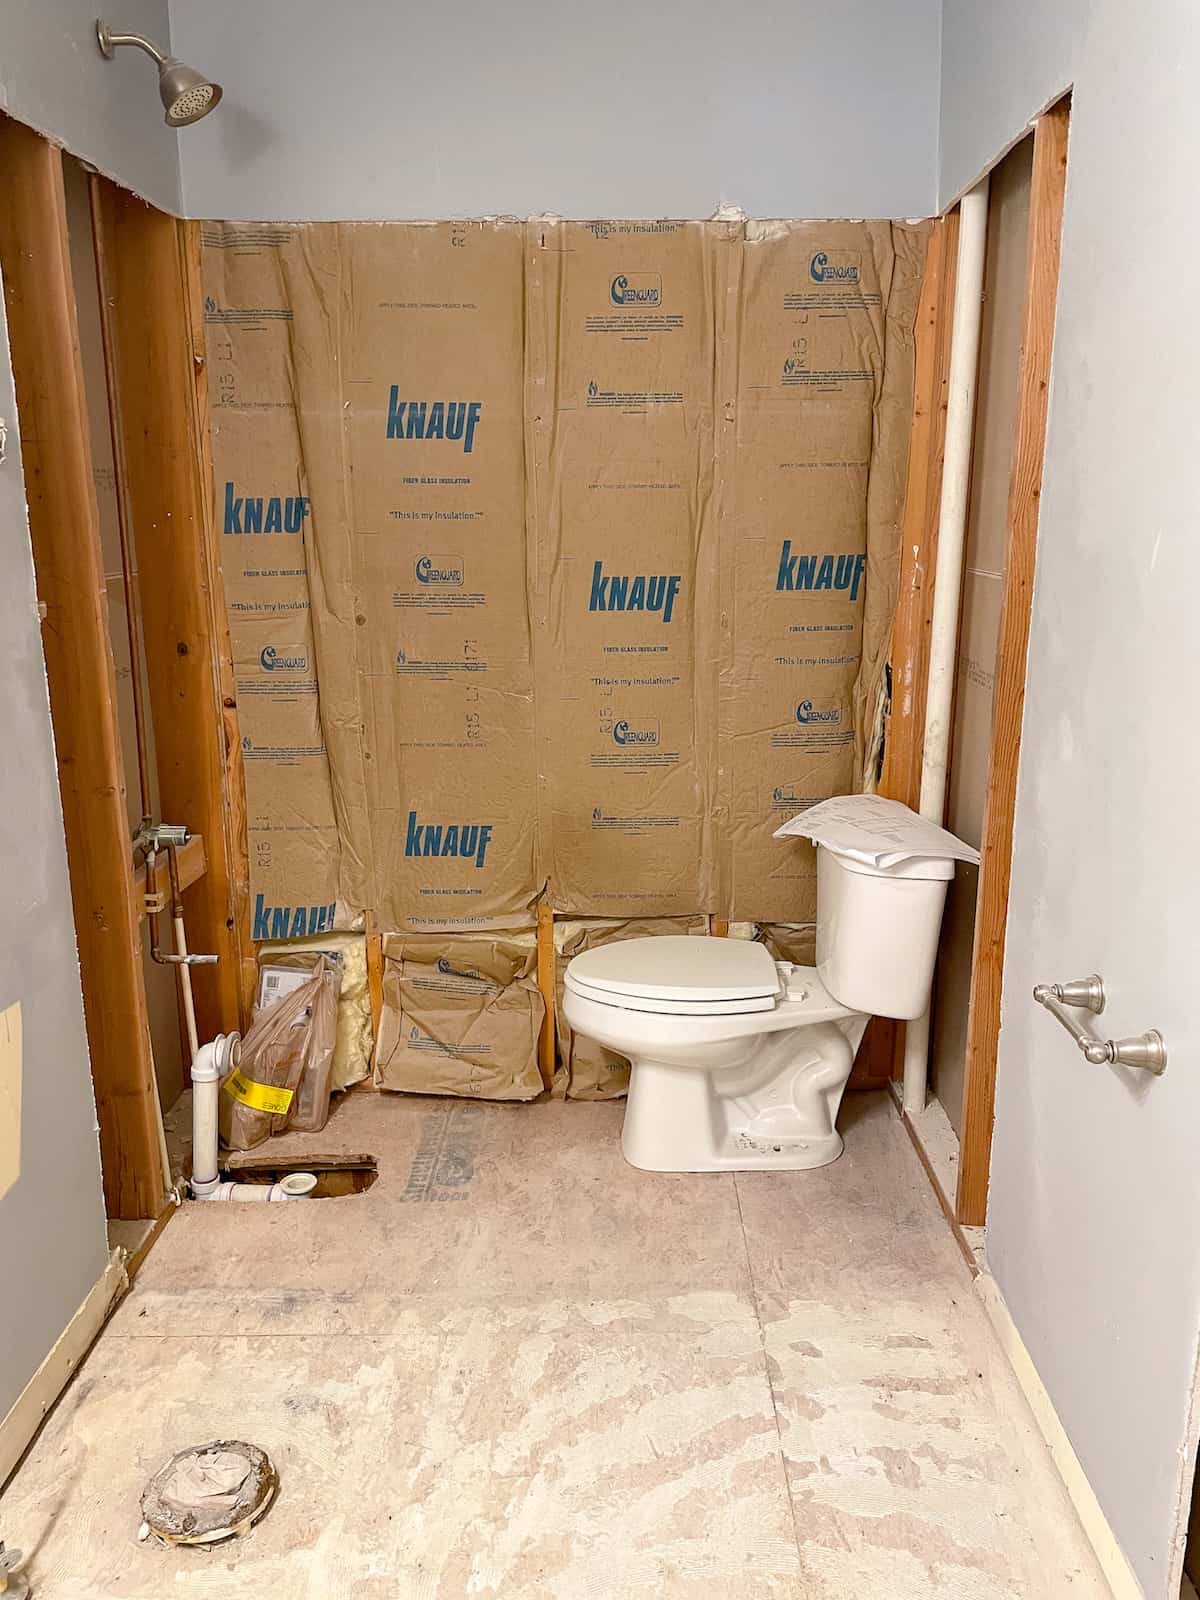
in progress
Demo day!
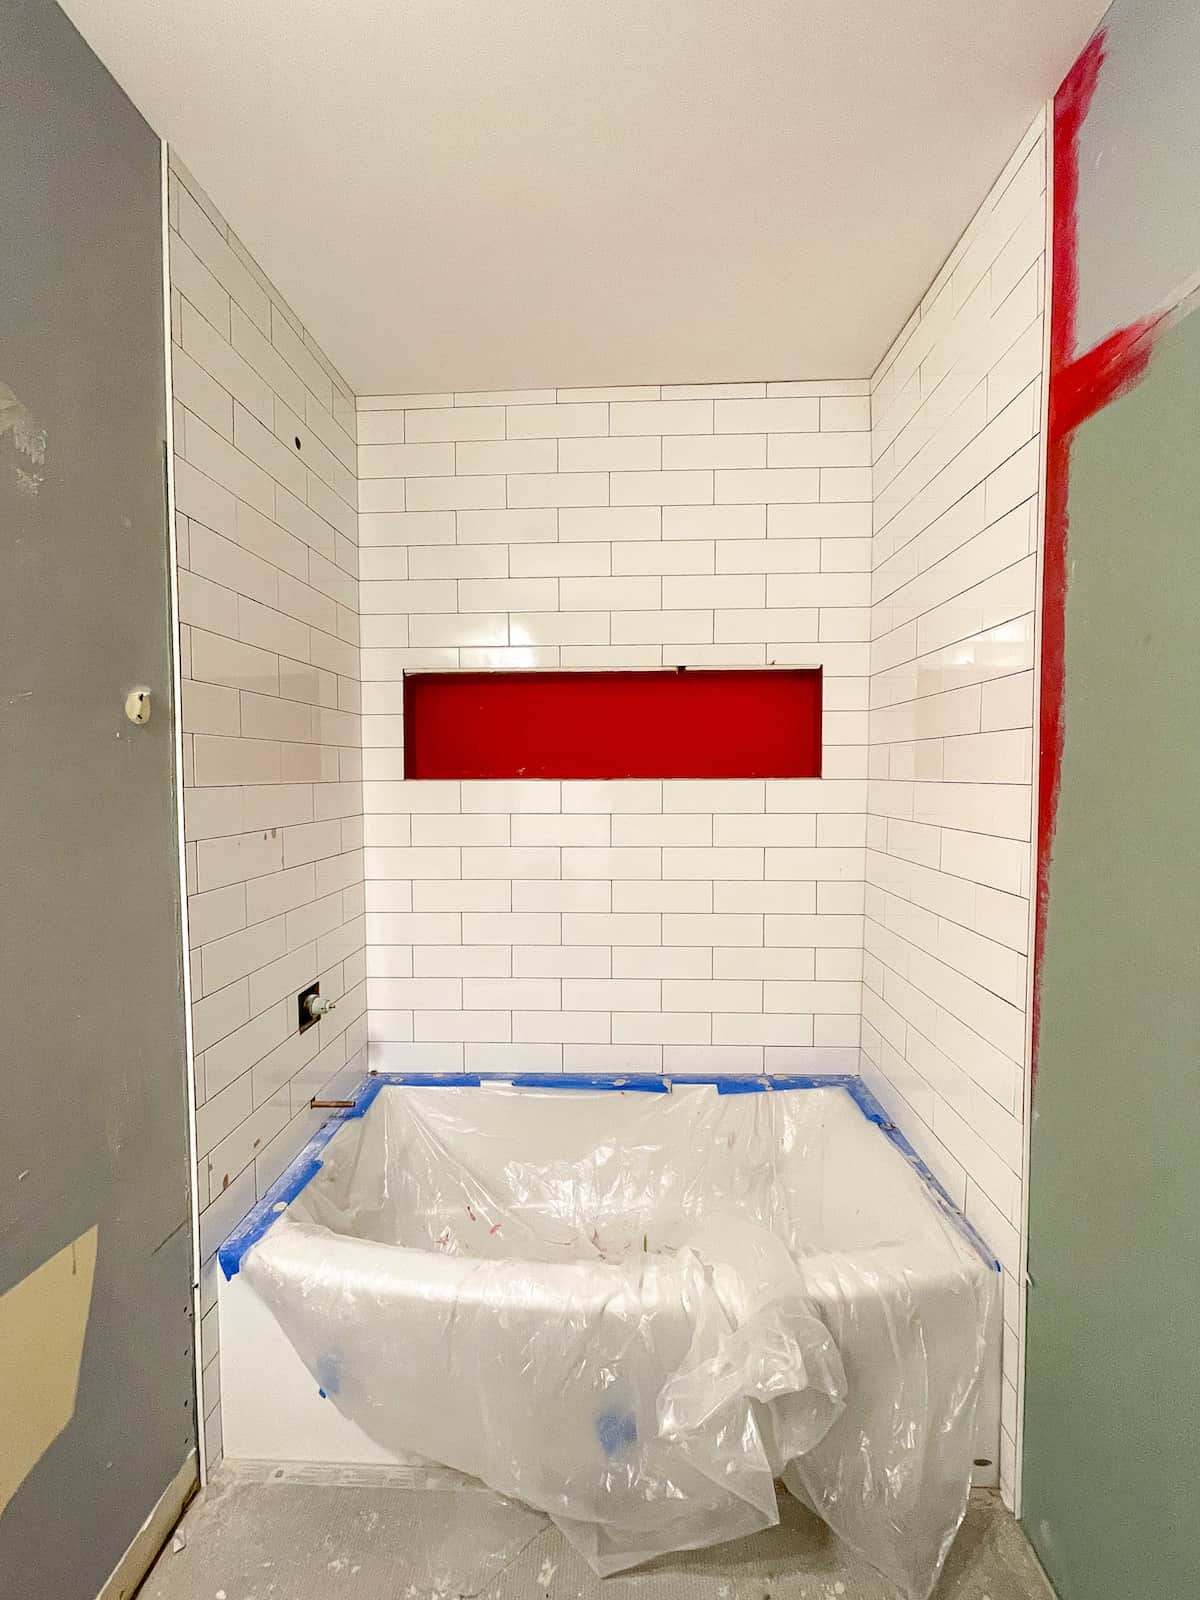
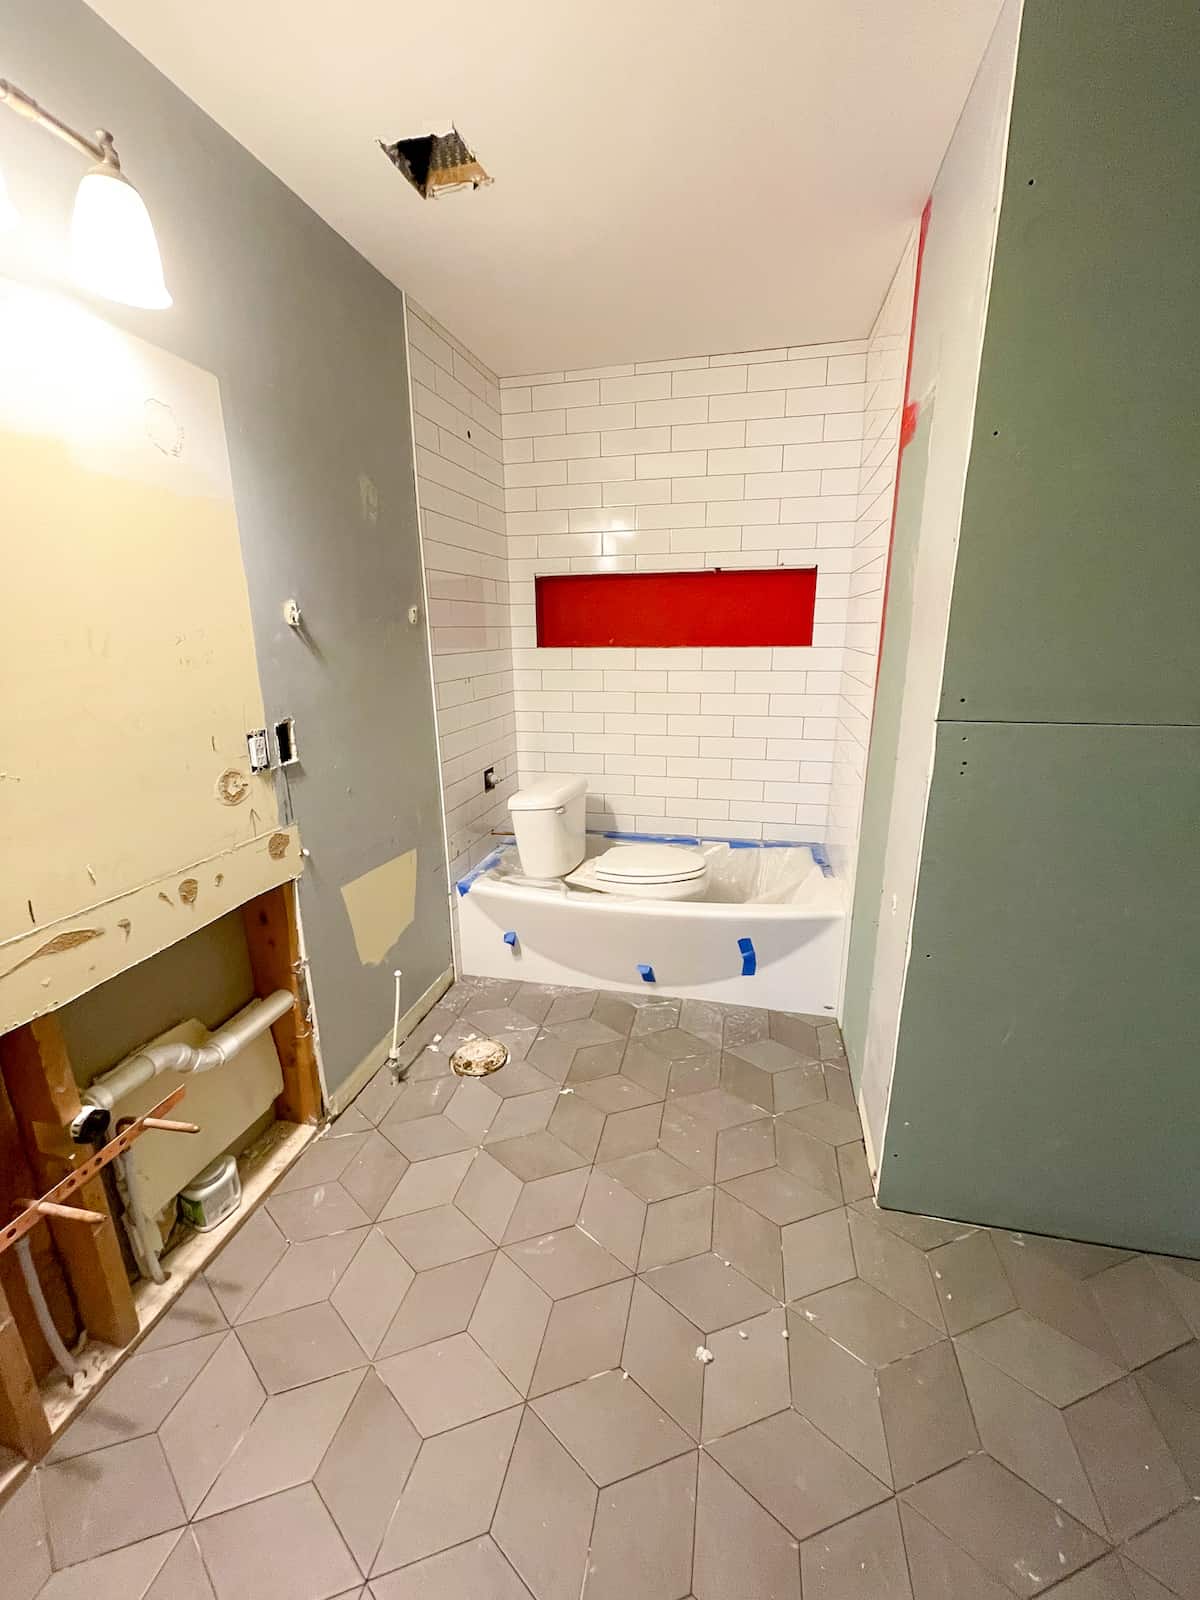
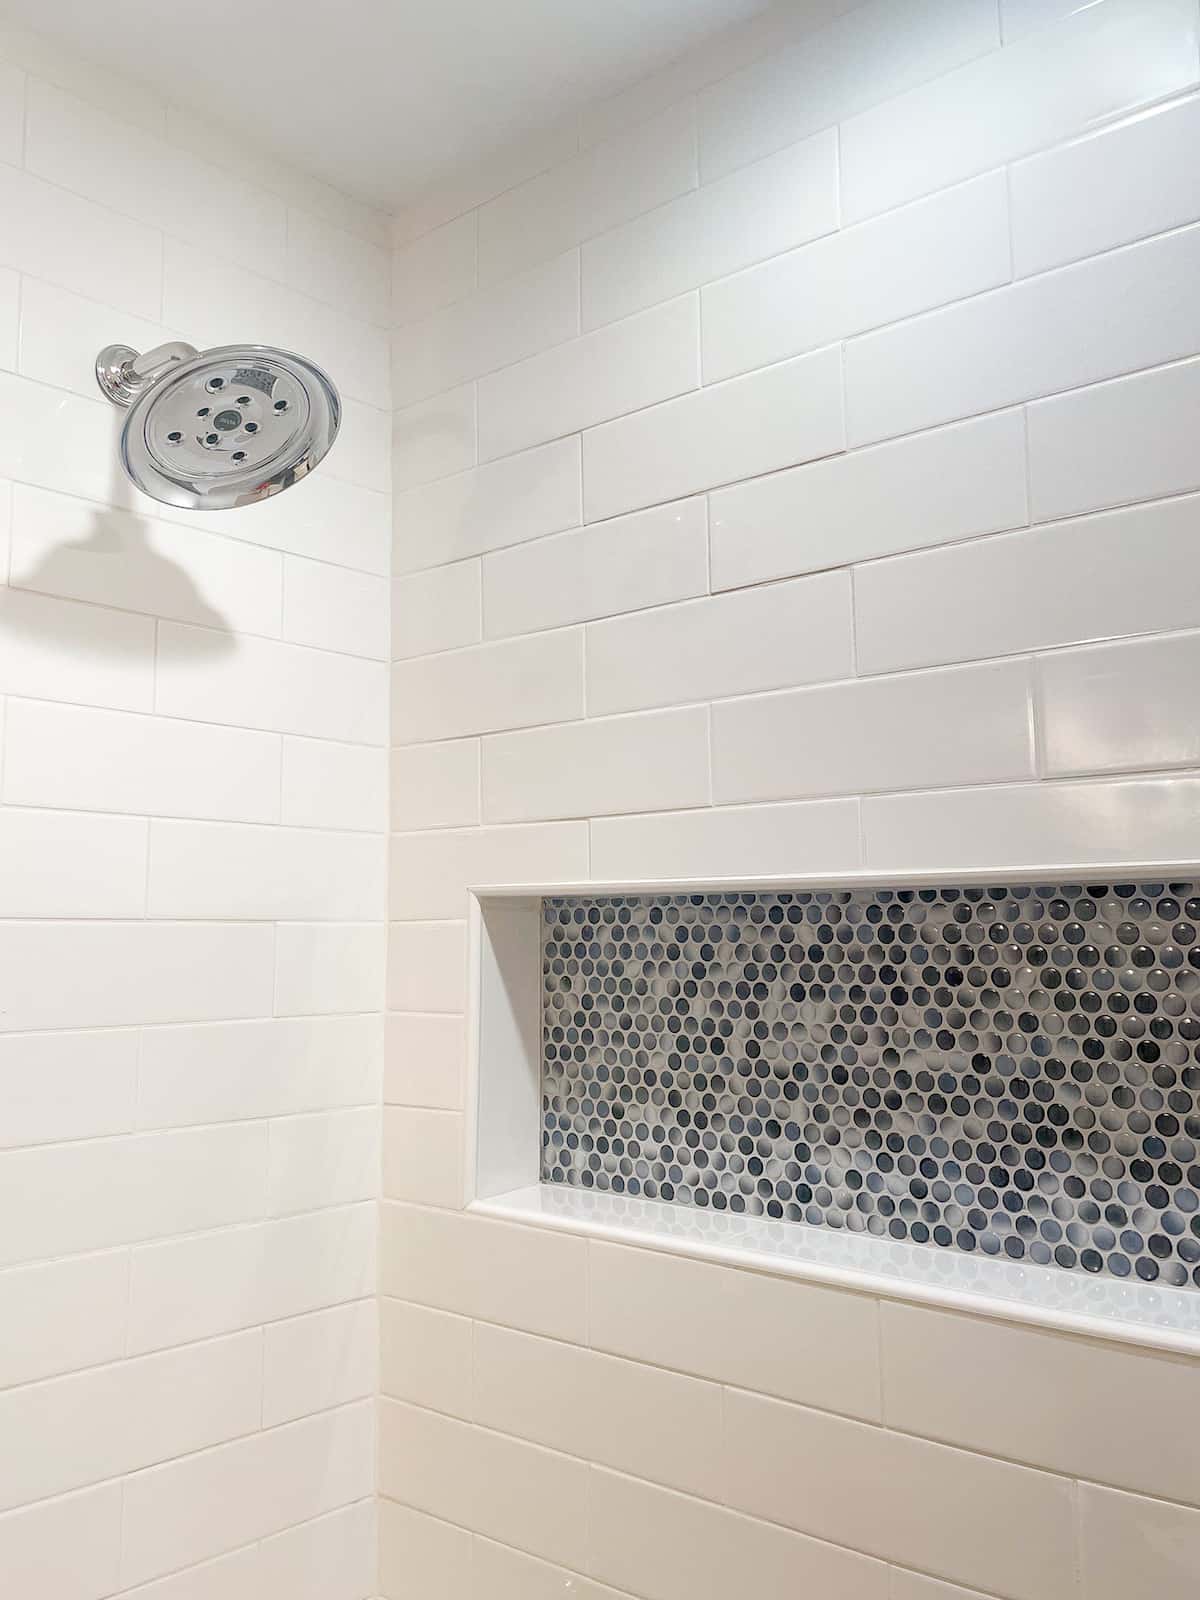
Shower & floor tile + bathtub installation
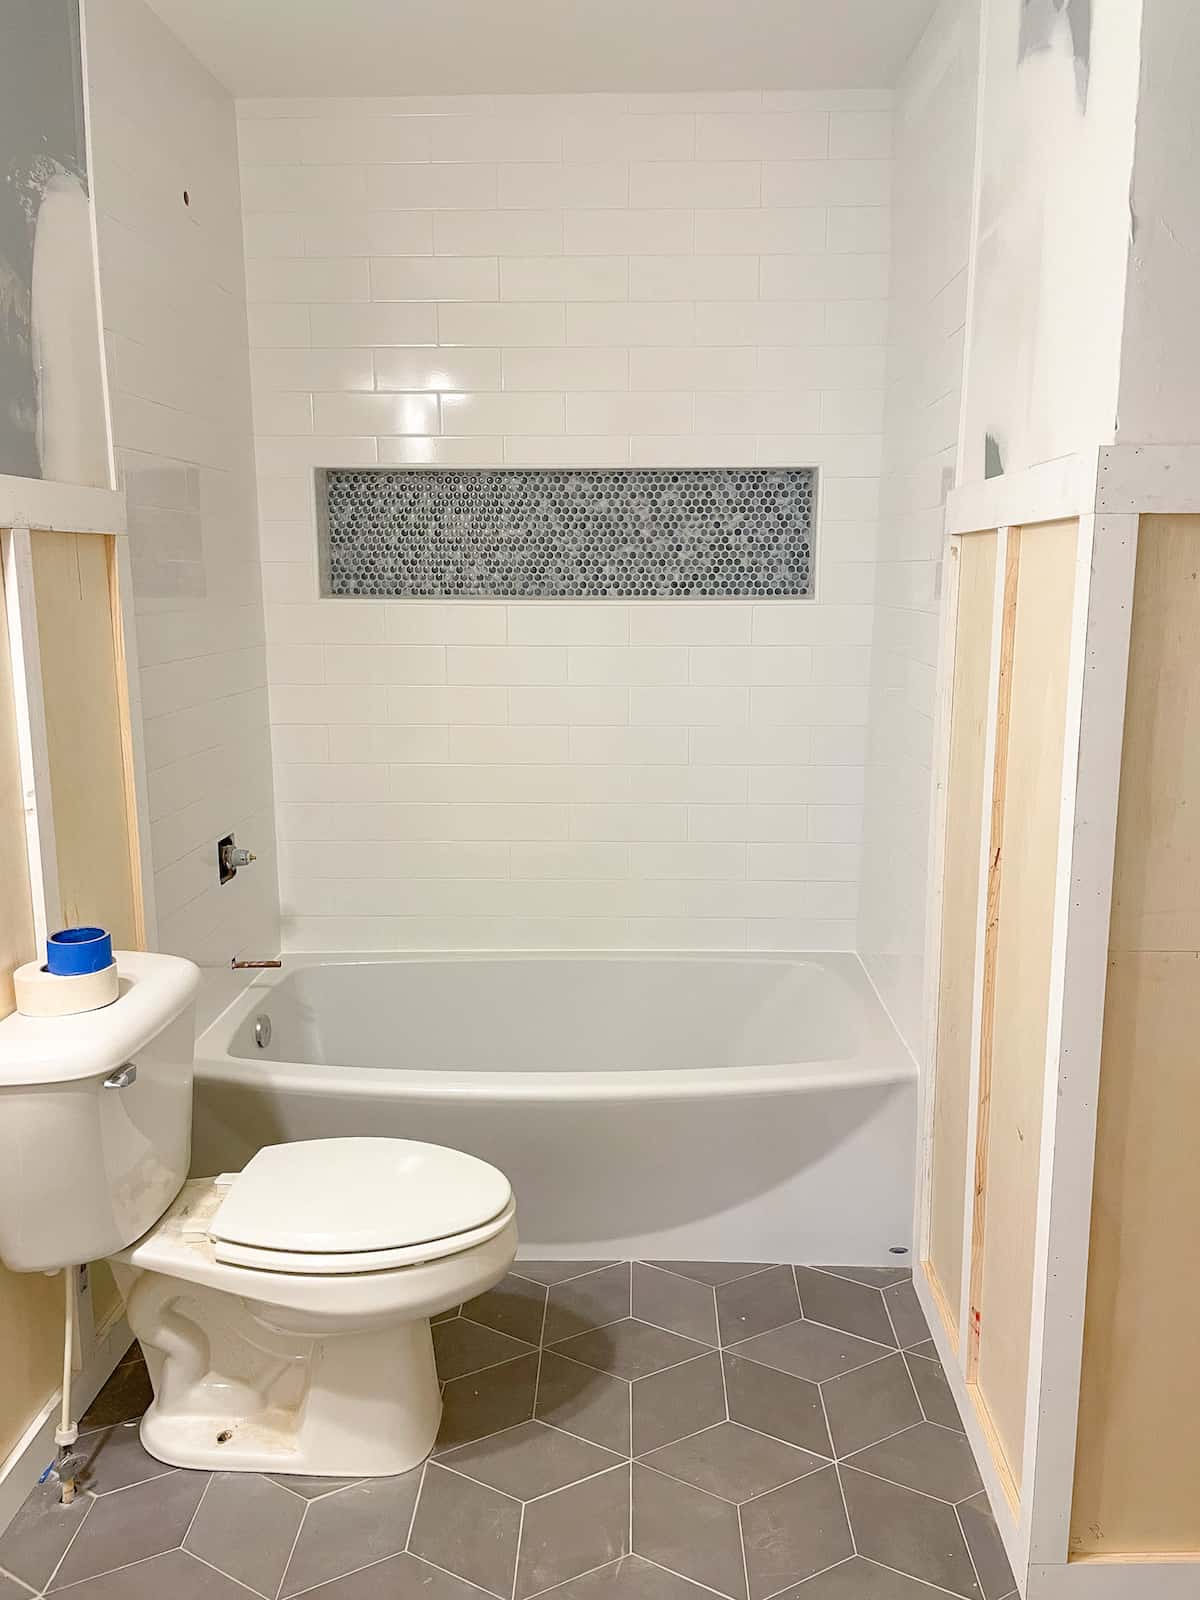
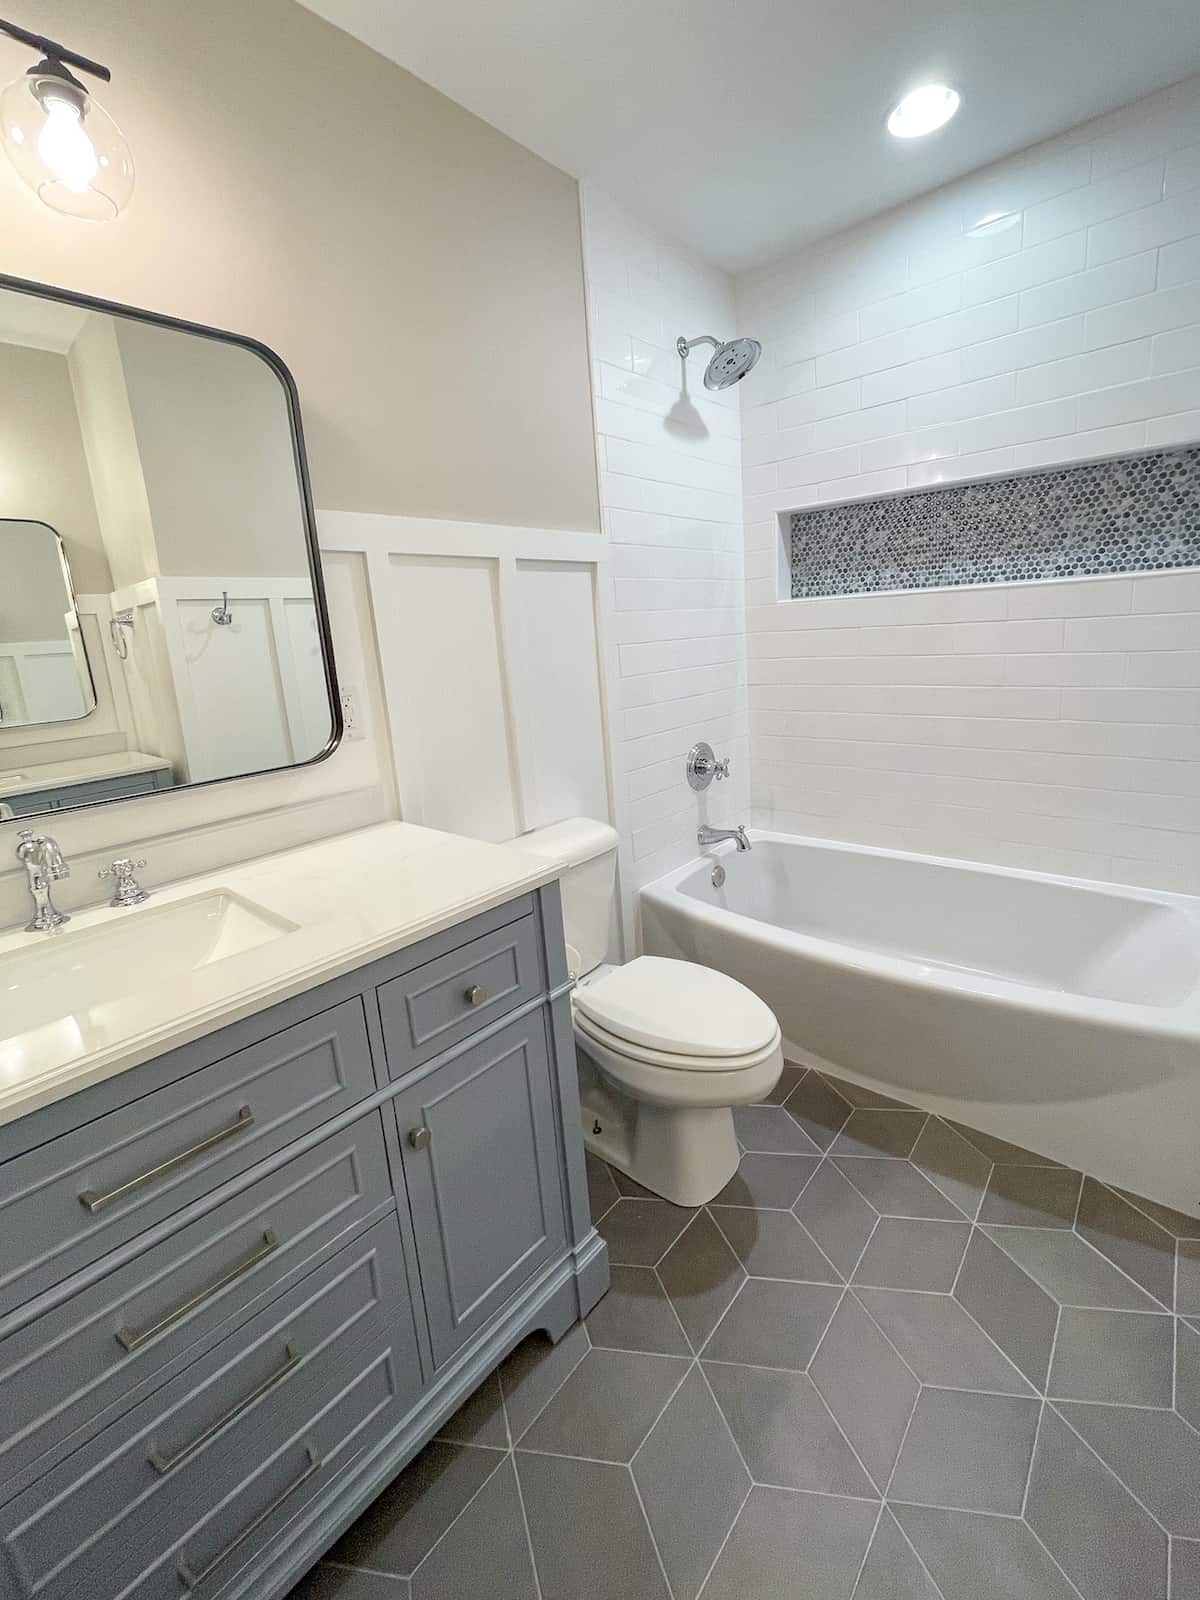
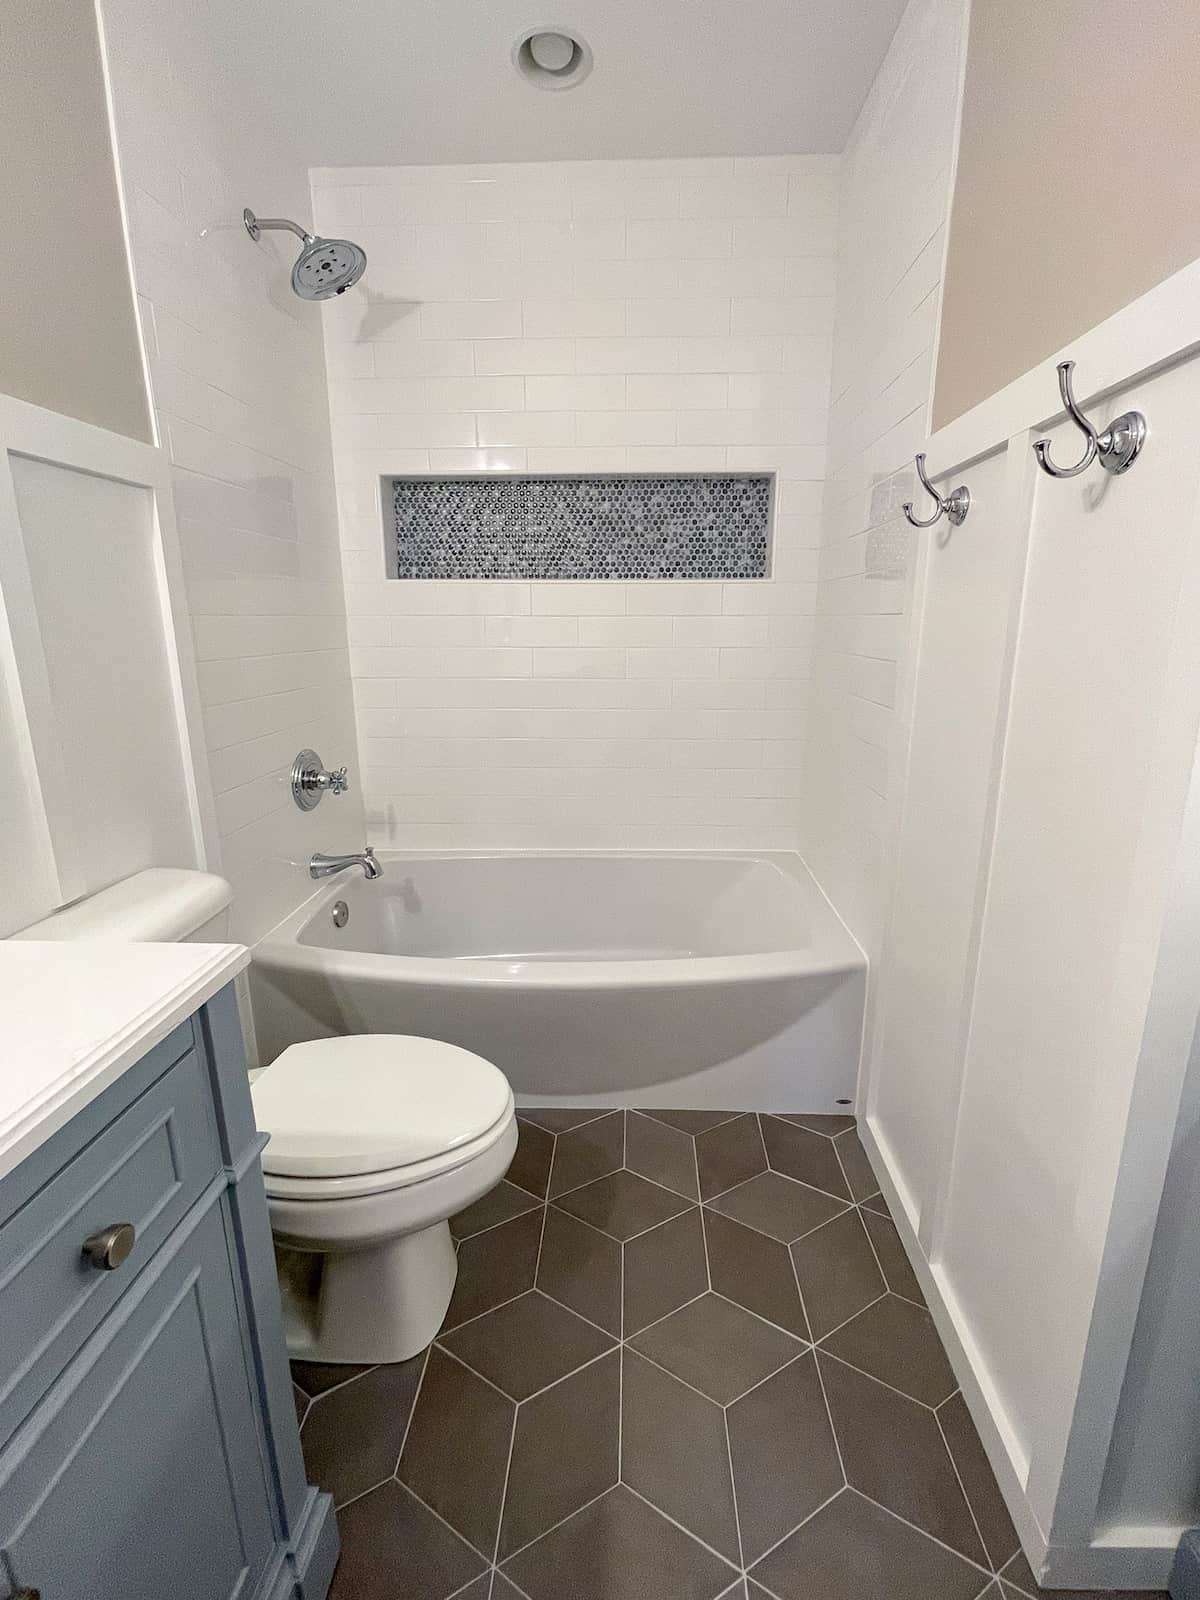
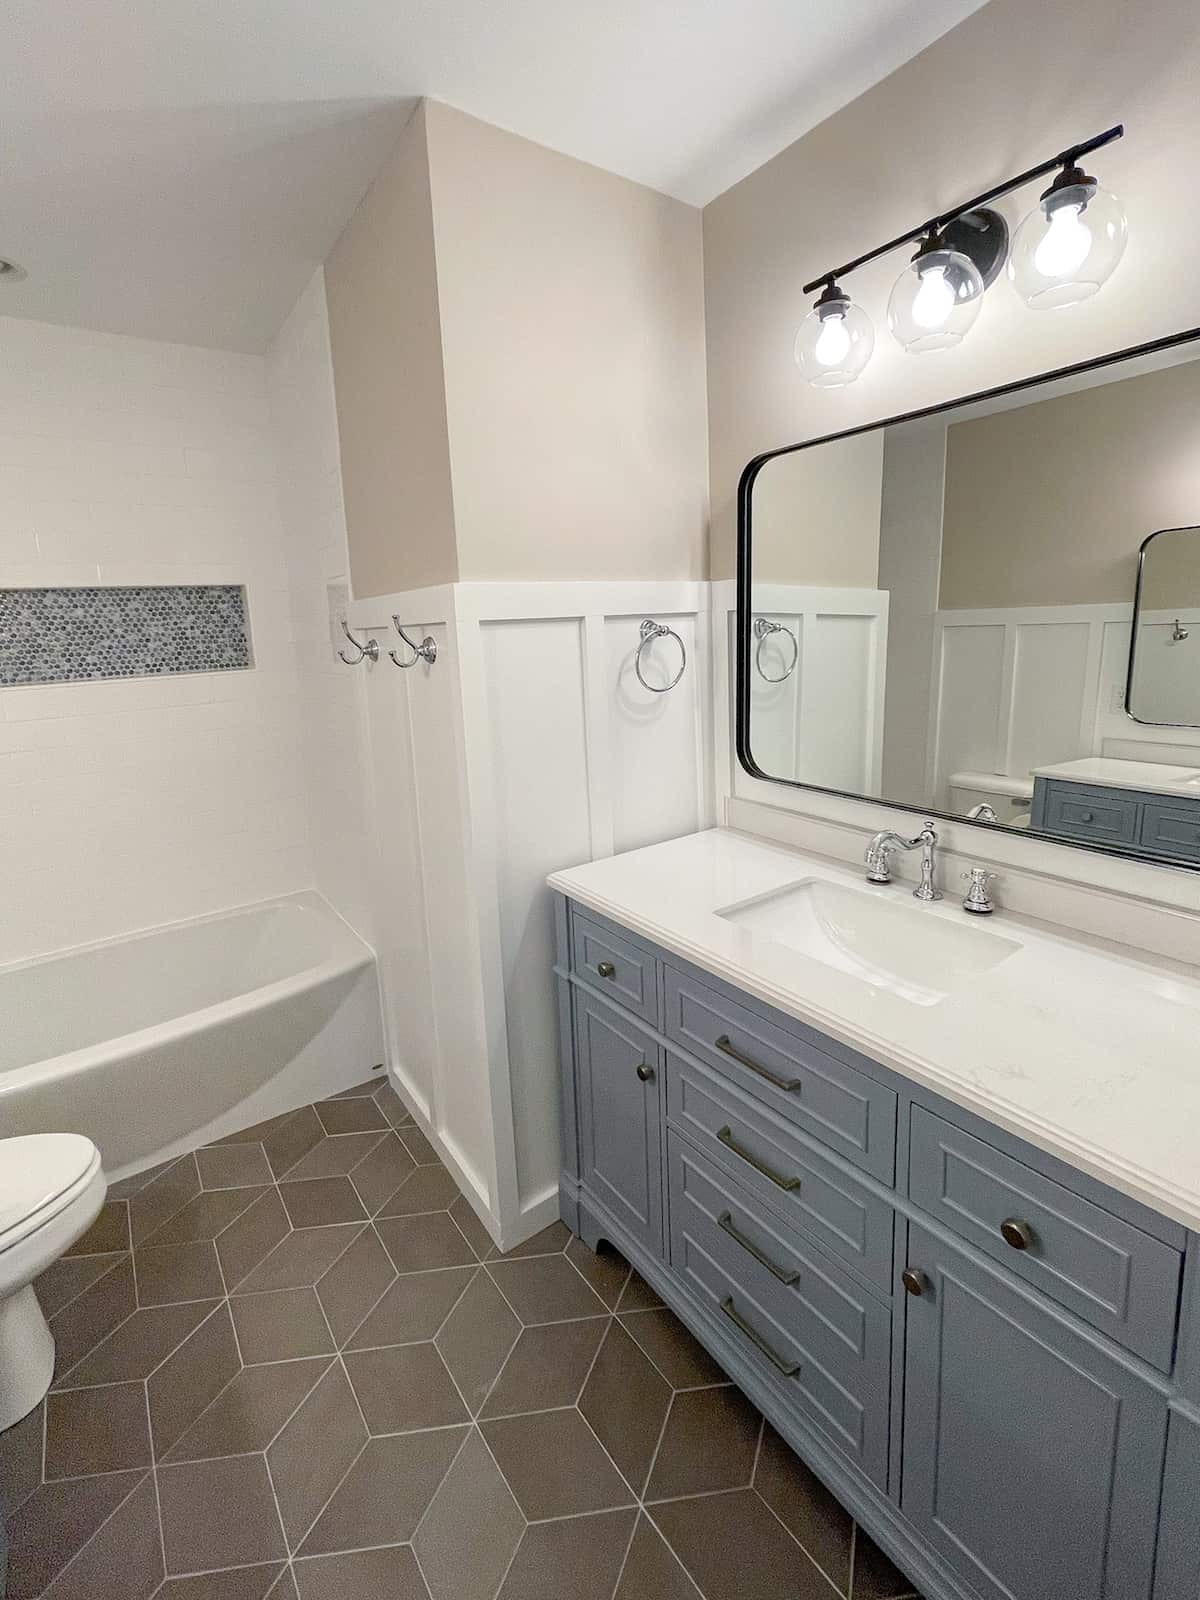
One of my favorite elements is this blue and grey penny tile shower niche. I was unfamiliar with the term “shower niche” but it’s essentially a cutout interior shelf for products you use in the bath and shower.
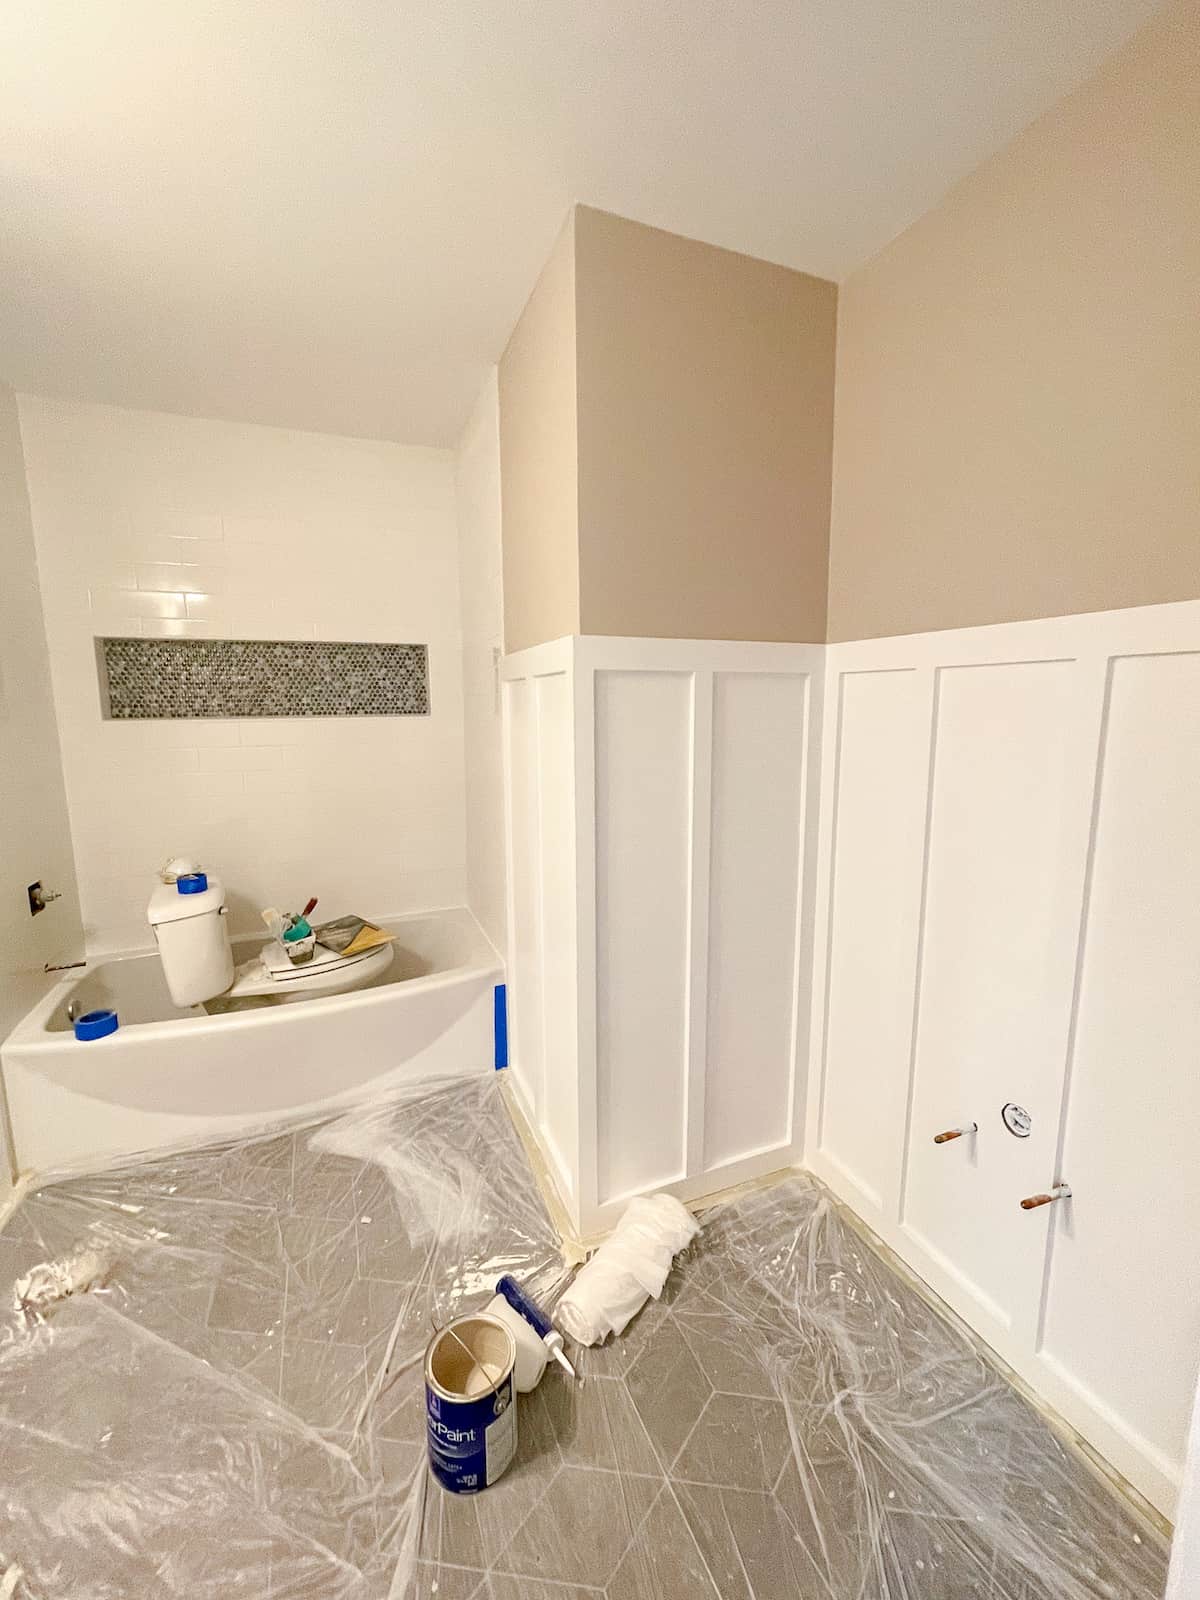
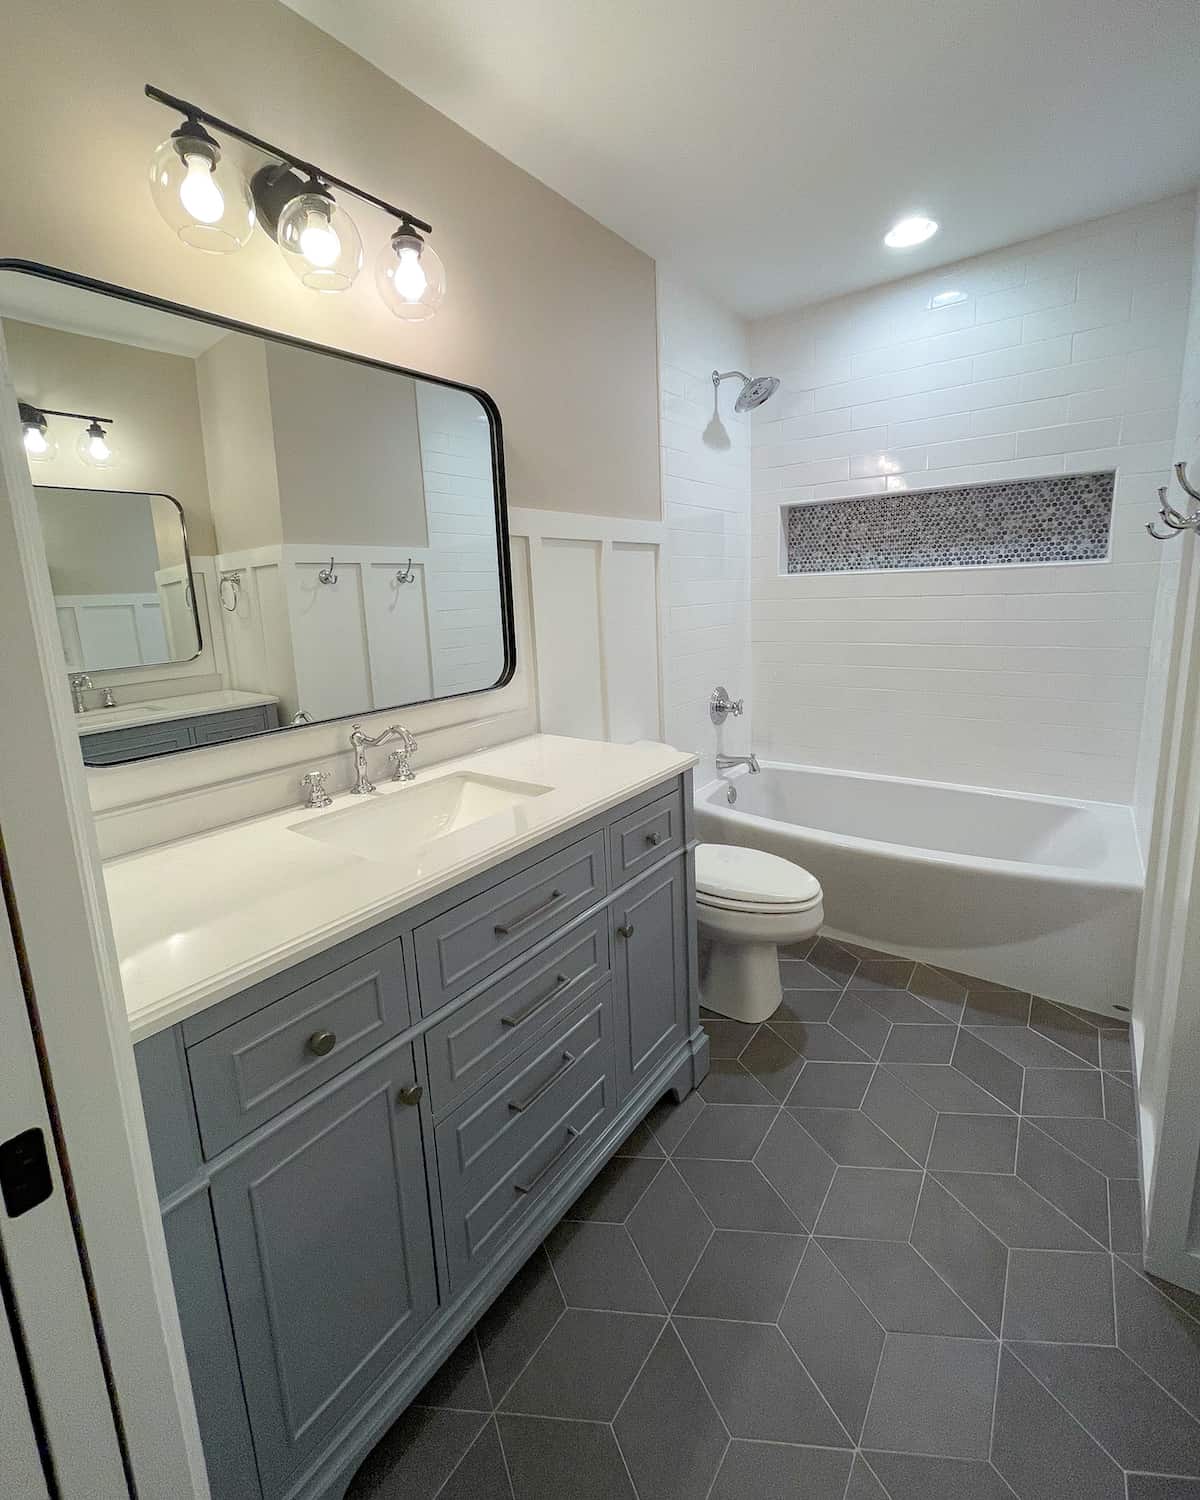
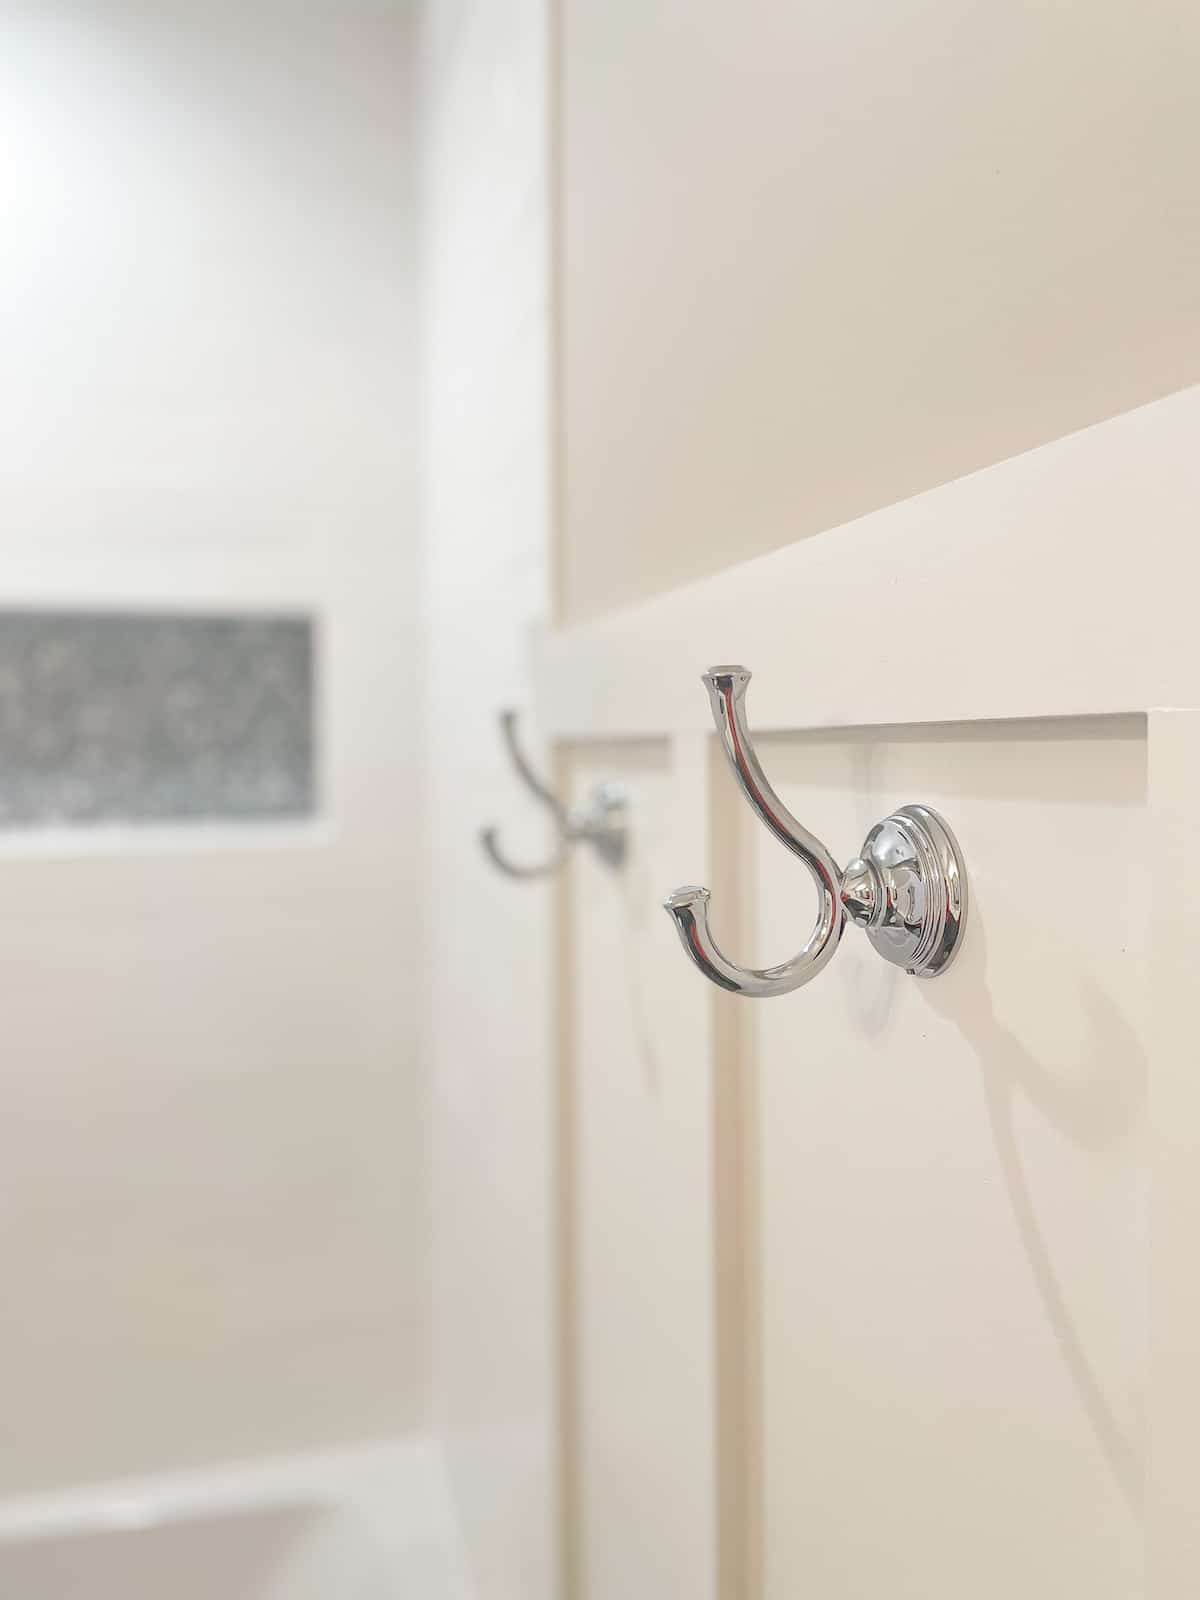
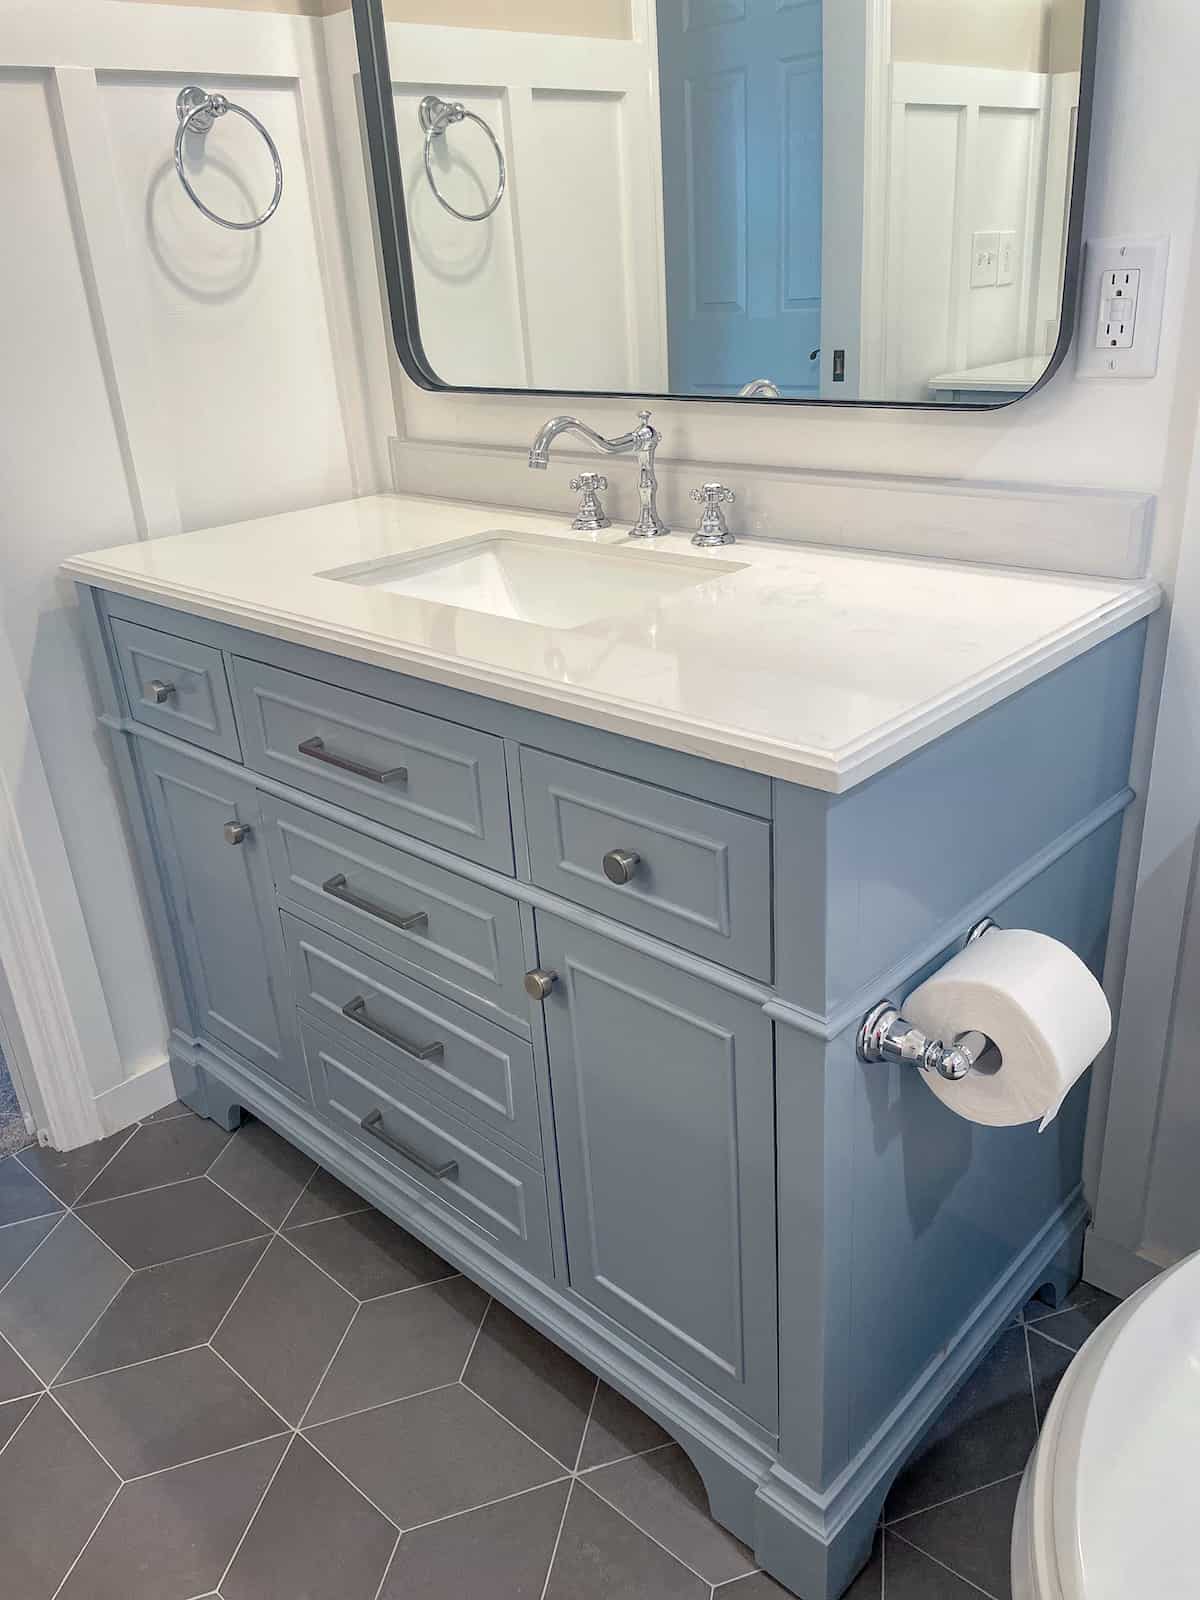
To give the space a more custom feel we decided to add board and batten– love how it turned out! I’m also really happy with these freestanding vanities we found at The Home Depot.
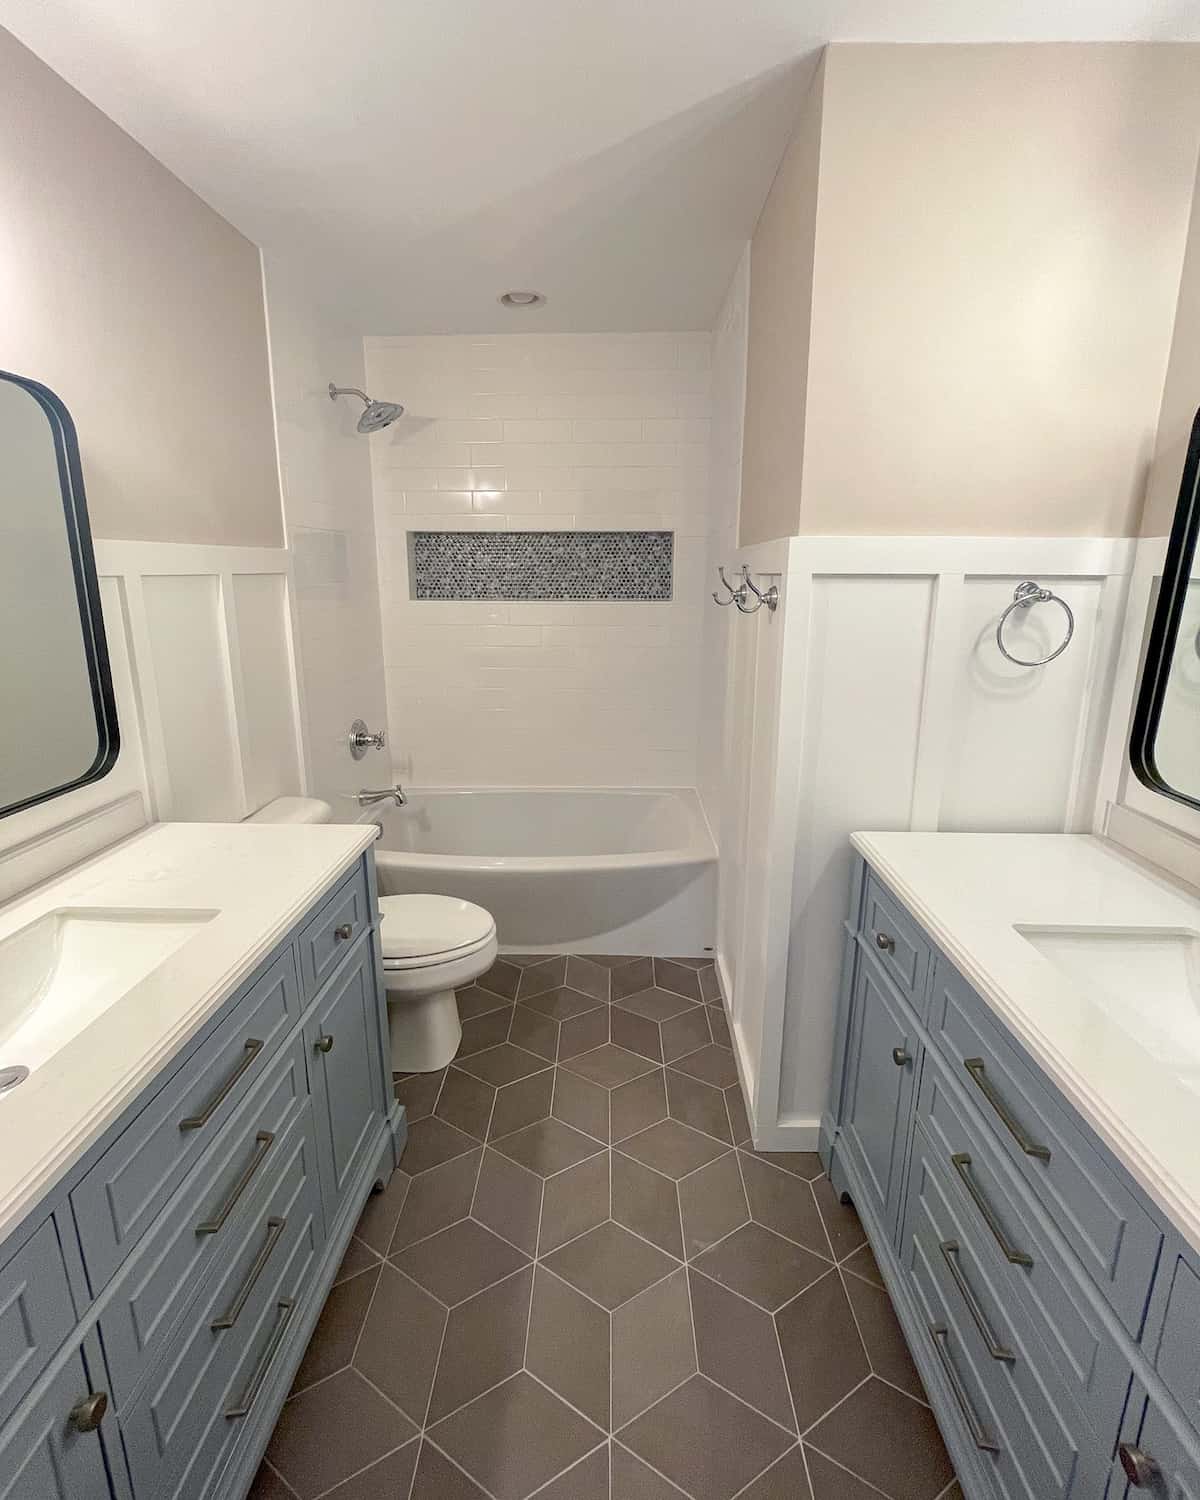
after
Bright, inviting and functional for small humans. I feel like the transformation is night and day! This bathroom can now be very comfortably used by two or more people thanks to the second vanity and extra square footage. For custom touches we painted the vanities, added board and batten molding to the walls and installed a penny tile shower niche.
Everything for this project we purchased from The Home Depot. It seriously has become our one stop shop for everything renovation and decor-related. The Home Depot offers free shipping on orders over $45 and really flexible delivery options including free in-store pick up or 2-day shipping to home, not to mention free returns.
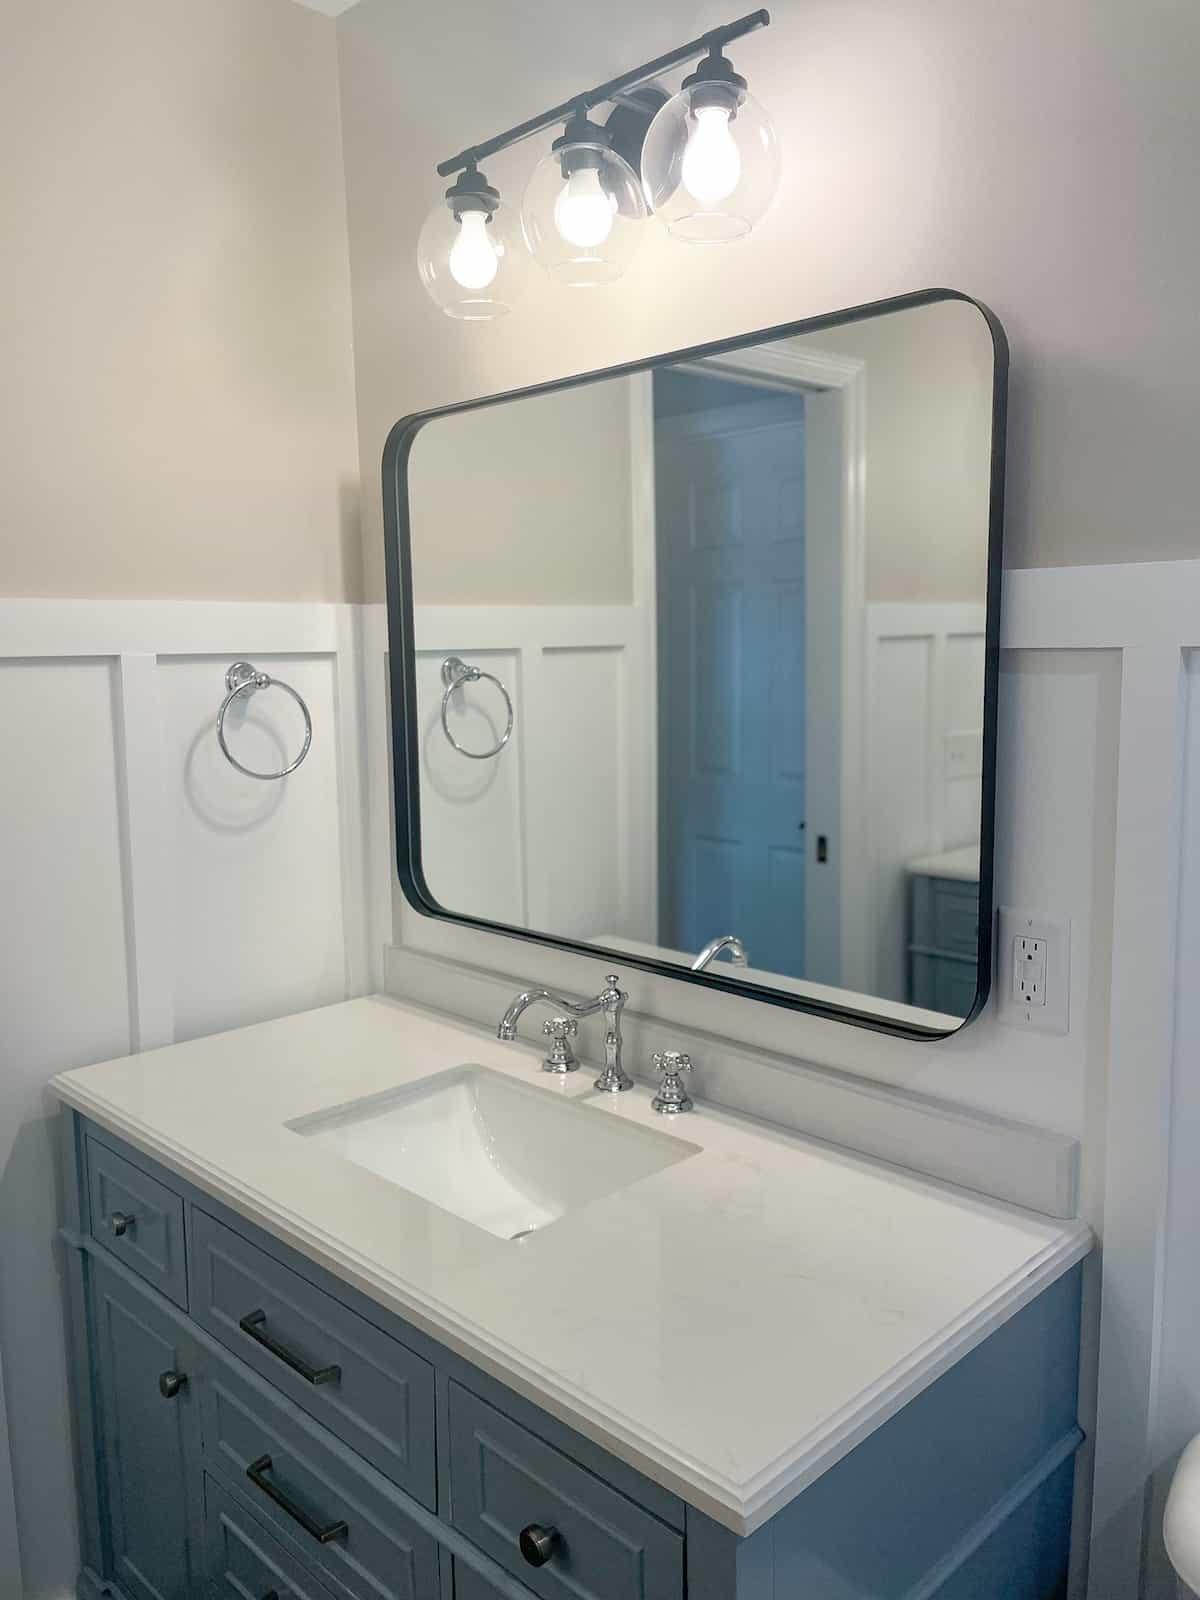
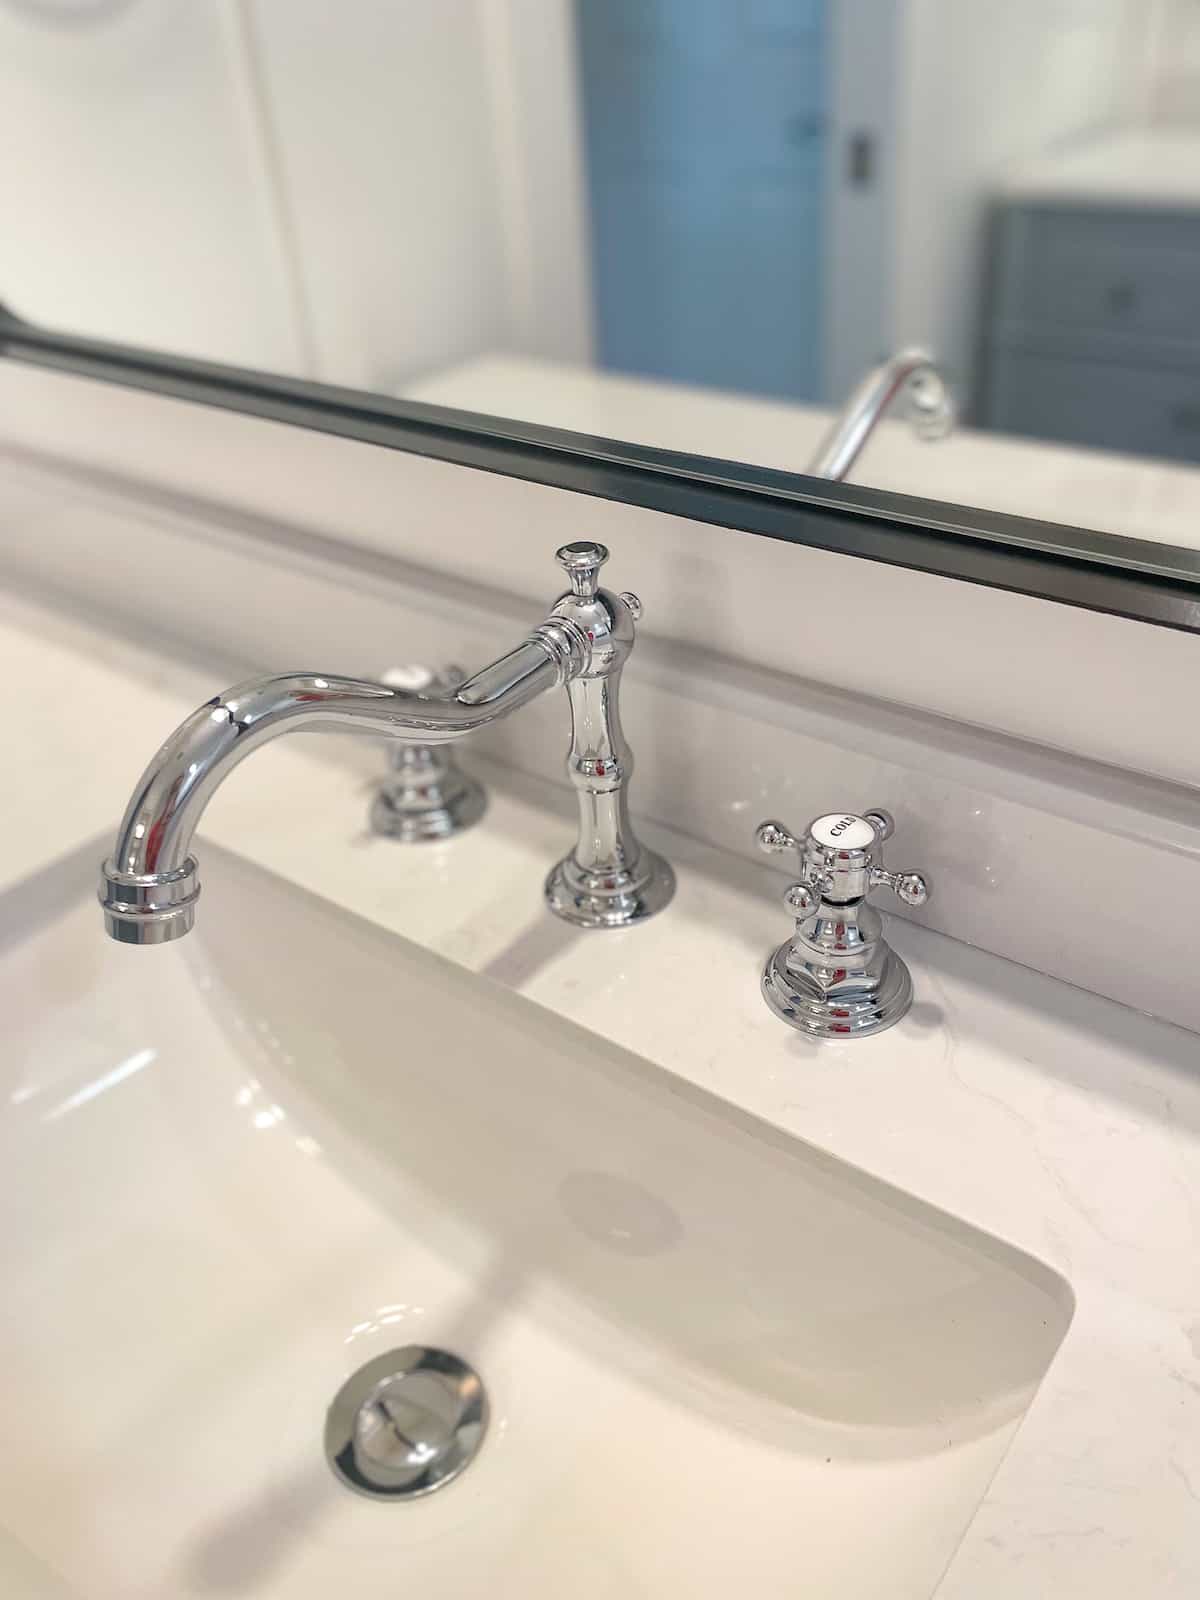
We decided to splurge on the faucets and hardware but the mirrors and vanity lights were both designer-dupes! We also skipped doing custom vanities and instead opted for these pre-made freestanding versions. The Home Depot had a fantastic selection for everything we needed and is a great place to stock up on bathroom linens, mirrors, lighting and home decor too!
Let’s talk budget and timing!
Our project took three business weeks to complete and we spent roughly $20,000, including all supplies. Our biggest expenses were by far the labor fees to expand the bathroom square footage, install an additional water line for the second sink, transition the swinging door to a pocket door and add the board & batten. If we had kept the existing layout and only done cosmetic swaps, the project would’ve cost us under $10,000 and likely taken just two weeks.
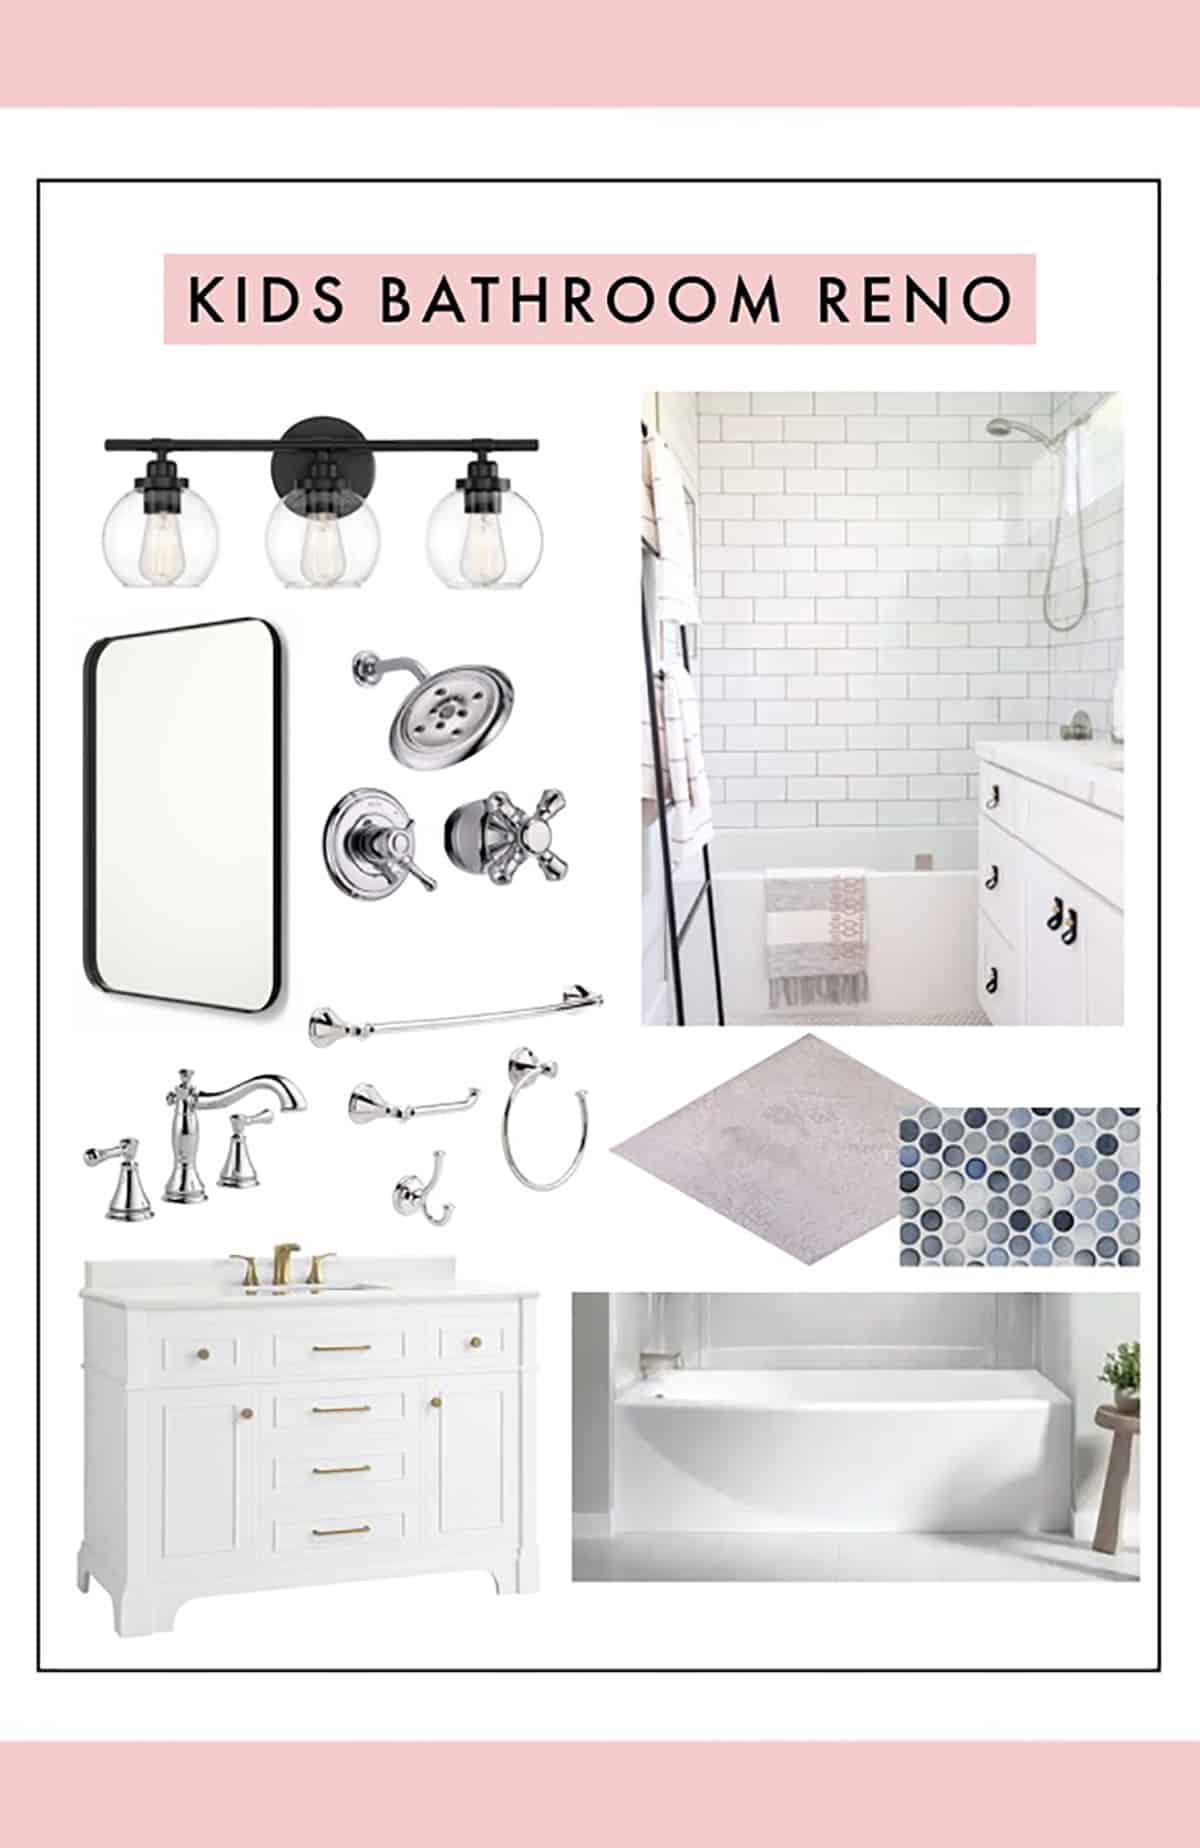
Light Fixtures | Subway Tile (used in shower) | Mirrors | Shower Faucet Kit | Tub & Shower Knob | Sink Faucets | Bathroom Hardware Set | Vanity Sink | Bathtub
FYI these are the paint colors we used:
WALLS: Sherwin Williams Popular Grey
VANITIES: Benjamin Moore Pike’s Peak Gray
TRIM: Sherwin Williams Pure White
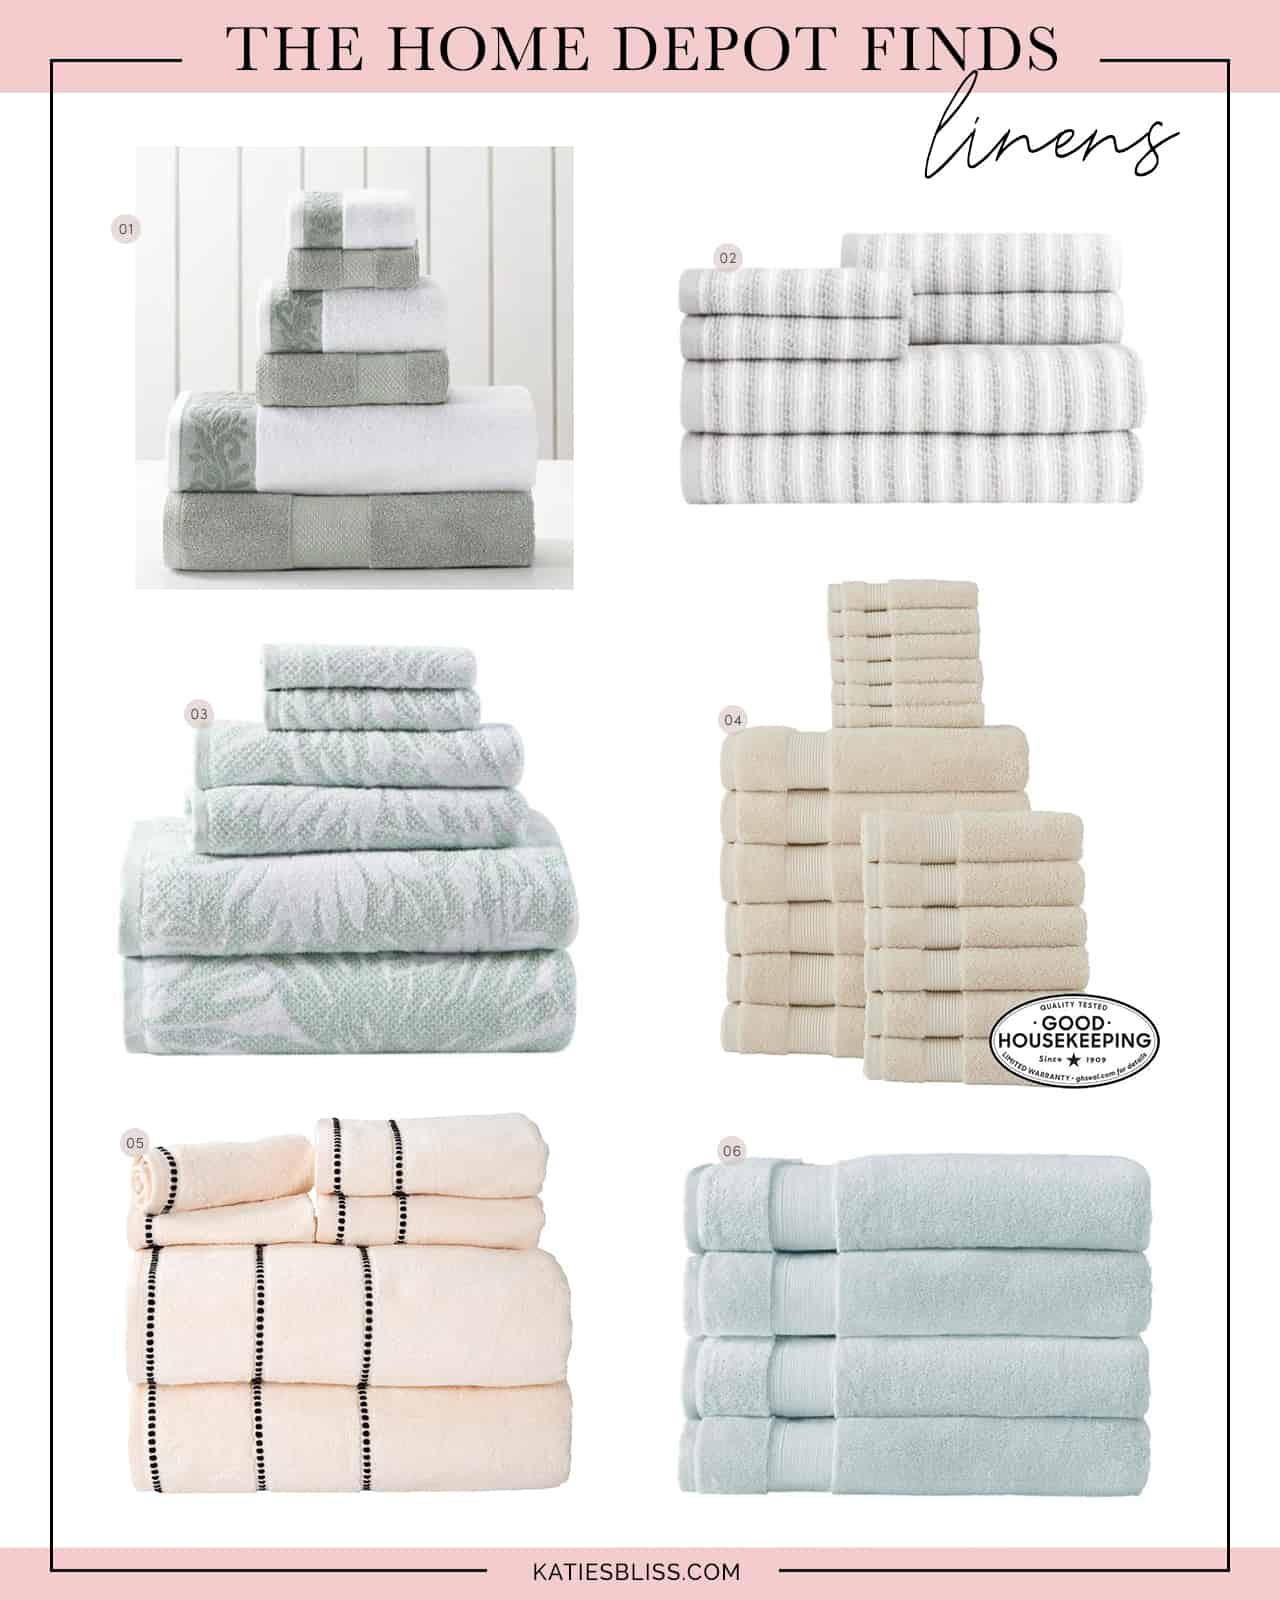
1. Accent Towel Set | 2. Striped Towels | 3. Patterned Towels | 4. 18 Piece Towel Set | 5. Detailed Towels | 6. 4 Plush Towels
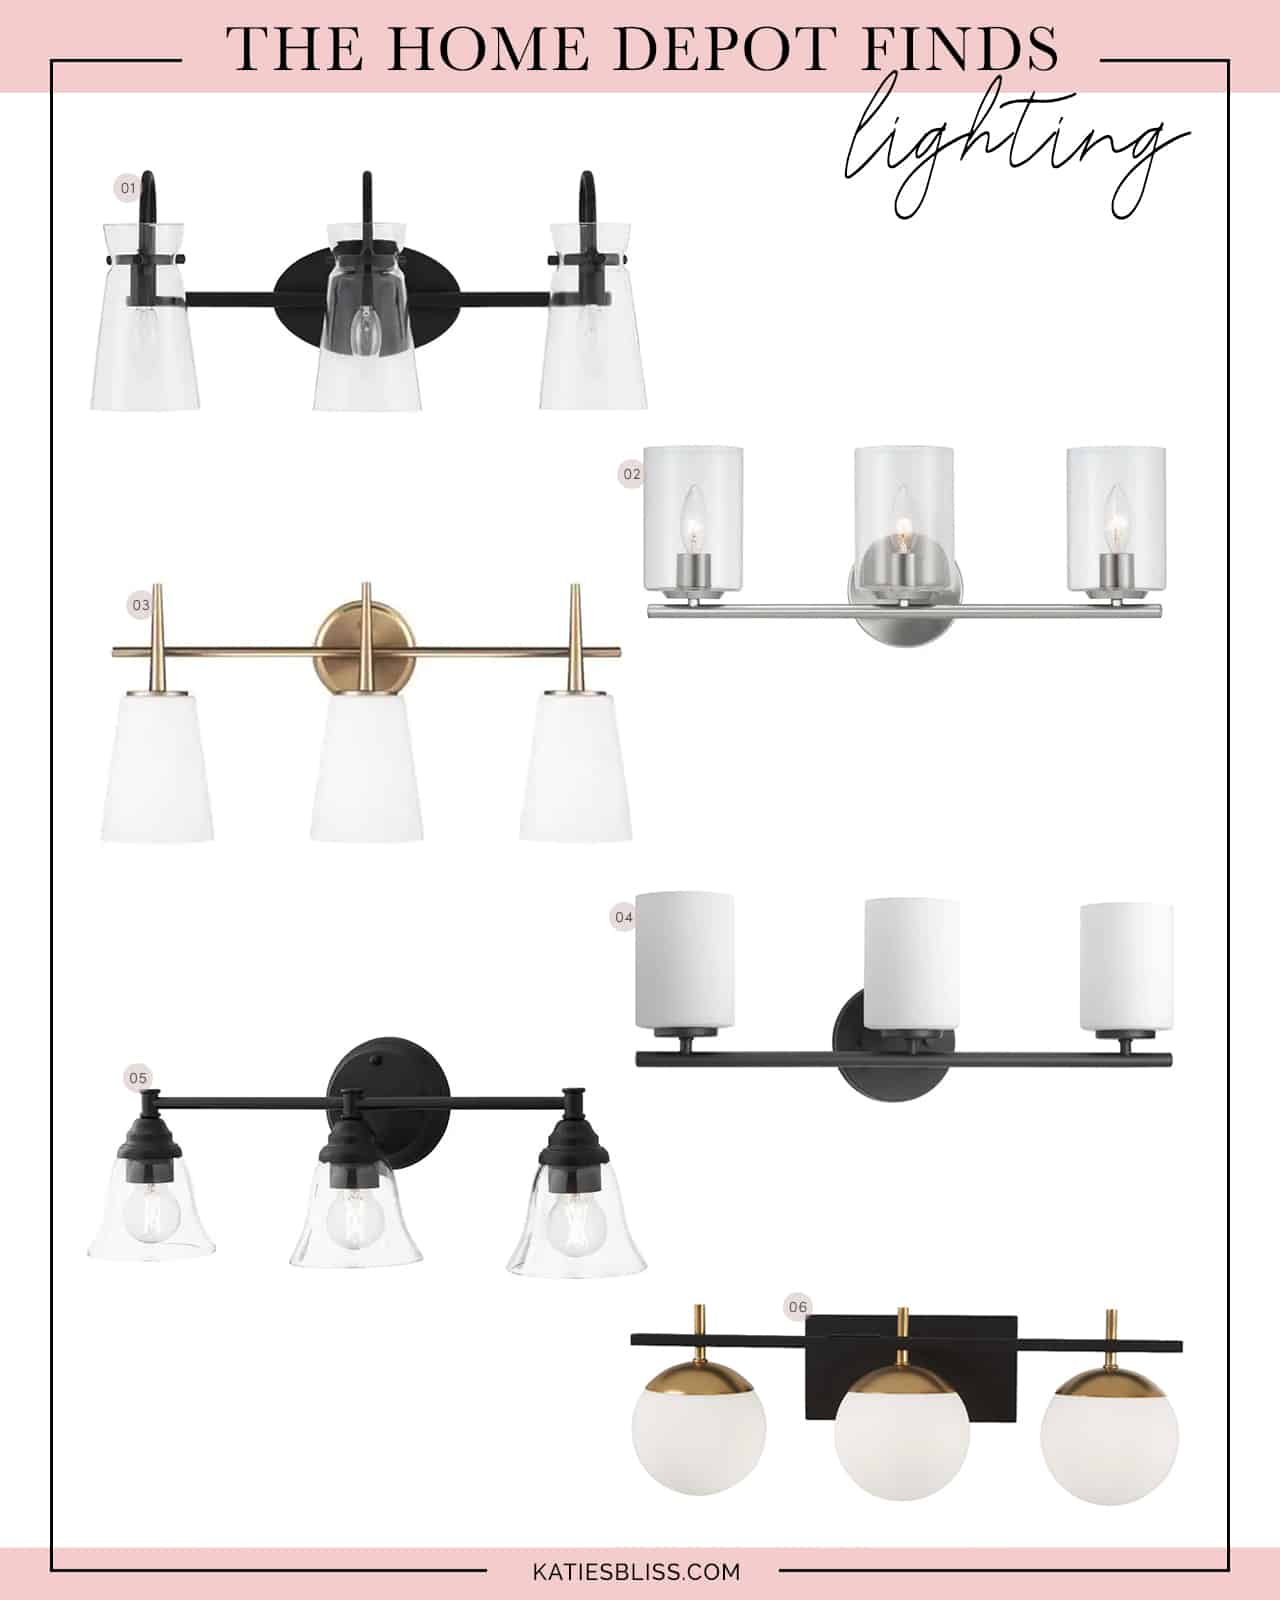
1. Matte Black Vanity Light With Clear Shades | 2. Nickel Bathroom Light | 3. Brass Vanity Light With White Shades | 4. Textured Black Light With White Shades | 5. Black Bar Vanity Light | 6. Black and Gold Round Light Fixture
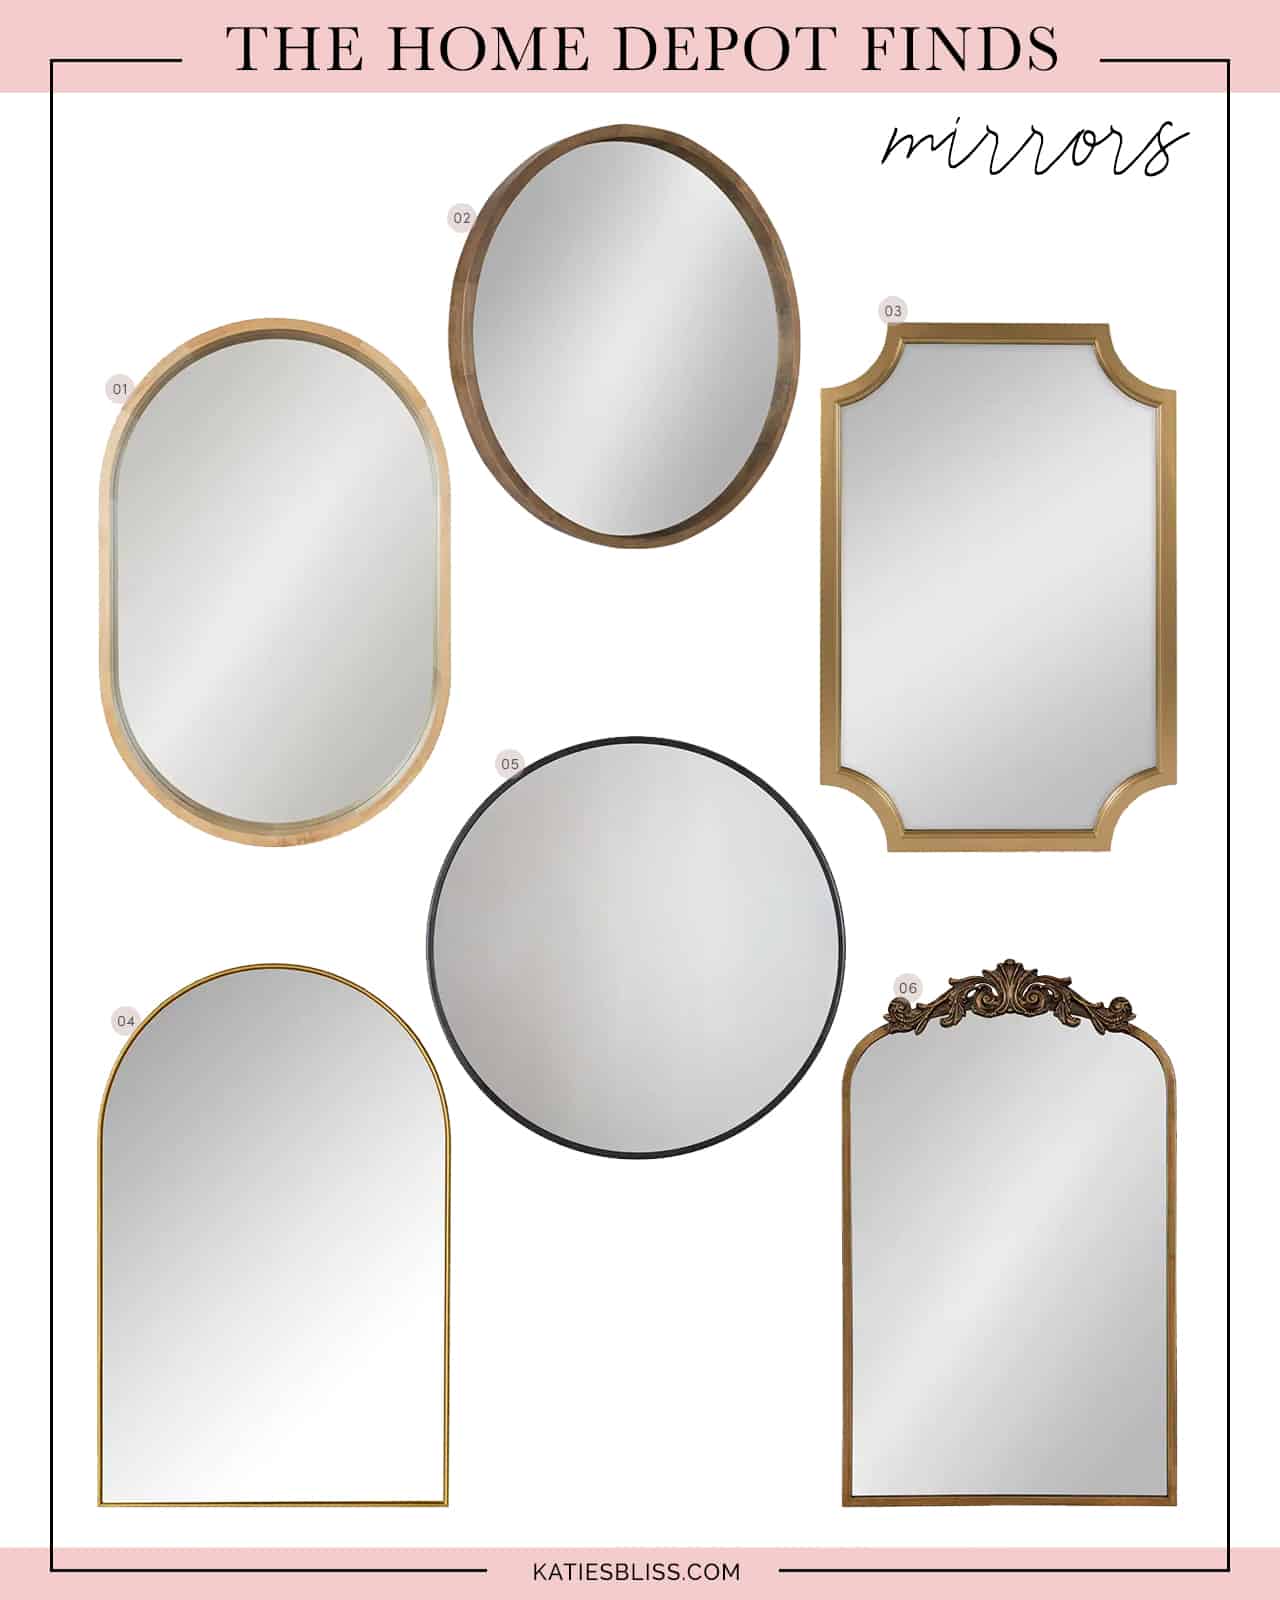
1. Oval Mirror | 2. Round Wooden Mirror | 3. Cut Out Mirror | 4. Arched Mirror | 5. Black Round Mirror | 6. Designer Dupe Mirror
Big thank you to The Home Depot for sponsoring this post!