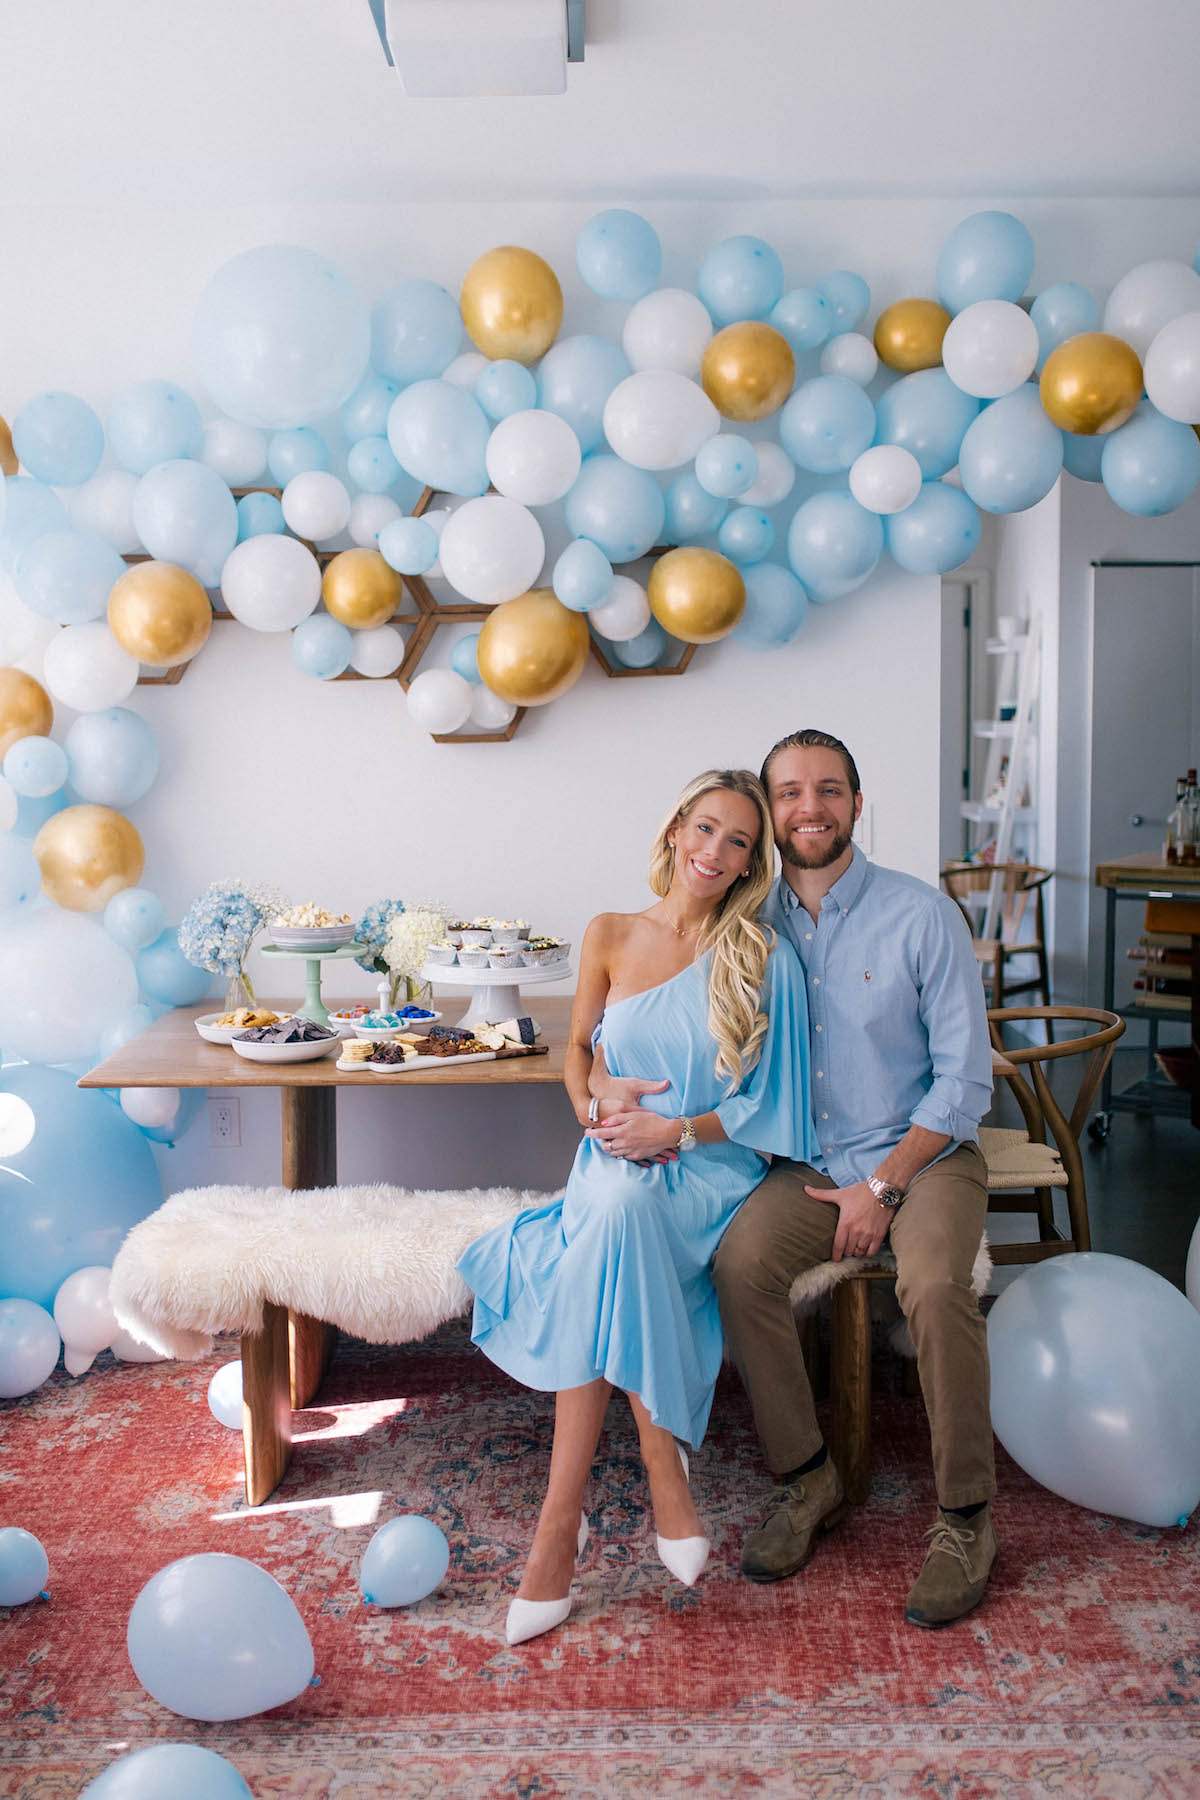
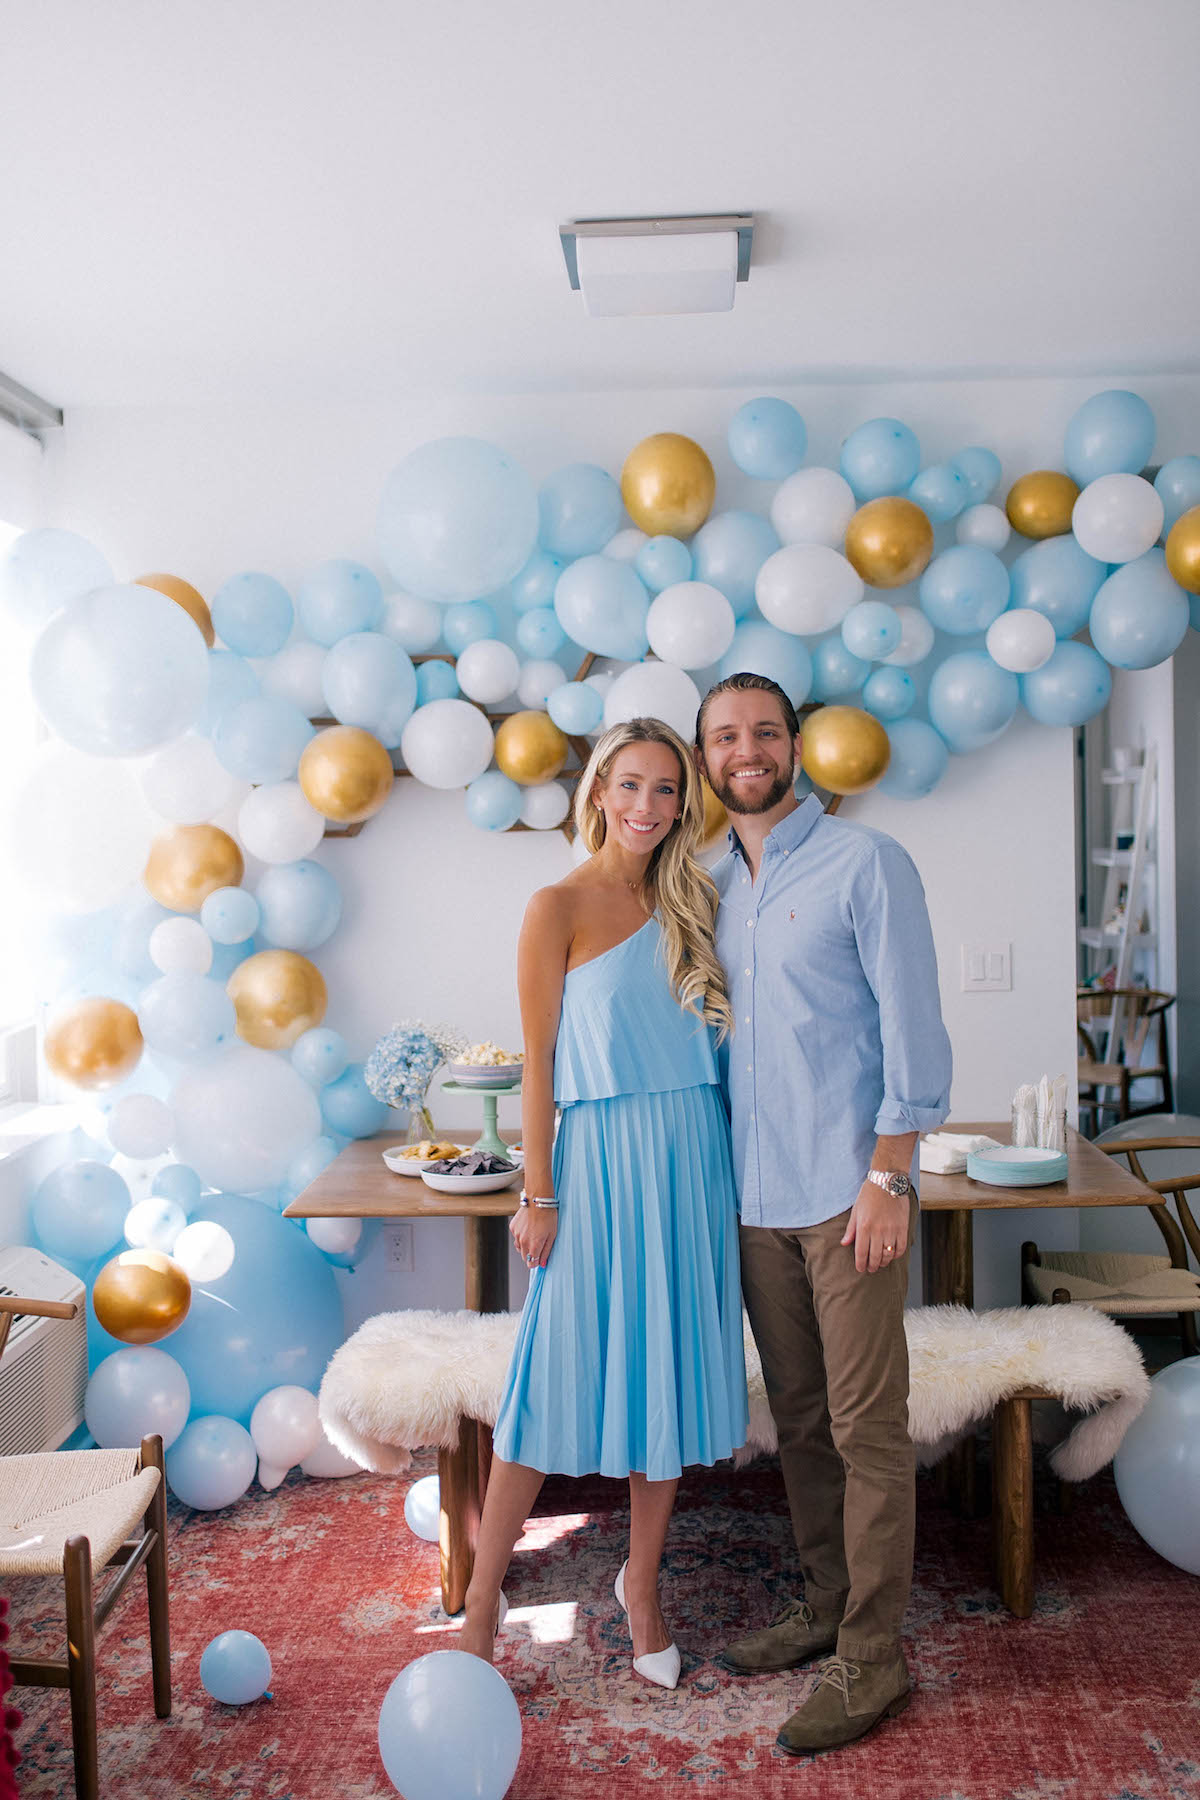
We had the sweetest gender celebration party for our little one over the weekend. If it’s wasn’t obvious… IT’S A BOY! We are over the moon and SO excited to meet our little man in August. I still can’t believe it. A BOY! Nick and I both grew up with younger sisters. I have one and he has two– so we’re both pretty pumped about welcoming a little man into our family!
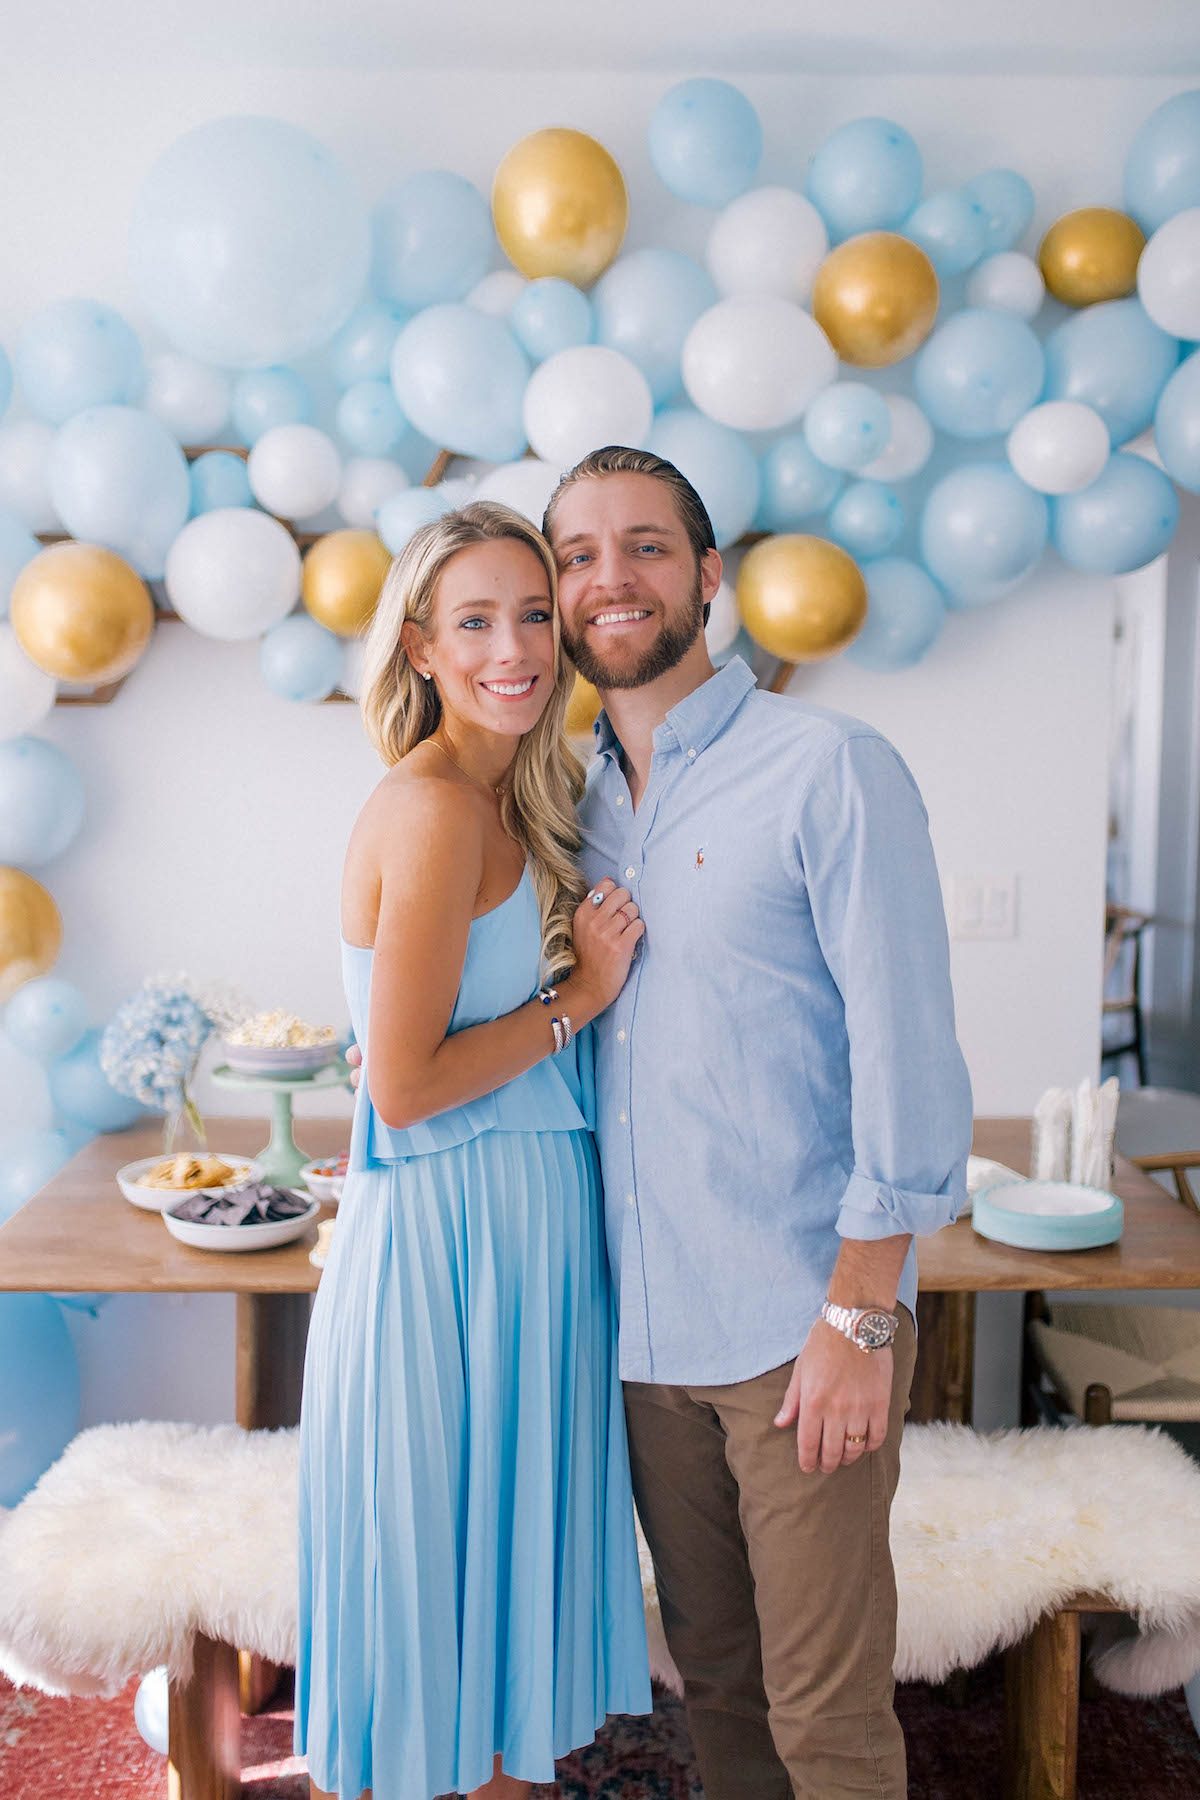
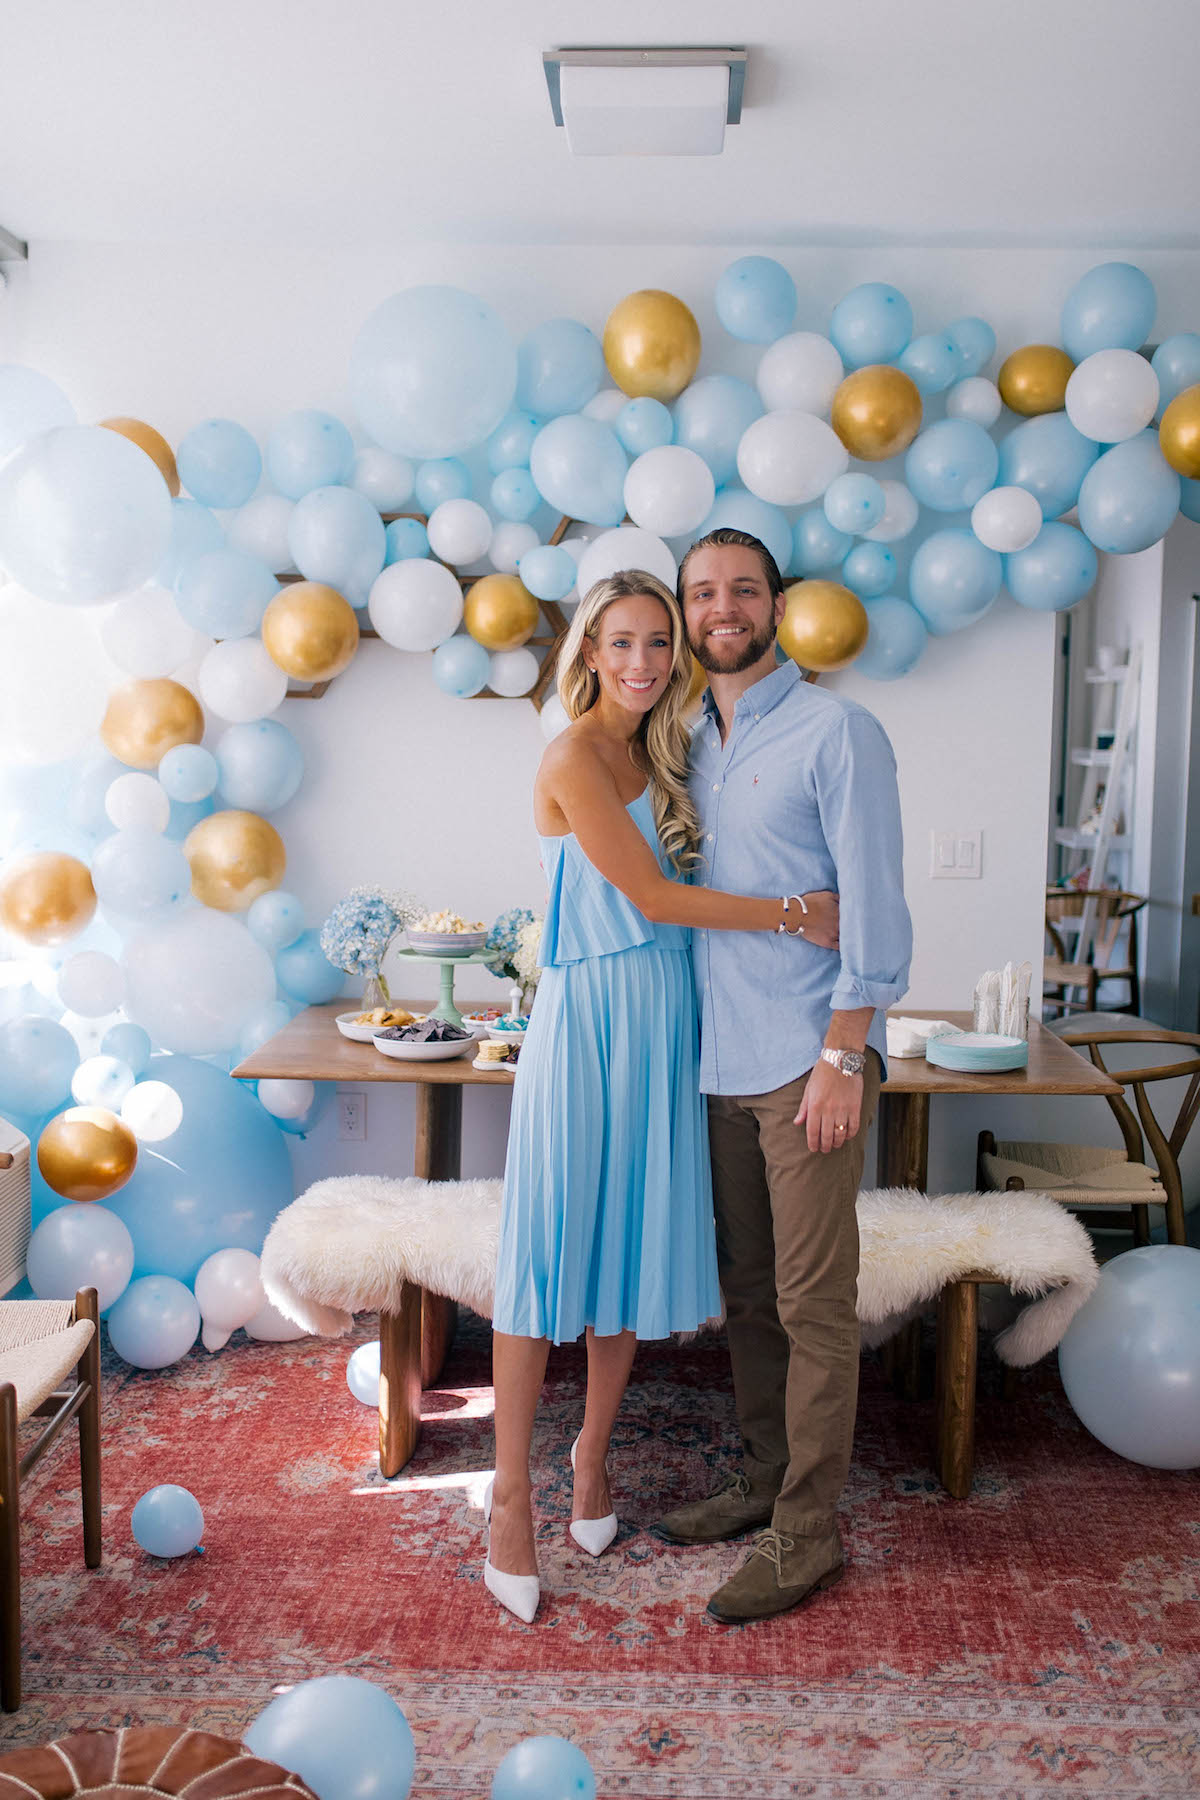
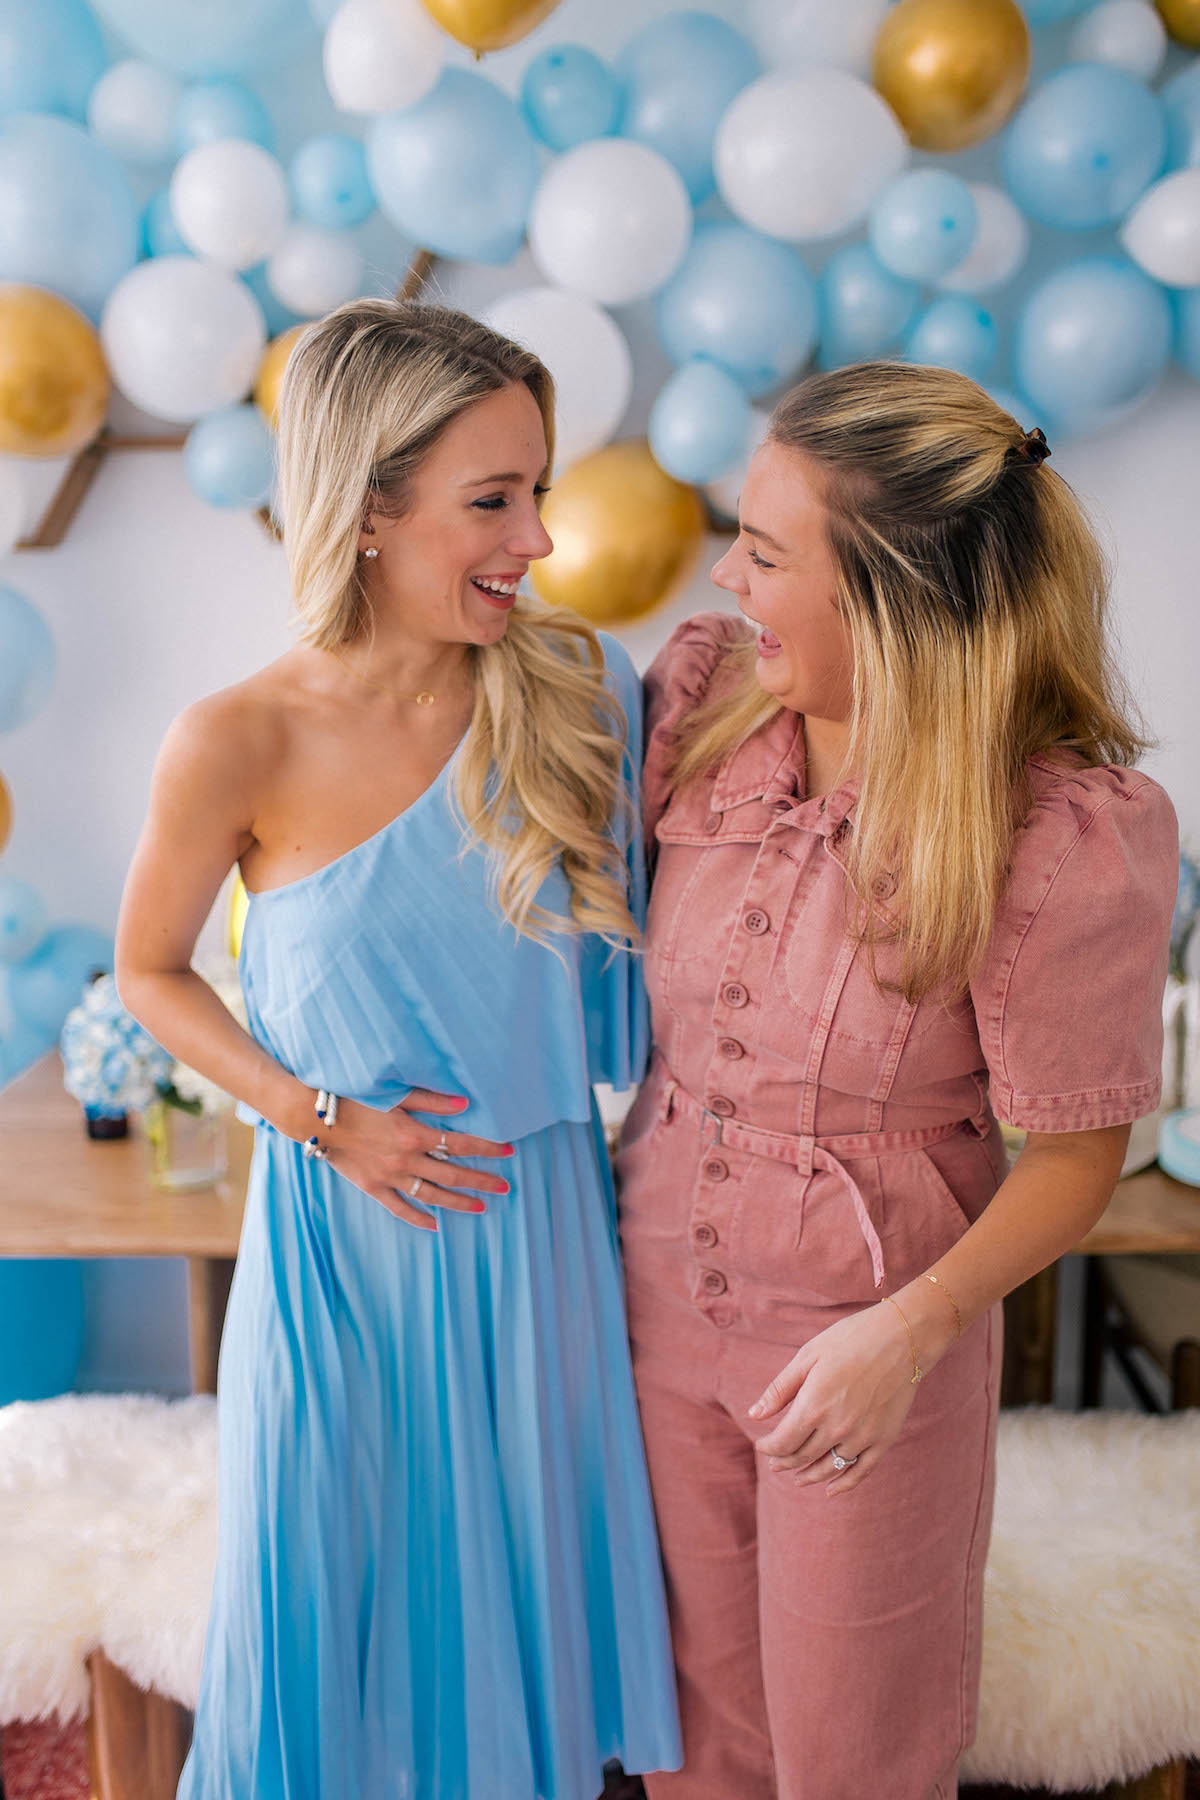
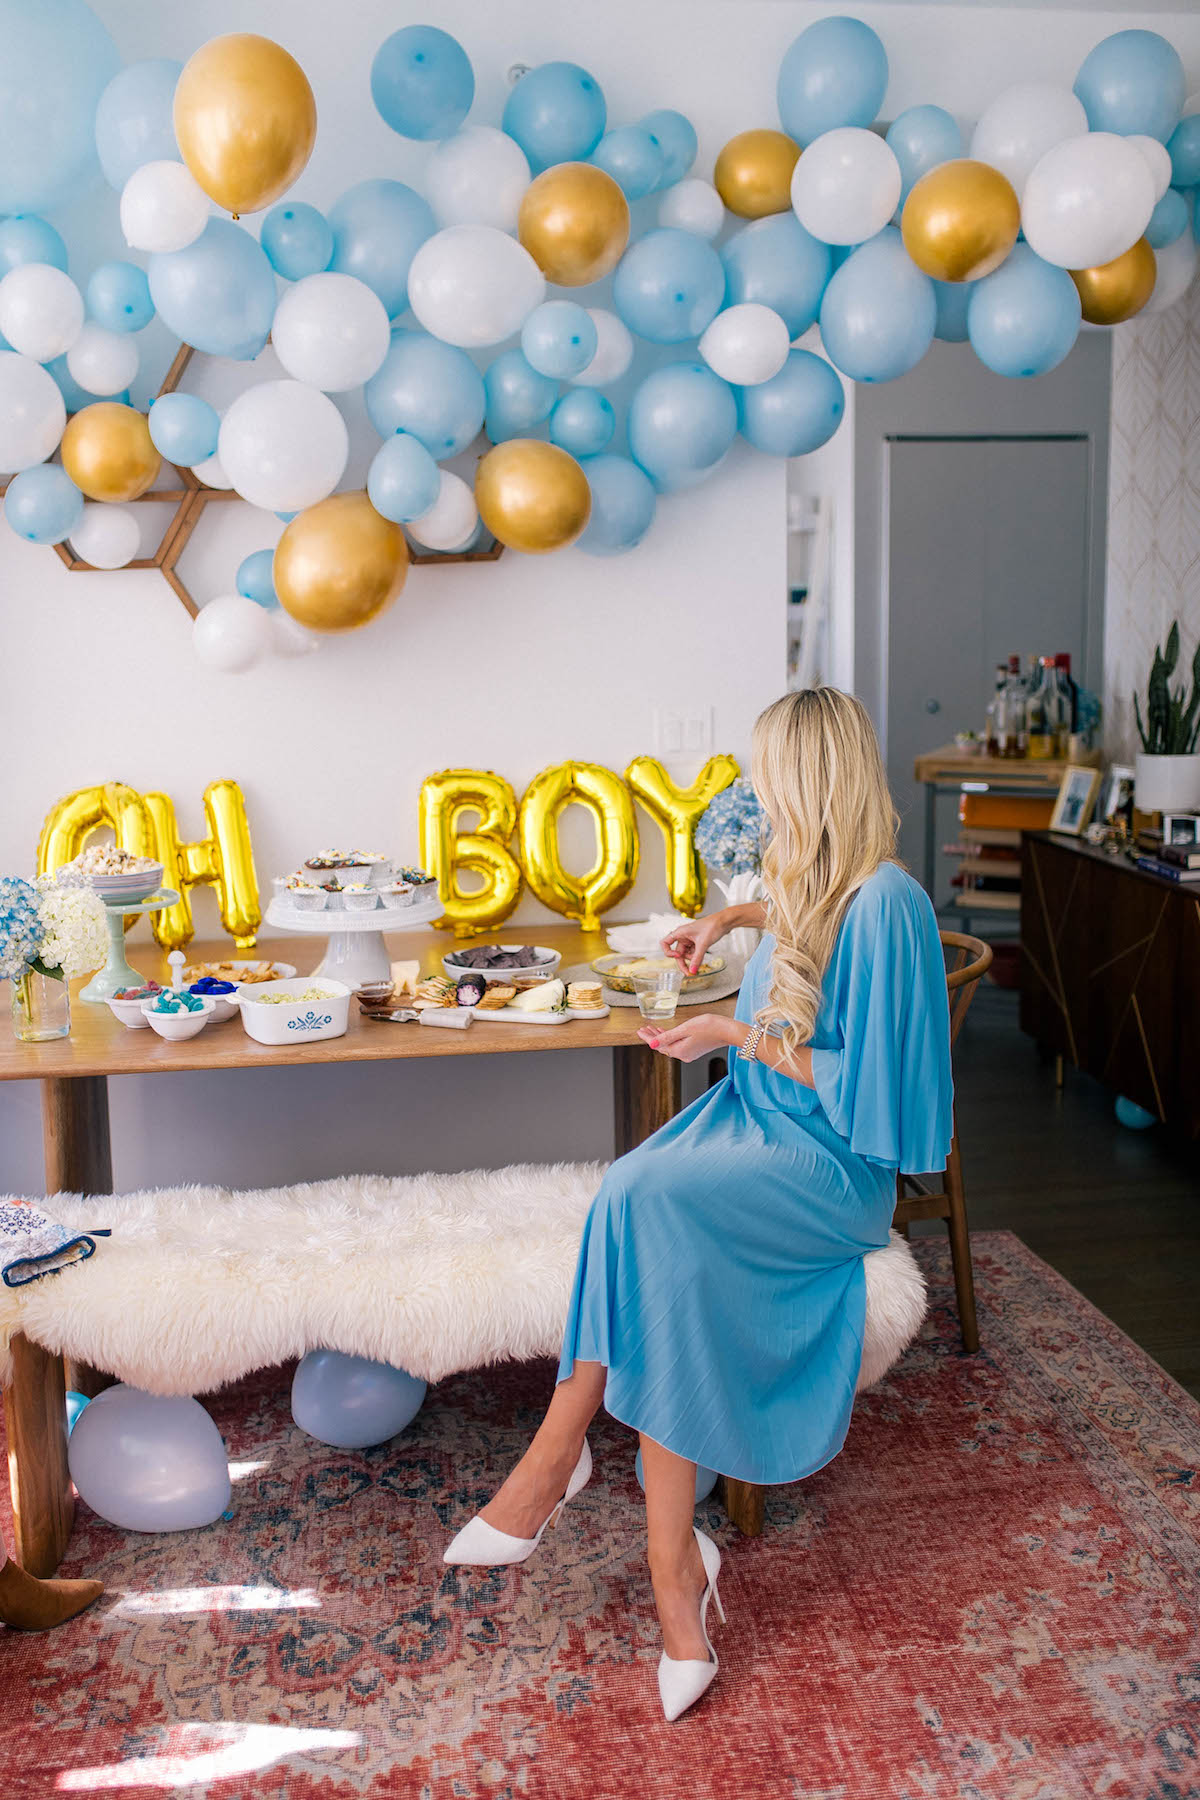
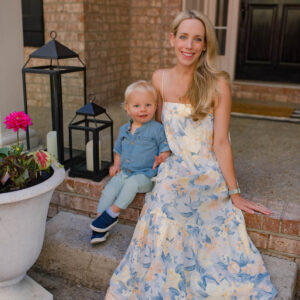
MY OUTFIT DETAILS // One Shoulder Pleated Dress (on sale for $25- wearing size 4) | Similar White Pumps | David Yurman Bracelets | Gold Necklace
So I have to confess. Pretty much all our friends knew we were pregnant and having a boy before our party. Nick and I aren’t big on secrets and weren’t really feelin’ the idea of making our baby’s gender into some big surprise reveal– especially since we already knew ourselves. Over the last two weeks we sporadically told all our friends the news and basically just planned this party as an excuse to celebrate and have all our pals over to our place 🙂
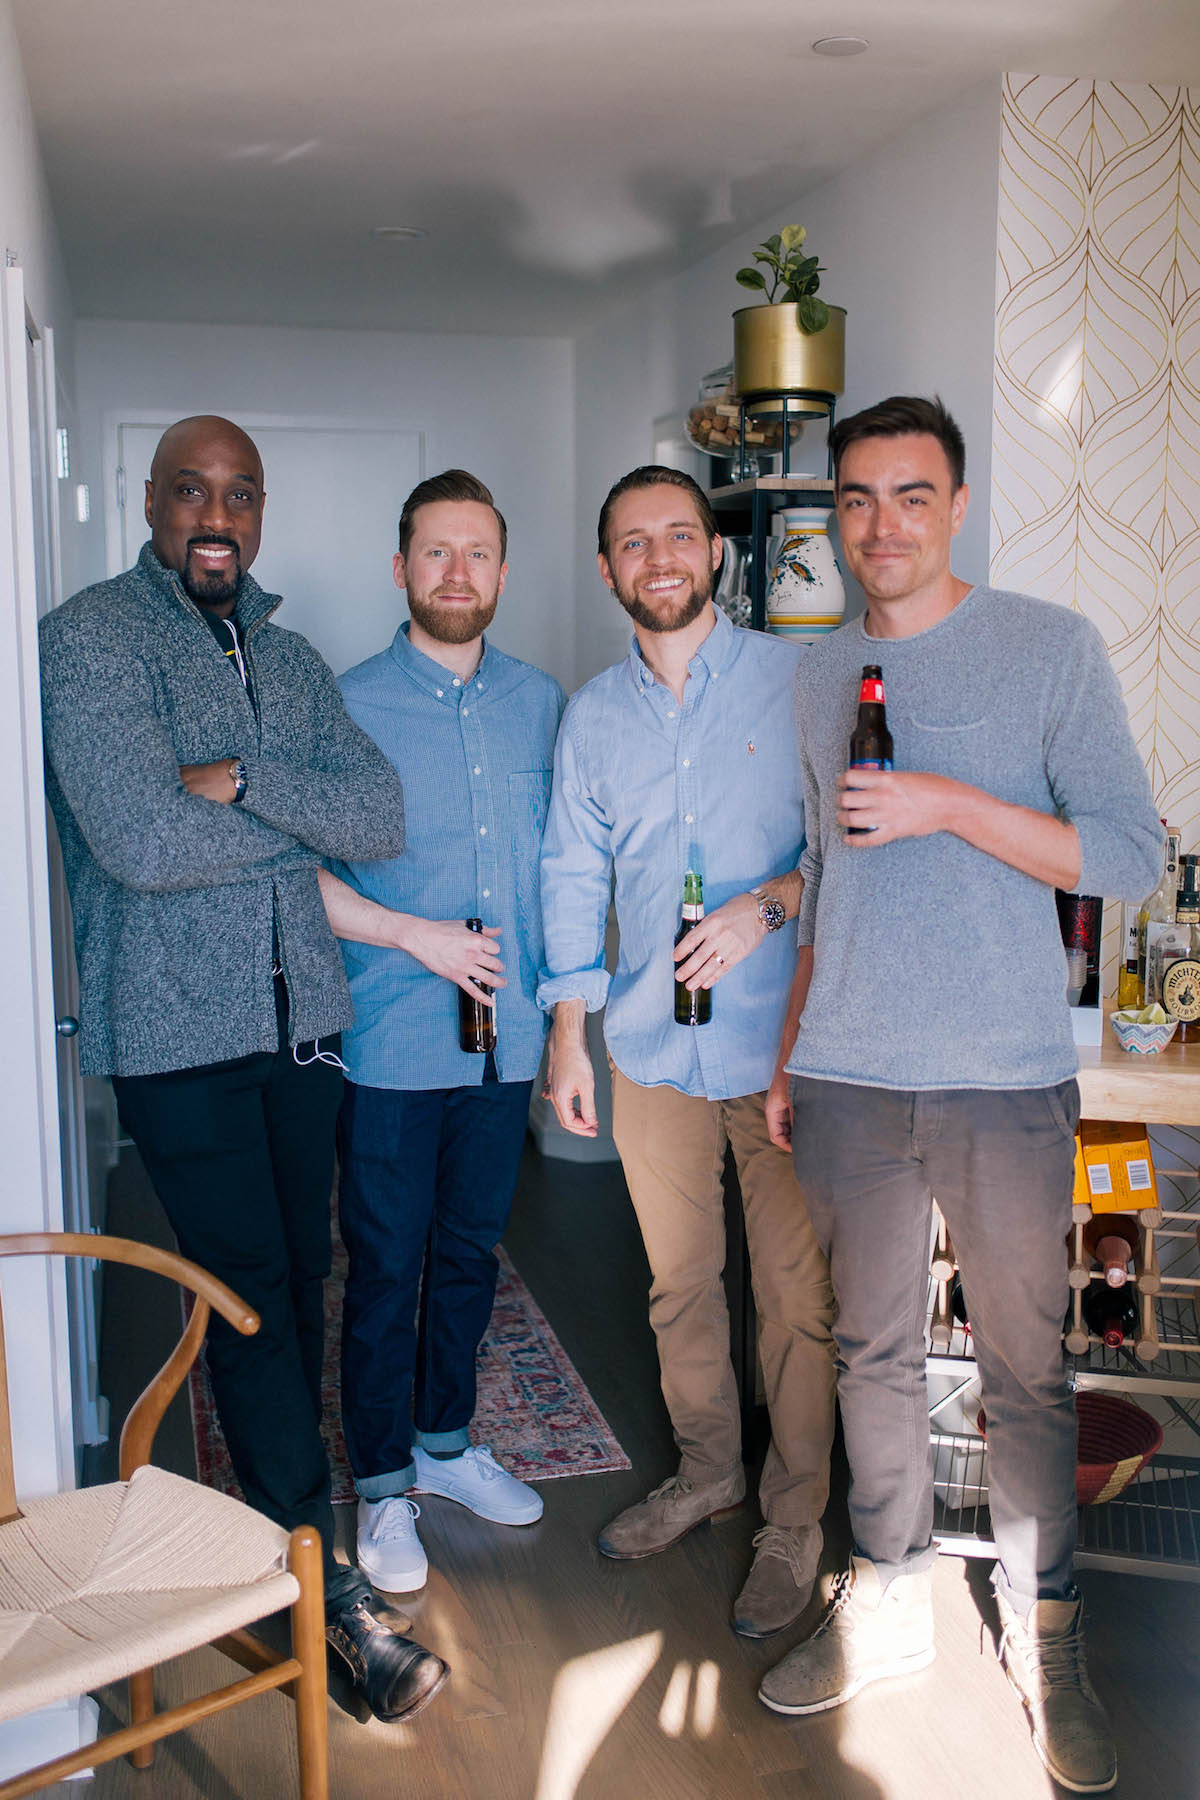
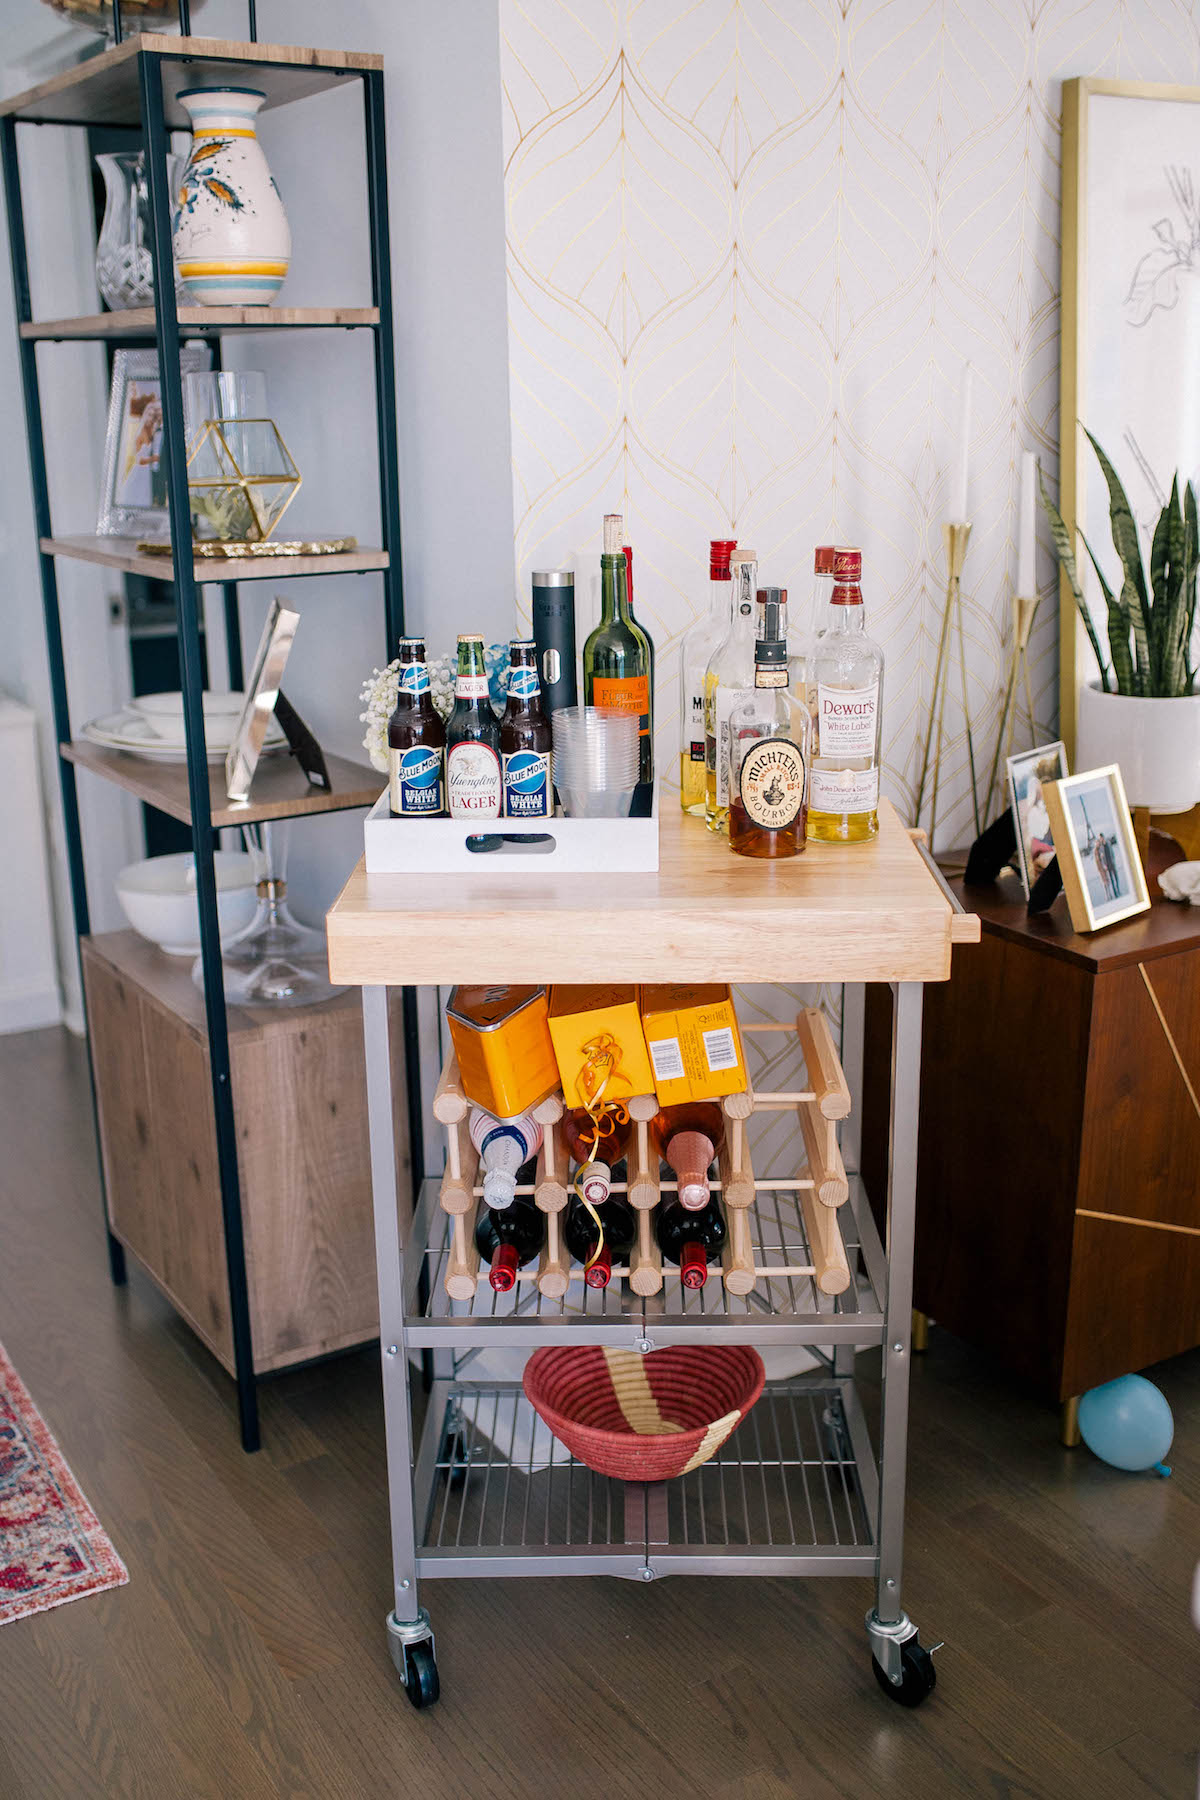
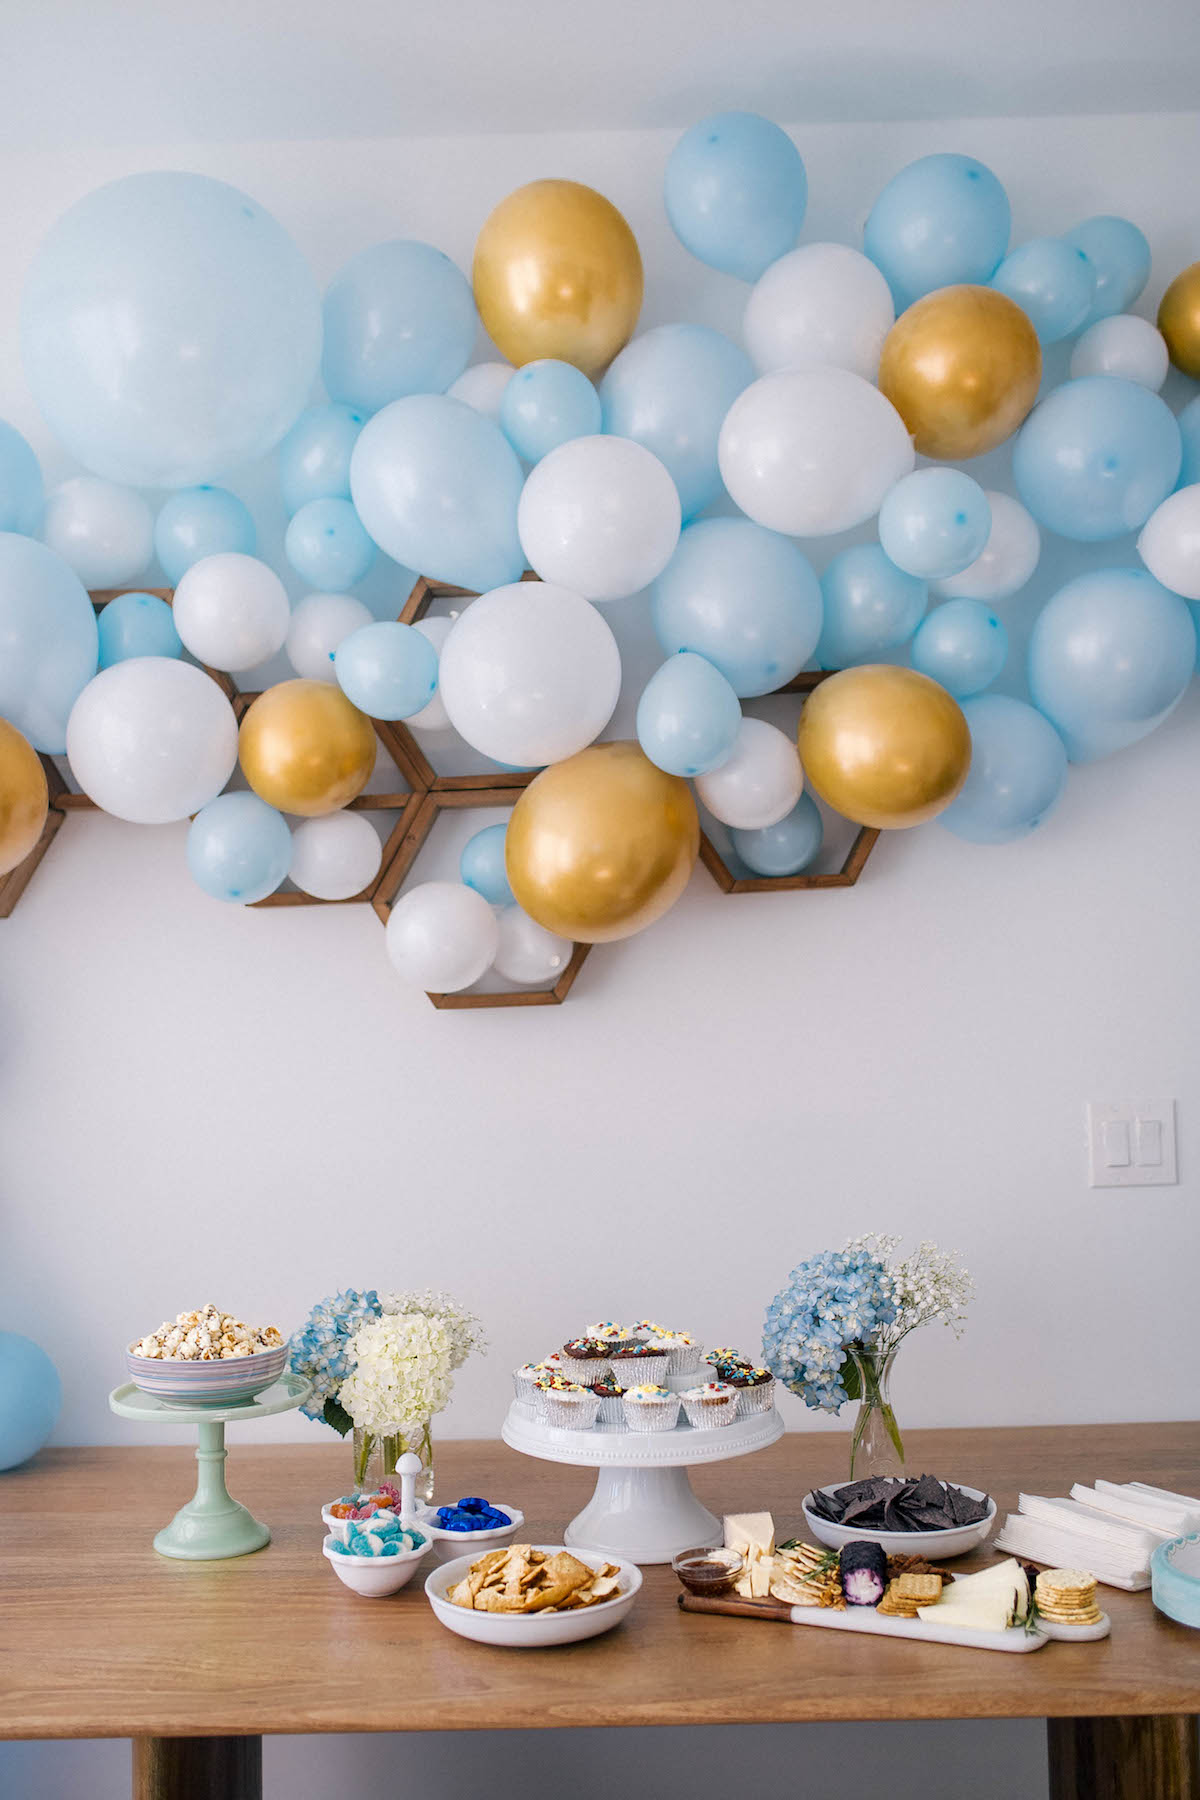
The party itself was really simple to plan! We ordered pizzas, served a bunch of chips and dips, I ordered a few types of blue candies, made a cheeseboard and baked cupcakes using Trader Joe’s Vanilla Cake & Baking Mix (so good btw!) Nick also picked up his favorite kinda beer– Sam Adams and of course Blue Moon to fit the theme 😛
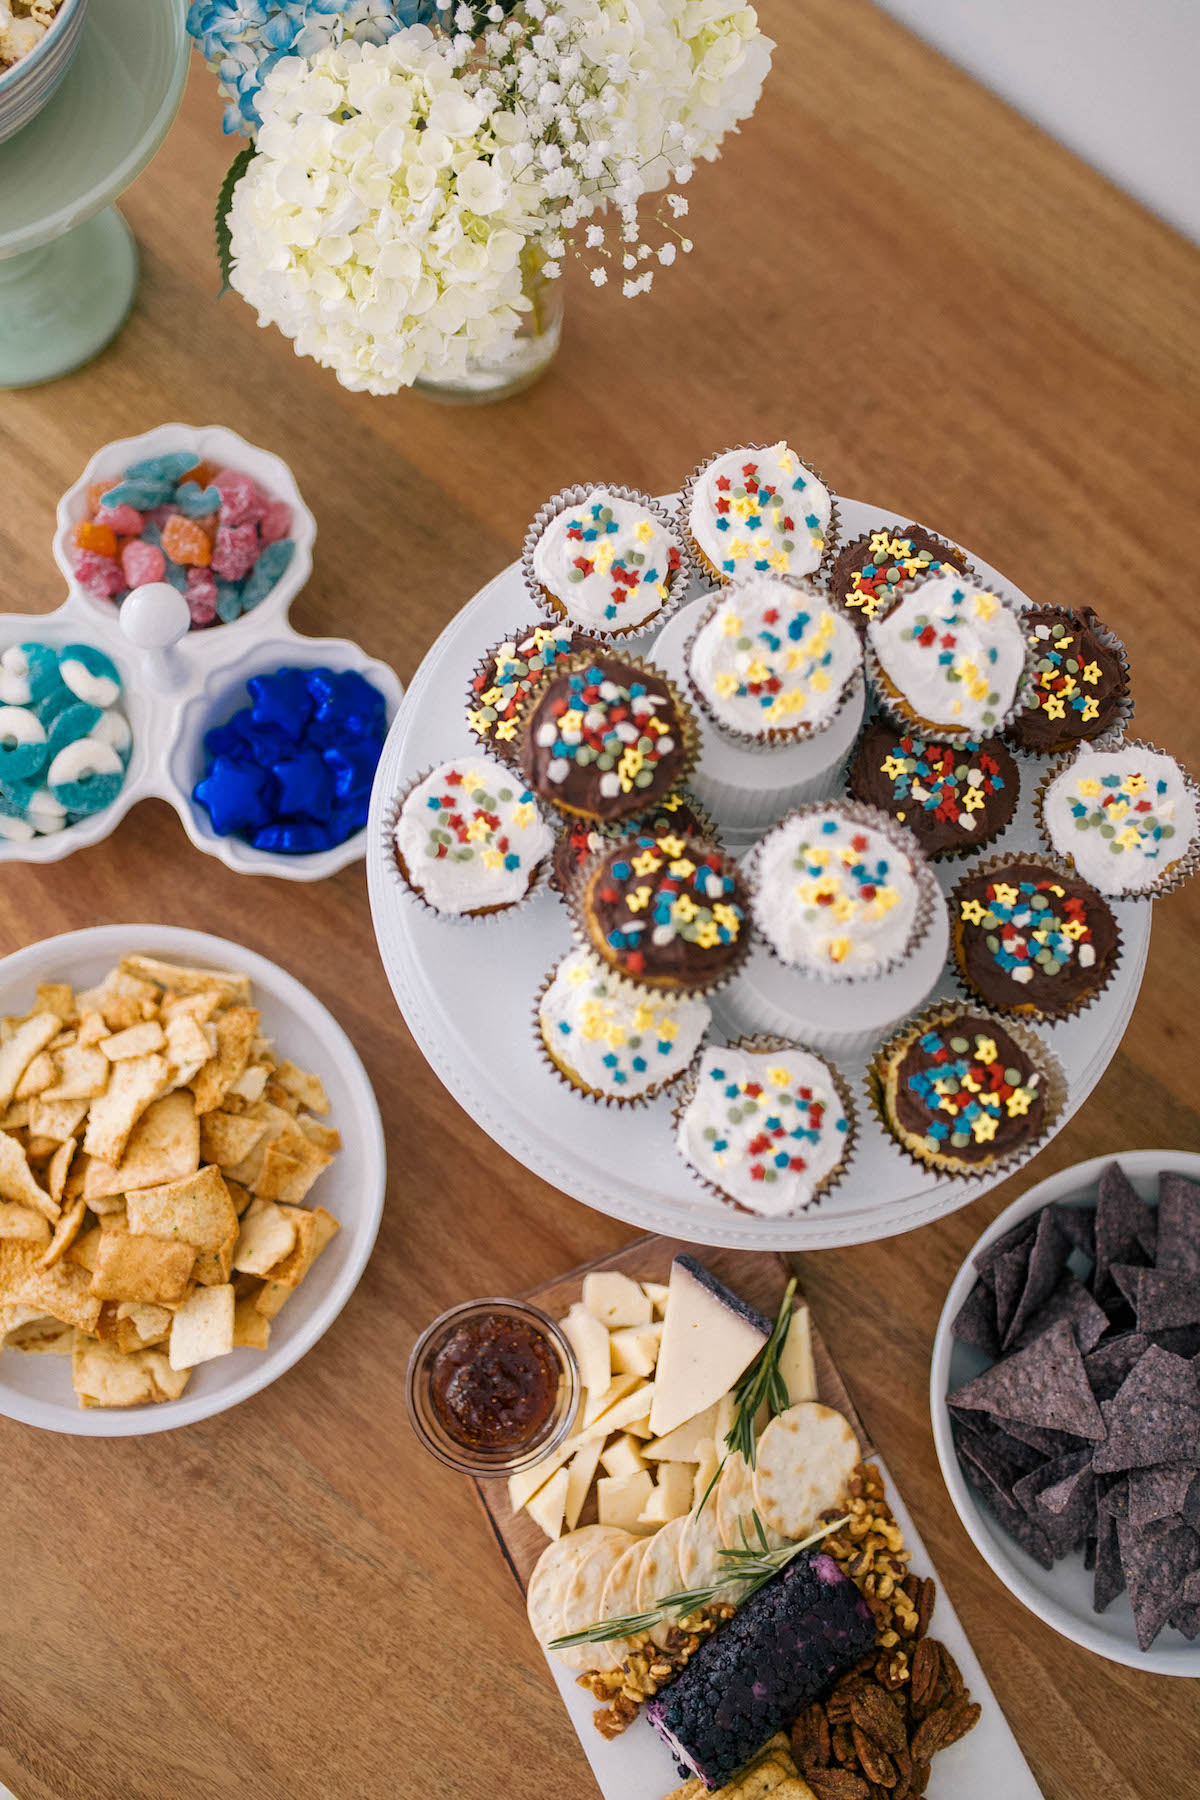
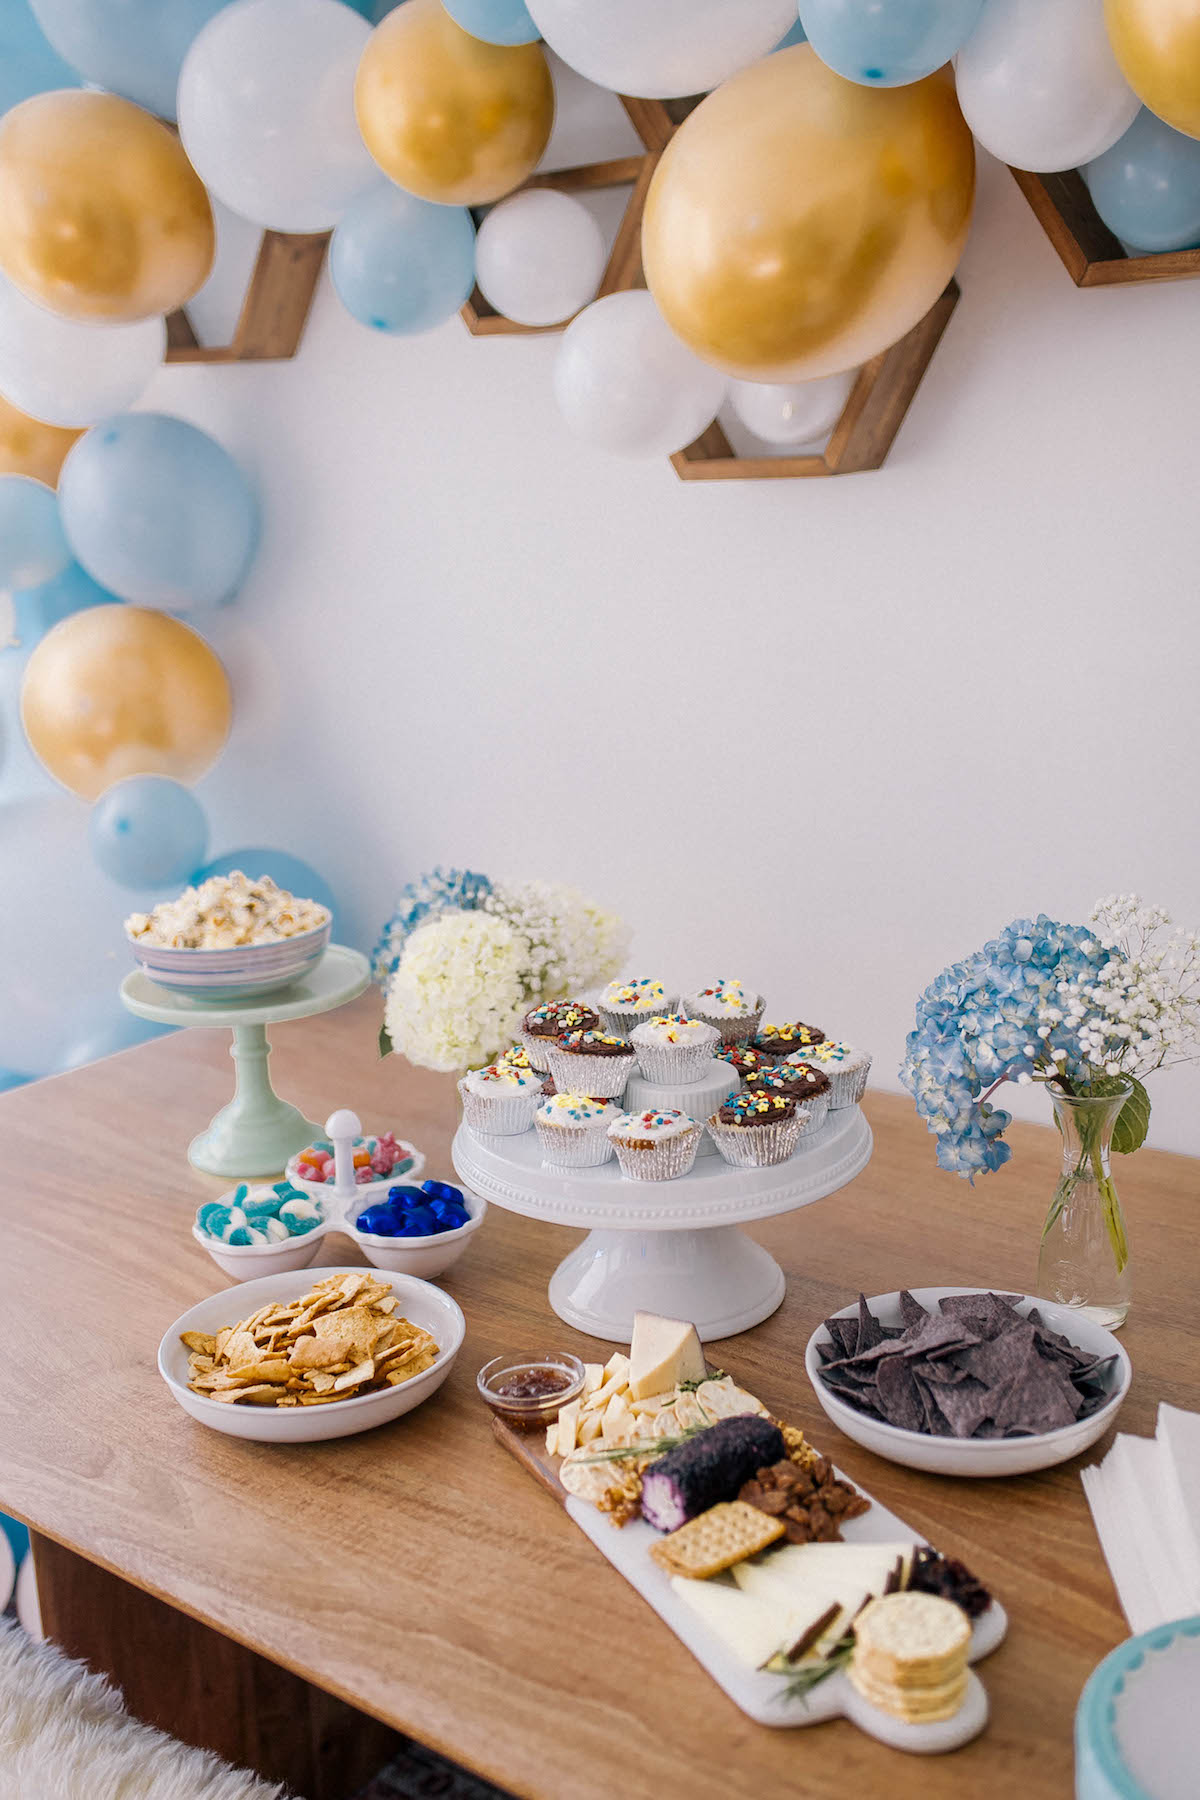
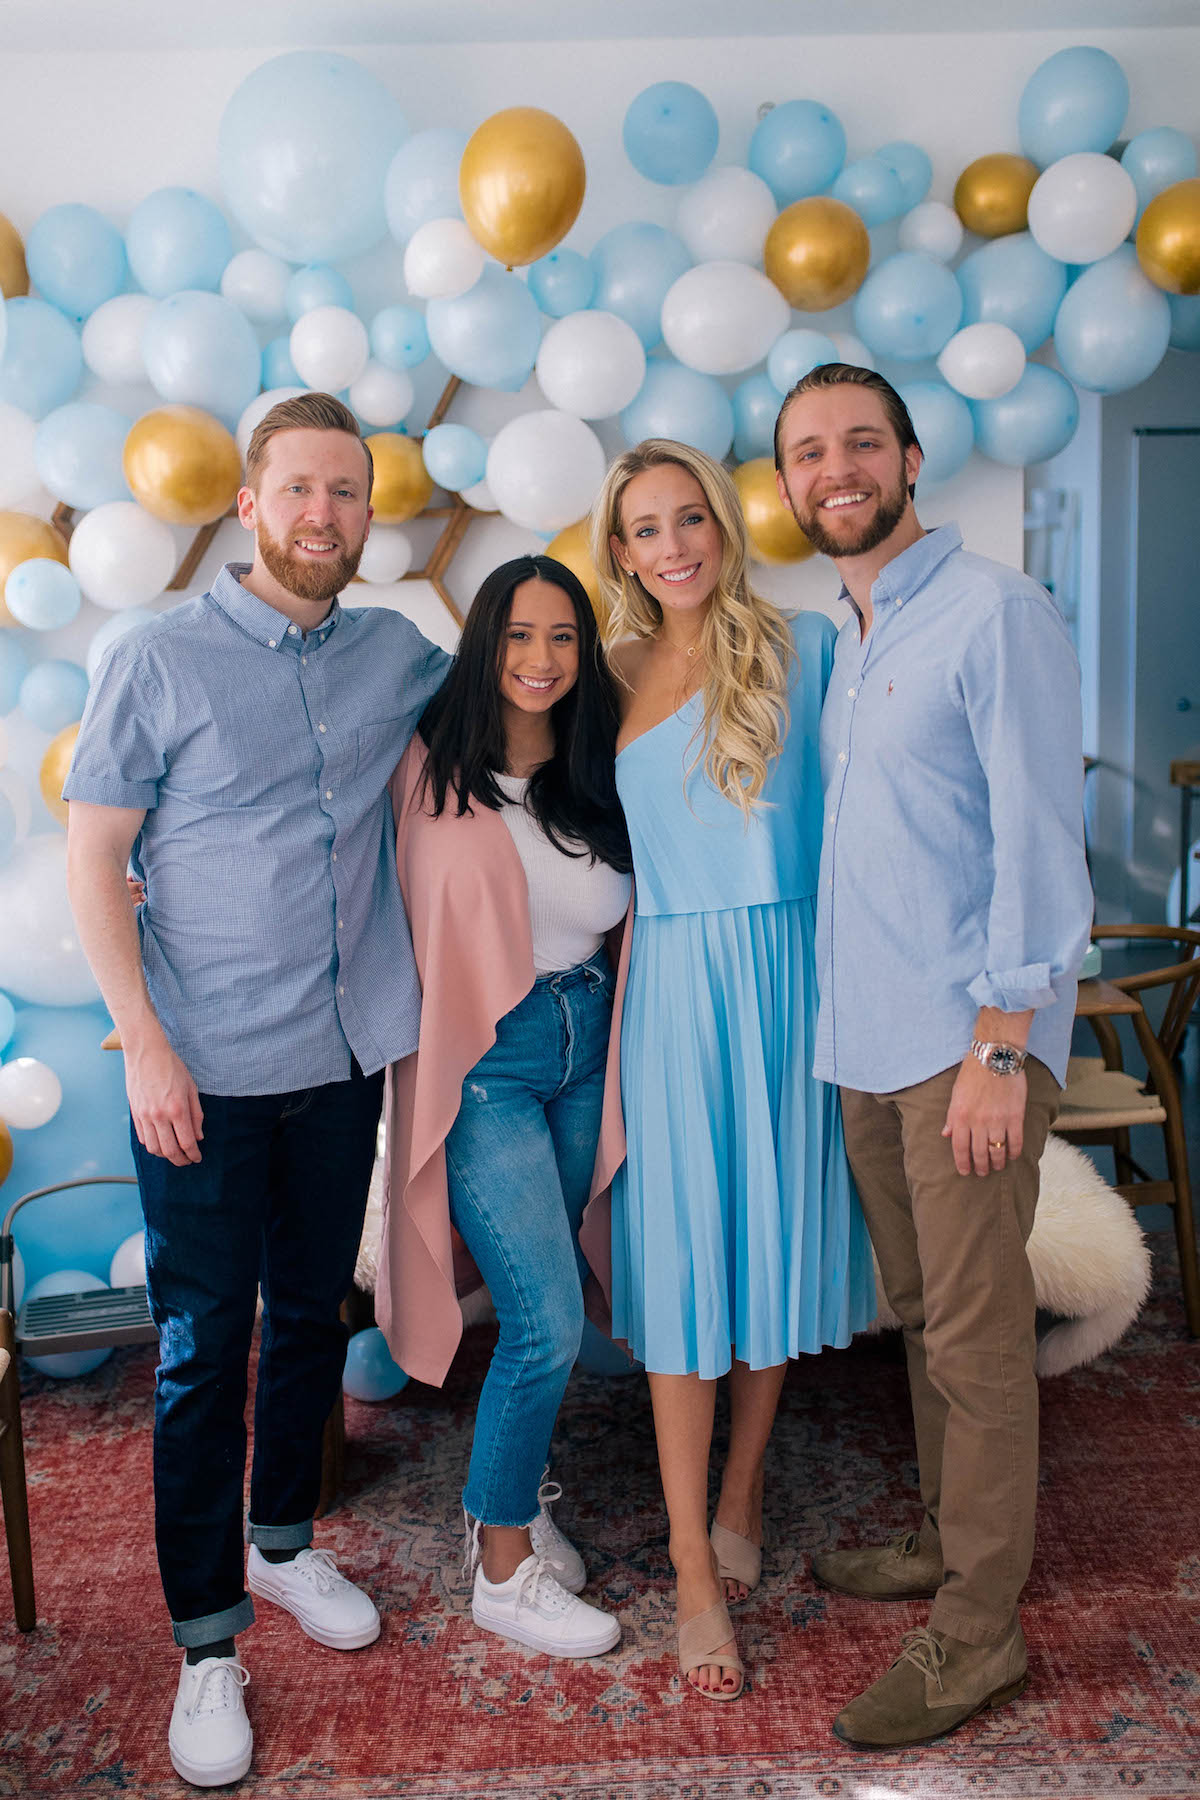
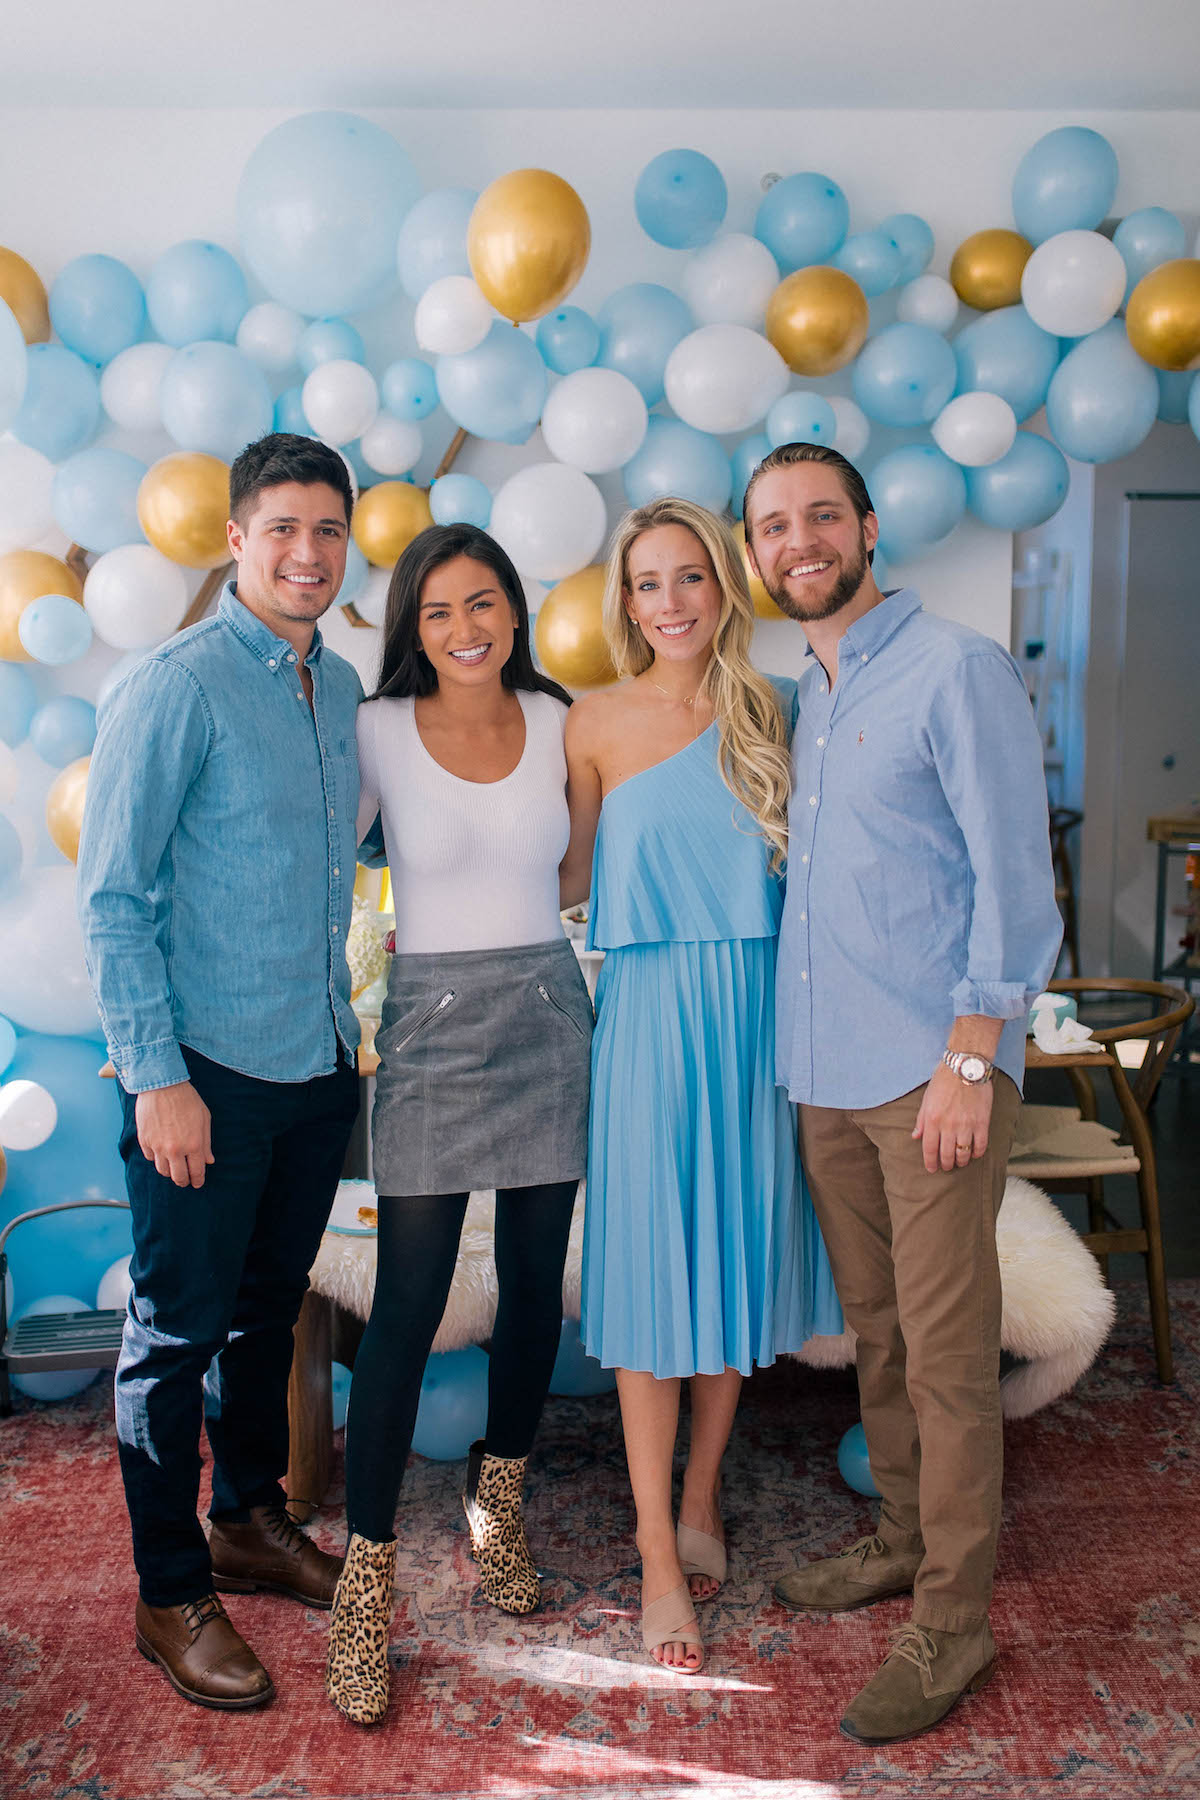
Decor is the one thing we did go all out on! I made three small floral arrangements using blue and white hydrangeas and baby’s breath (all purchased from Trader Joe’s.) Nick and I also put together this epic DIY balloon garland the night before our party. It took about 2.5 hours to blow up and hang, but was absolutely worth the time considering it only cost us $44. I included links to the balloon kit, electric pump, sticky glue dots, and tape we used below!
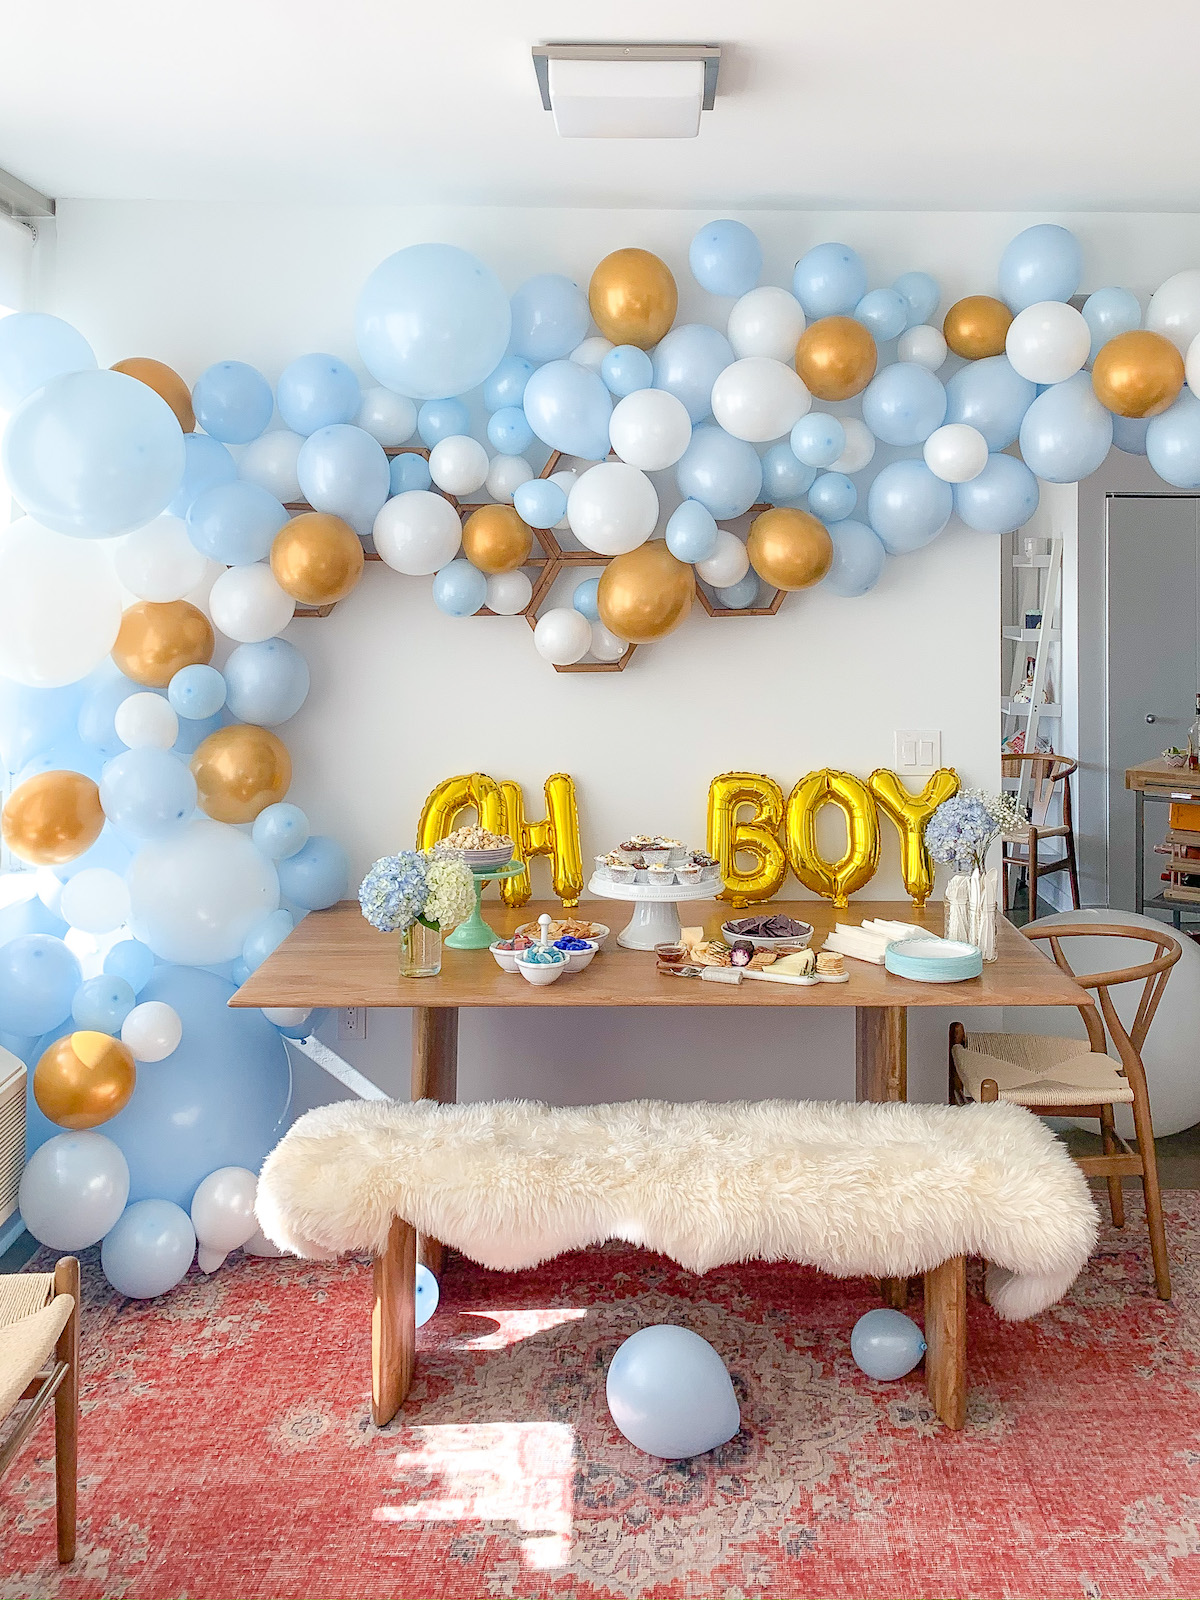
BALLOON GARLAND SUPPLIES
Balloon Garland Kit— there are so many types and colors available! Most kits are $20 or less— total steals!
Electric Pump— 100% necessary. You DO NOT want to be blowing these up by hand– you will get exhausted!
Sticky Glue Dots— Our balloon kit came with a roll of these, but in the future I’d probably order extra since we ran out
Balloon Garland Decorating Strip— Many kits come with a plastic strip with notches where you attach all your balloons and then use to hang in an arch shape. Since we wanted a more custom shape we chose to only use this in top right corner of our garland in the area over our hall. All the rest of the balloons were just attached using the glue dots and tape!
Heavy-Duty Shipping Tape— This is what we used to attached the two ends of the plastic decorating strip to walls over our hallway. We also used this as adhesive when we ran out of glue dots (note: regular Scotch tape will NOT work– we tried that too!)
A few weeks before our party I had reached out to a couple local entertaining companies just to see what it would cost to hire someone to do the balloons for us and the quotes I got were INSANE. These vendors were charging $750+ for exactly what you see here. Crazy considering we spent under $50 to do it ourselves. If you’re curious to see how we hung up all the balloons, you can watch us do it this video.
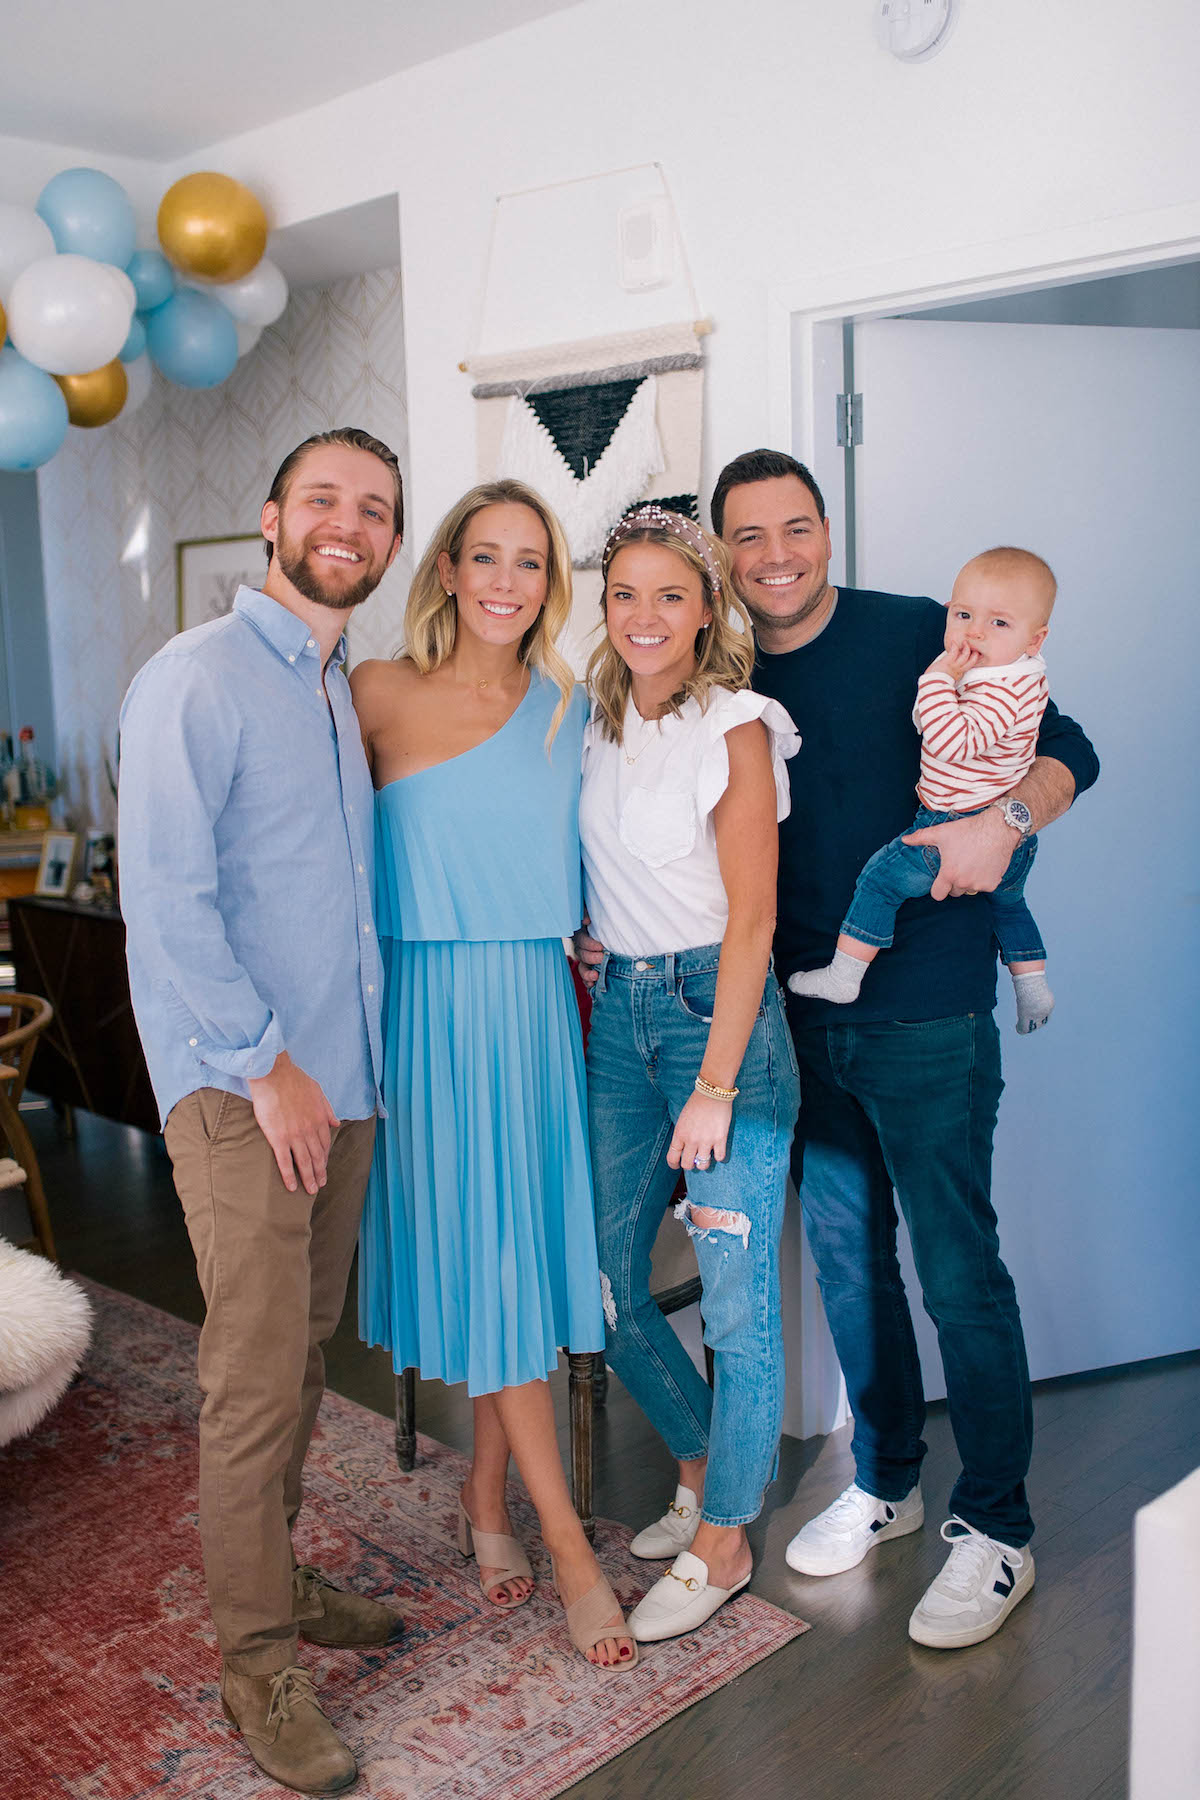
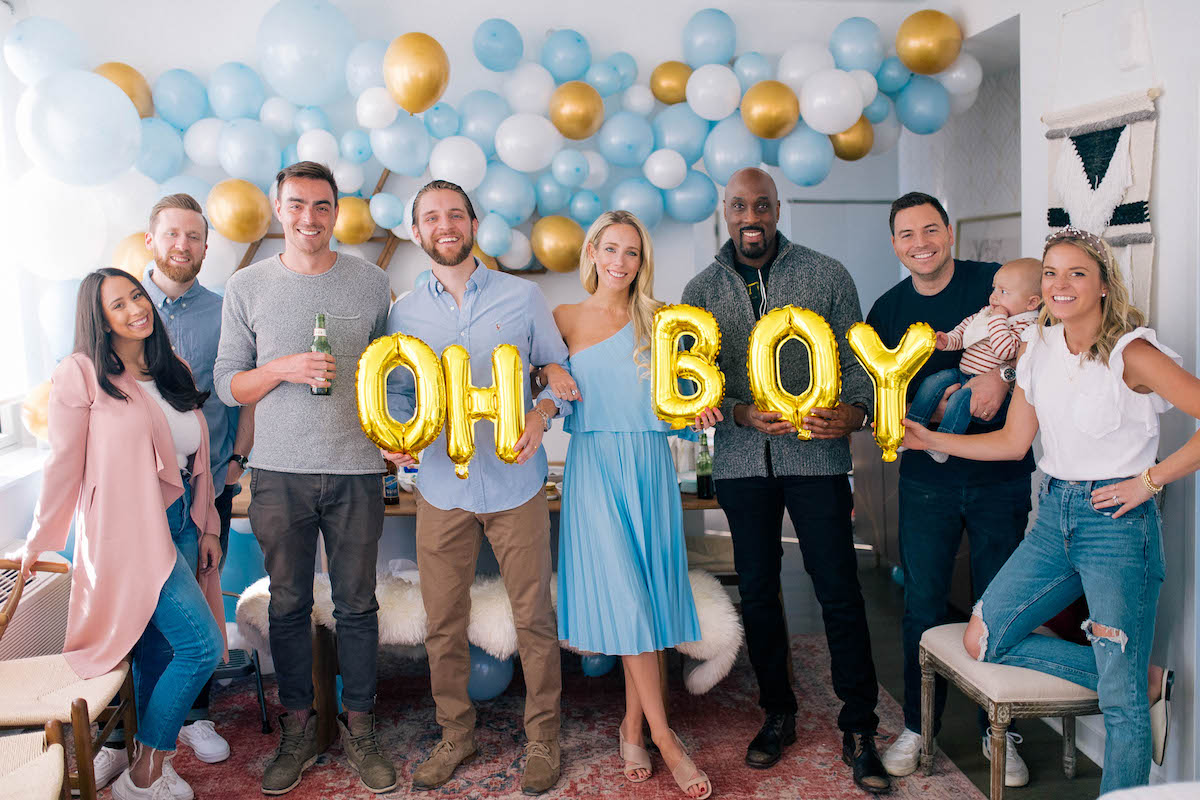
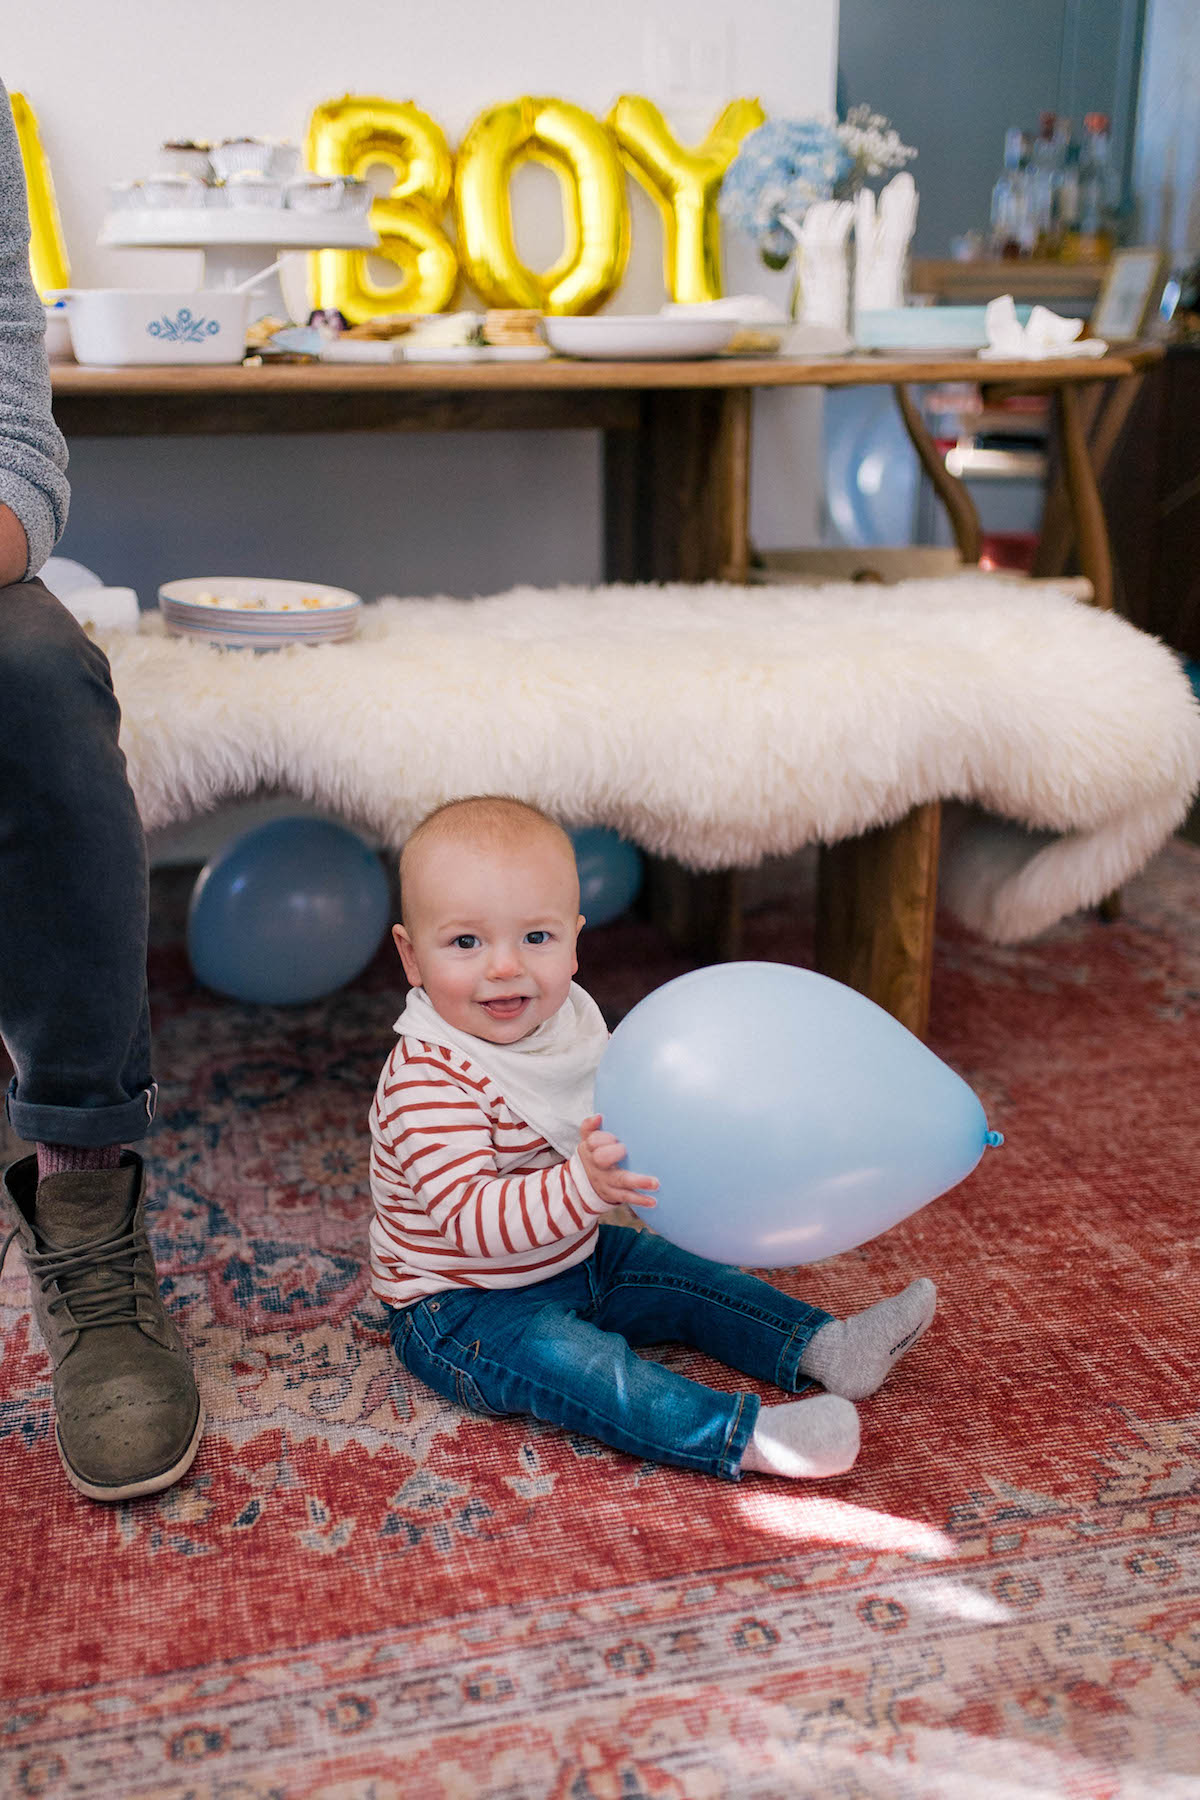
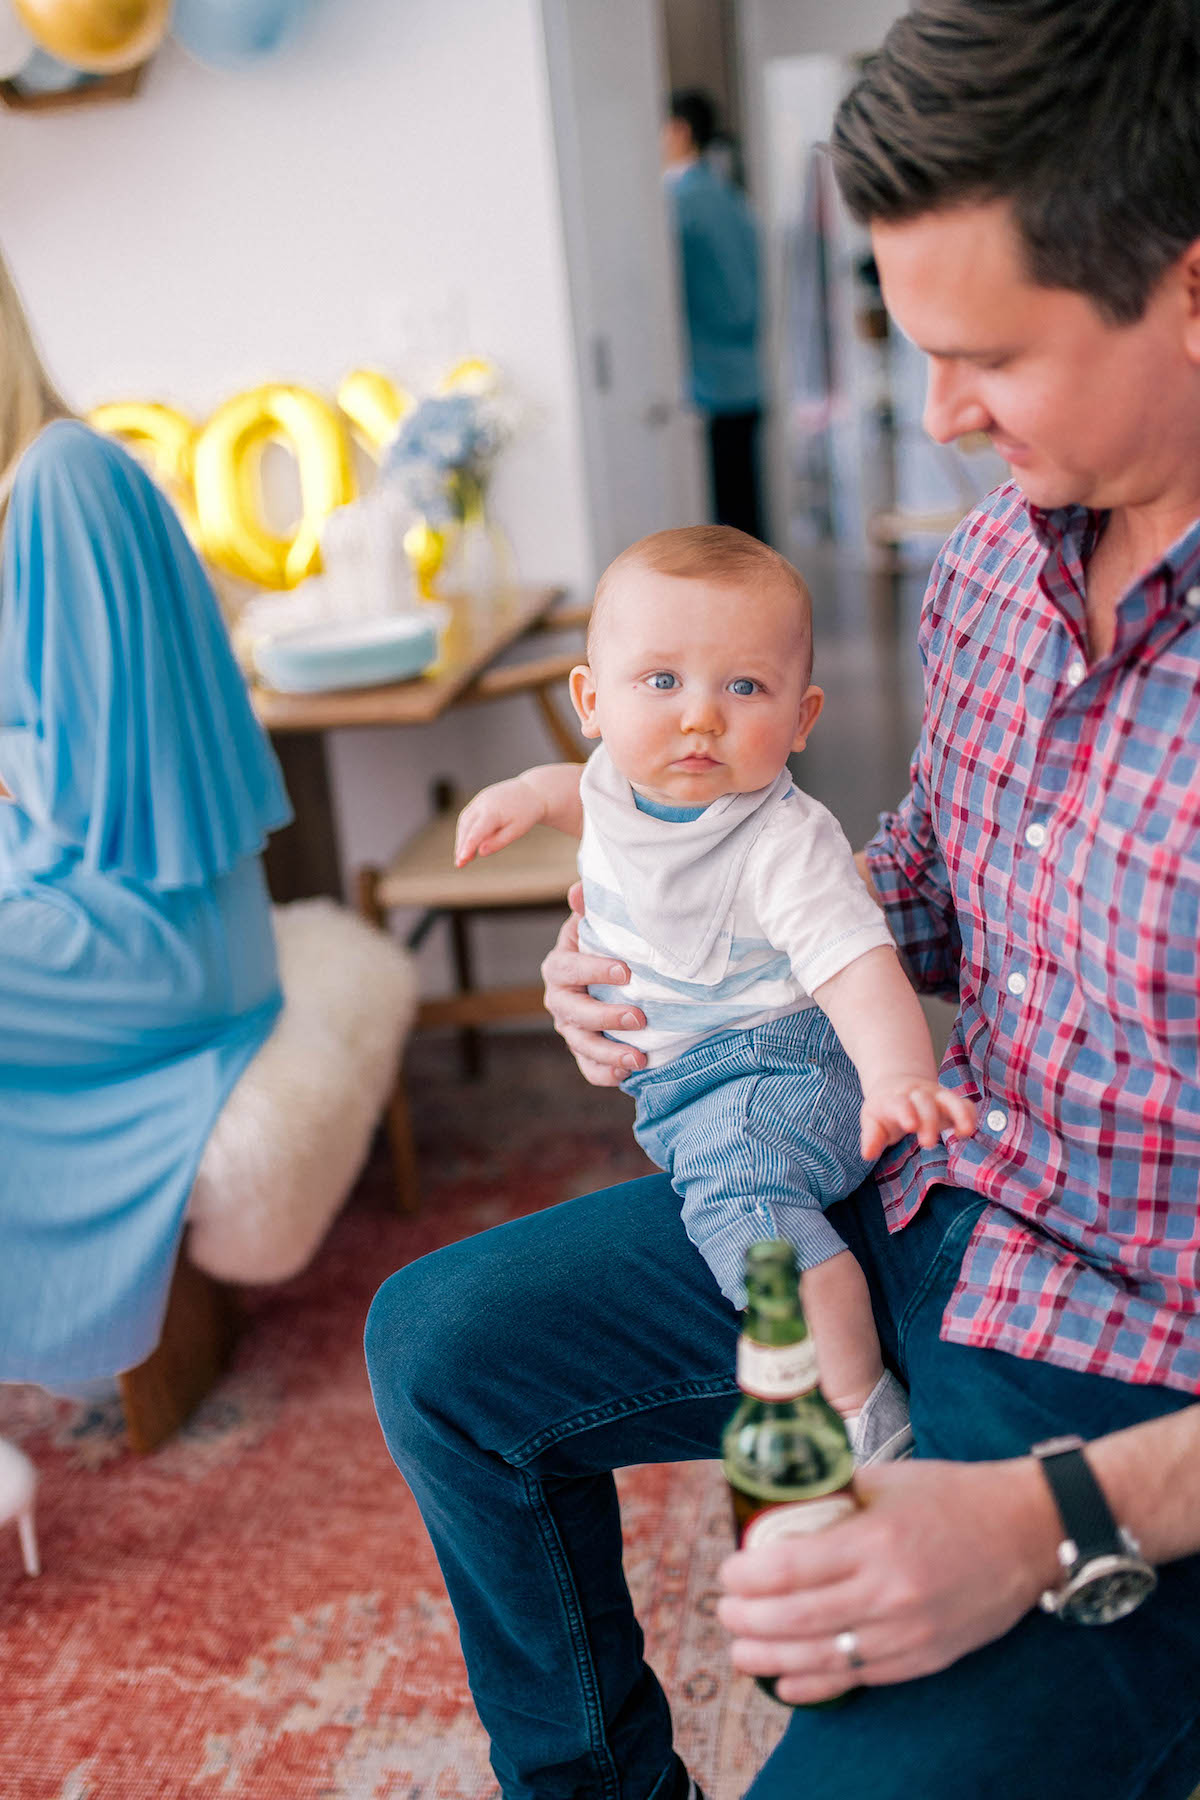
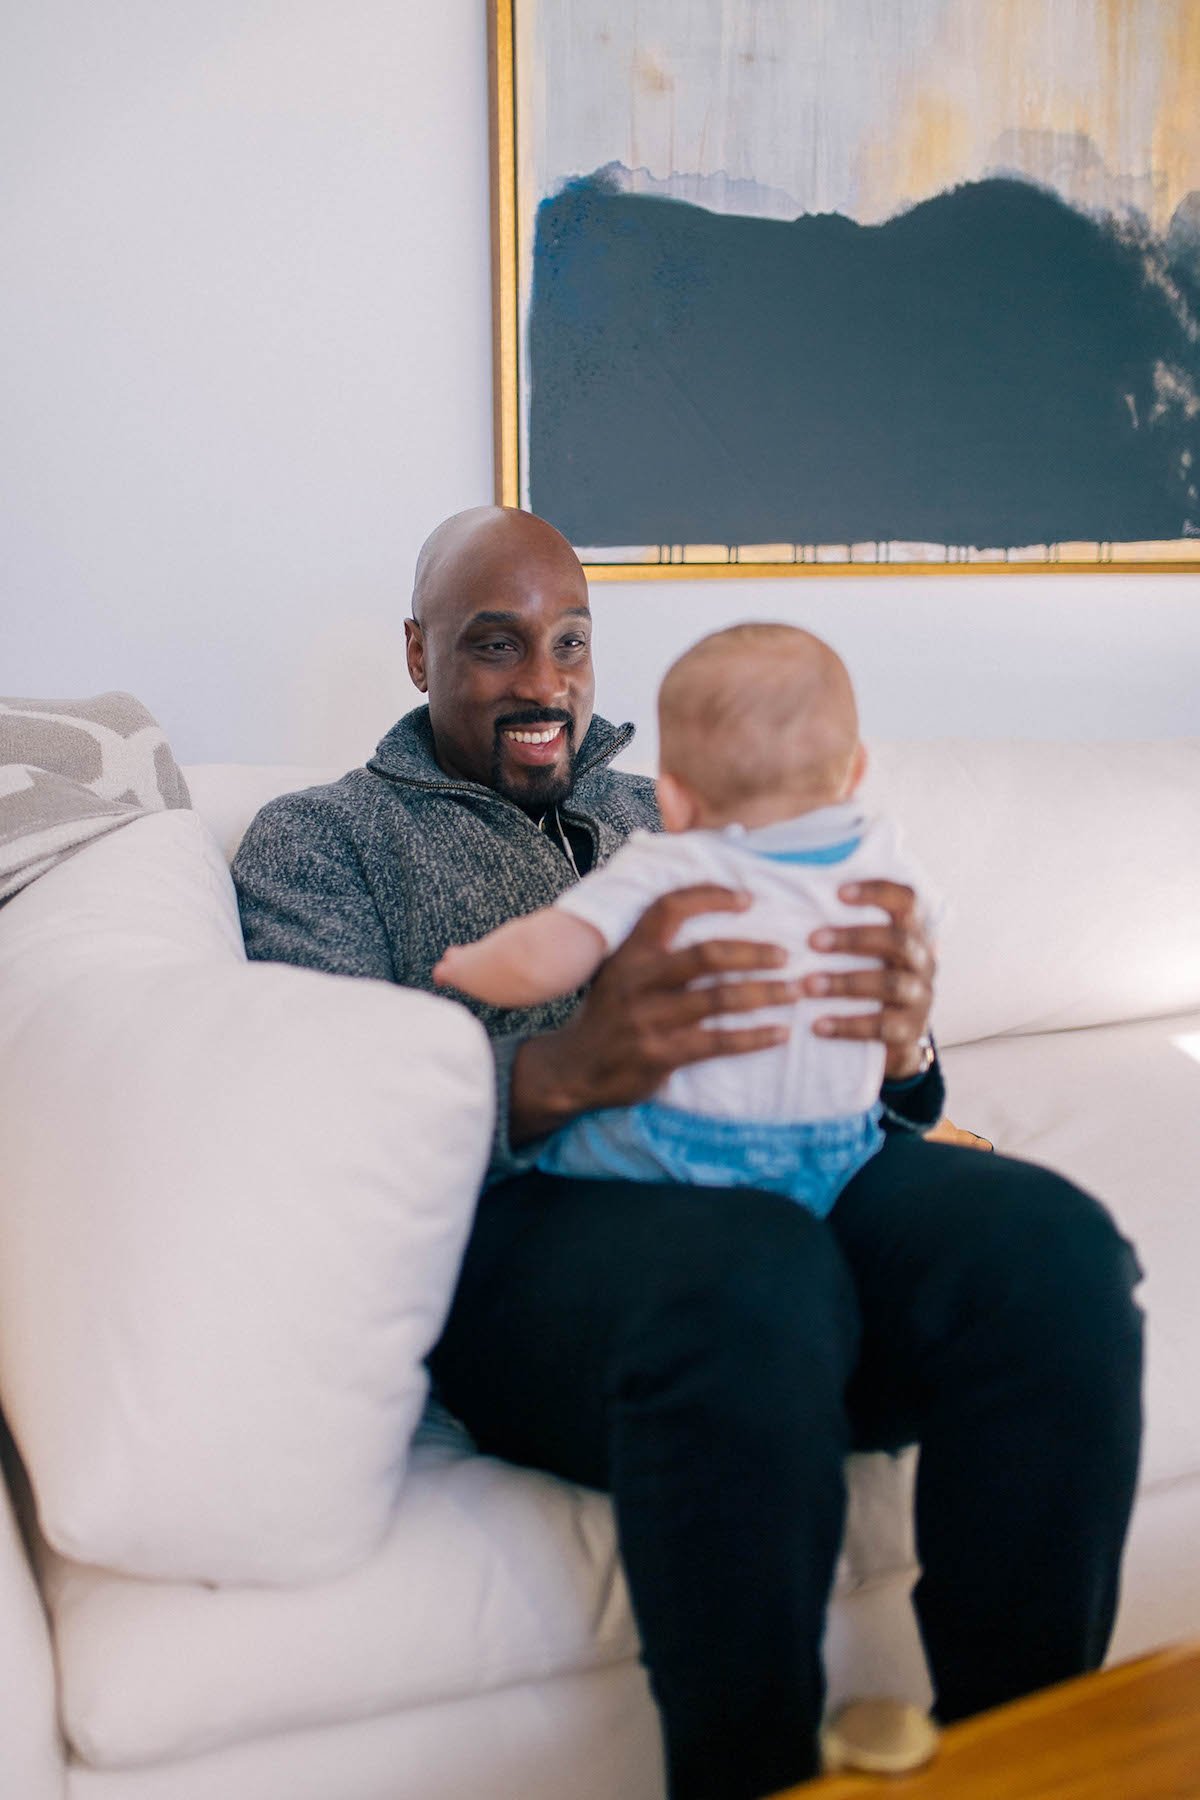
Keep scrolling to see more party snaps! So grateful for all of our wonderful friends who came to celebrate with us. Baby is already SO loved!












Annaliese says
OBSESSED with the balloon arch- I’m going to have to check out your tutorial! Congrats on baby boy!! 🙂 So excited for you both.
xoxo A
http://www.southernbelleintraining.com
Susan Strom says
Congratulations…